Process Document
This module has been interesting and useful, it has made me reflect on how I work and how limited my use and knowledge of technology has been. It has made me more open to engaging with new technologies, and software to improve my workflow. I'd gotten used to working in one way, and I'm glad that that has started to change. I'm not as scared to use programs I haven't before, even if I'm not so good with them. It has helped me find new ways of working that I've enjoyed, as well as developing my skills in new software that I will definitely use in my future projects.
Week 1: Visual Framework and Neurodiversity Awareness Campaign
During the first week, we were introduced to John Maeda's Laws of Simplicity. From here we were asked to choose two of his laws that resonated with our views on technology, and create a visual framework based on them. My chosen laws were Time and Emotion. I feel those represent my views best, I like it when technology has shortcuts and features that allow me to speed up my workflow. I also like when it has an emotional element to it, such as personalisation, it makes it more engaging and fun.
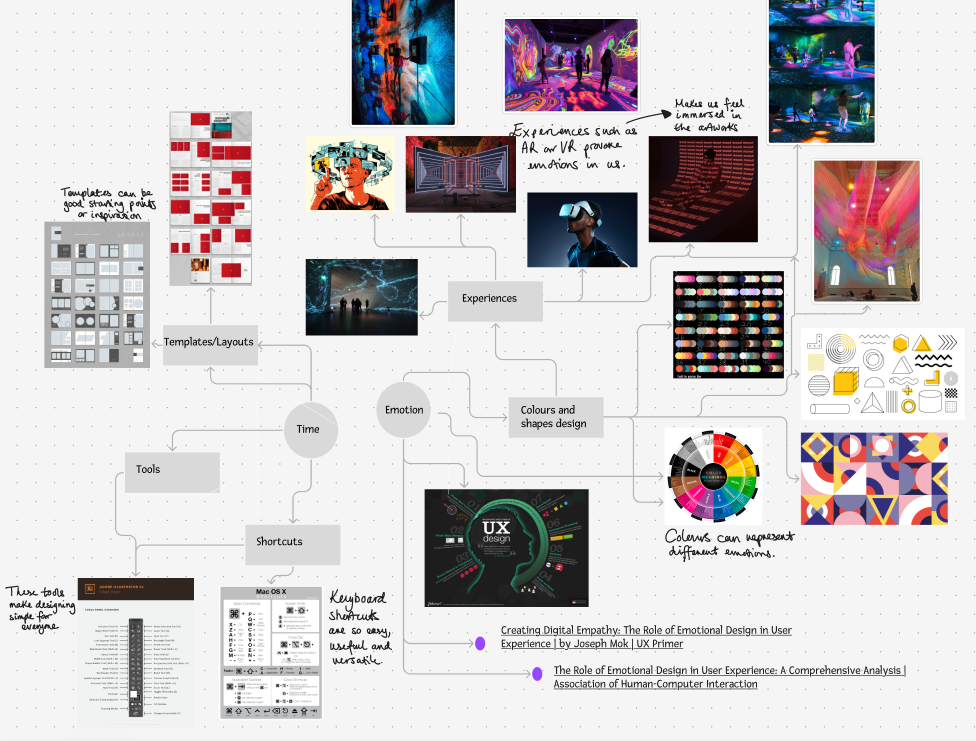
Usually for a task like this I would jump onto Pinterest and the internet to find different images that resonate with me, and dump them all on and artboard on Illustrator. Instead I decided to use Figma for my mindmap. Initially I used the standard Figma design option, but then I discovered Figma Jam. It's a feature on Figma that was created to use a 'whiteboard', I felt this would be more suiting to use for a mindmap. It had many features, they allowed me to join everything together and create links between all my images. I found it really easy to use, and everything felt a bit more organised. This is my preferred way to mindmap now, I like that I'm not limited to a certain size page, and there's no fear of not saving my work and losing it.
We were also asked to create a campaign for Neurodiversity Awareness, we worked in a group and decided to base our campaign on dyslexia. We thought about how we could incorporate technology into this, and came up with the idea of projection. Our idea was to create projections that would simulate how people with dyslexia see the world.
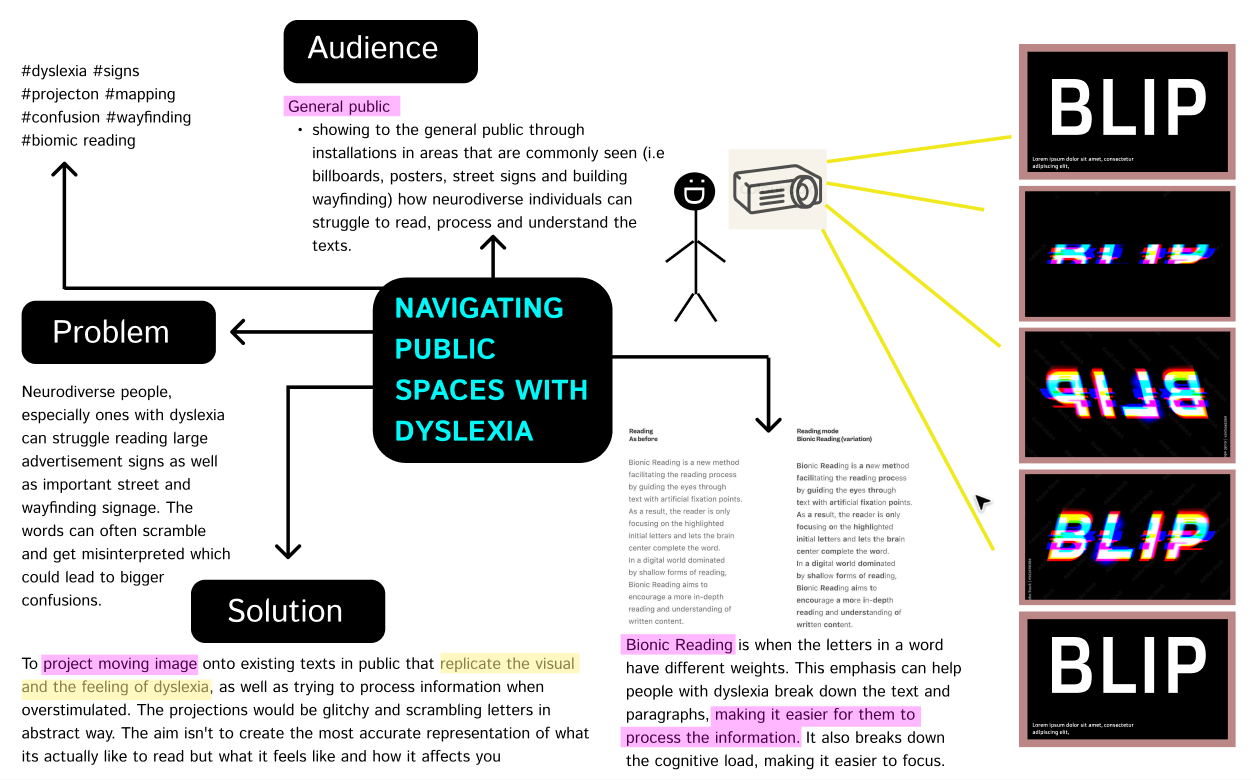
This was our research and idea. Since we worked in a group, once again we had used Figma. It allowed us to collaborate on this at the same time, which helped us create this really quick, and also bring all our ideas together. I will be using Figma way more often to mindmap my work, and when working in groups. This task helped to reflect on my current knowledge of technology, and made me realise I haven't really explored any emerging technologies. It made me curious about what there is out there for me to try out.
Week 2: Reflections
During this week, we were asked to reflect on a project from first year, and see how we could have include emerging technologies. This is a link to my reflection:
This task got me to research what would be possible to create with AR, I was especially inspired by these projects:
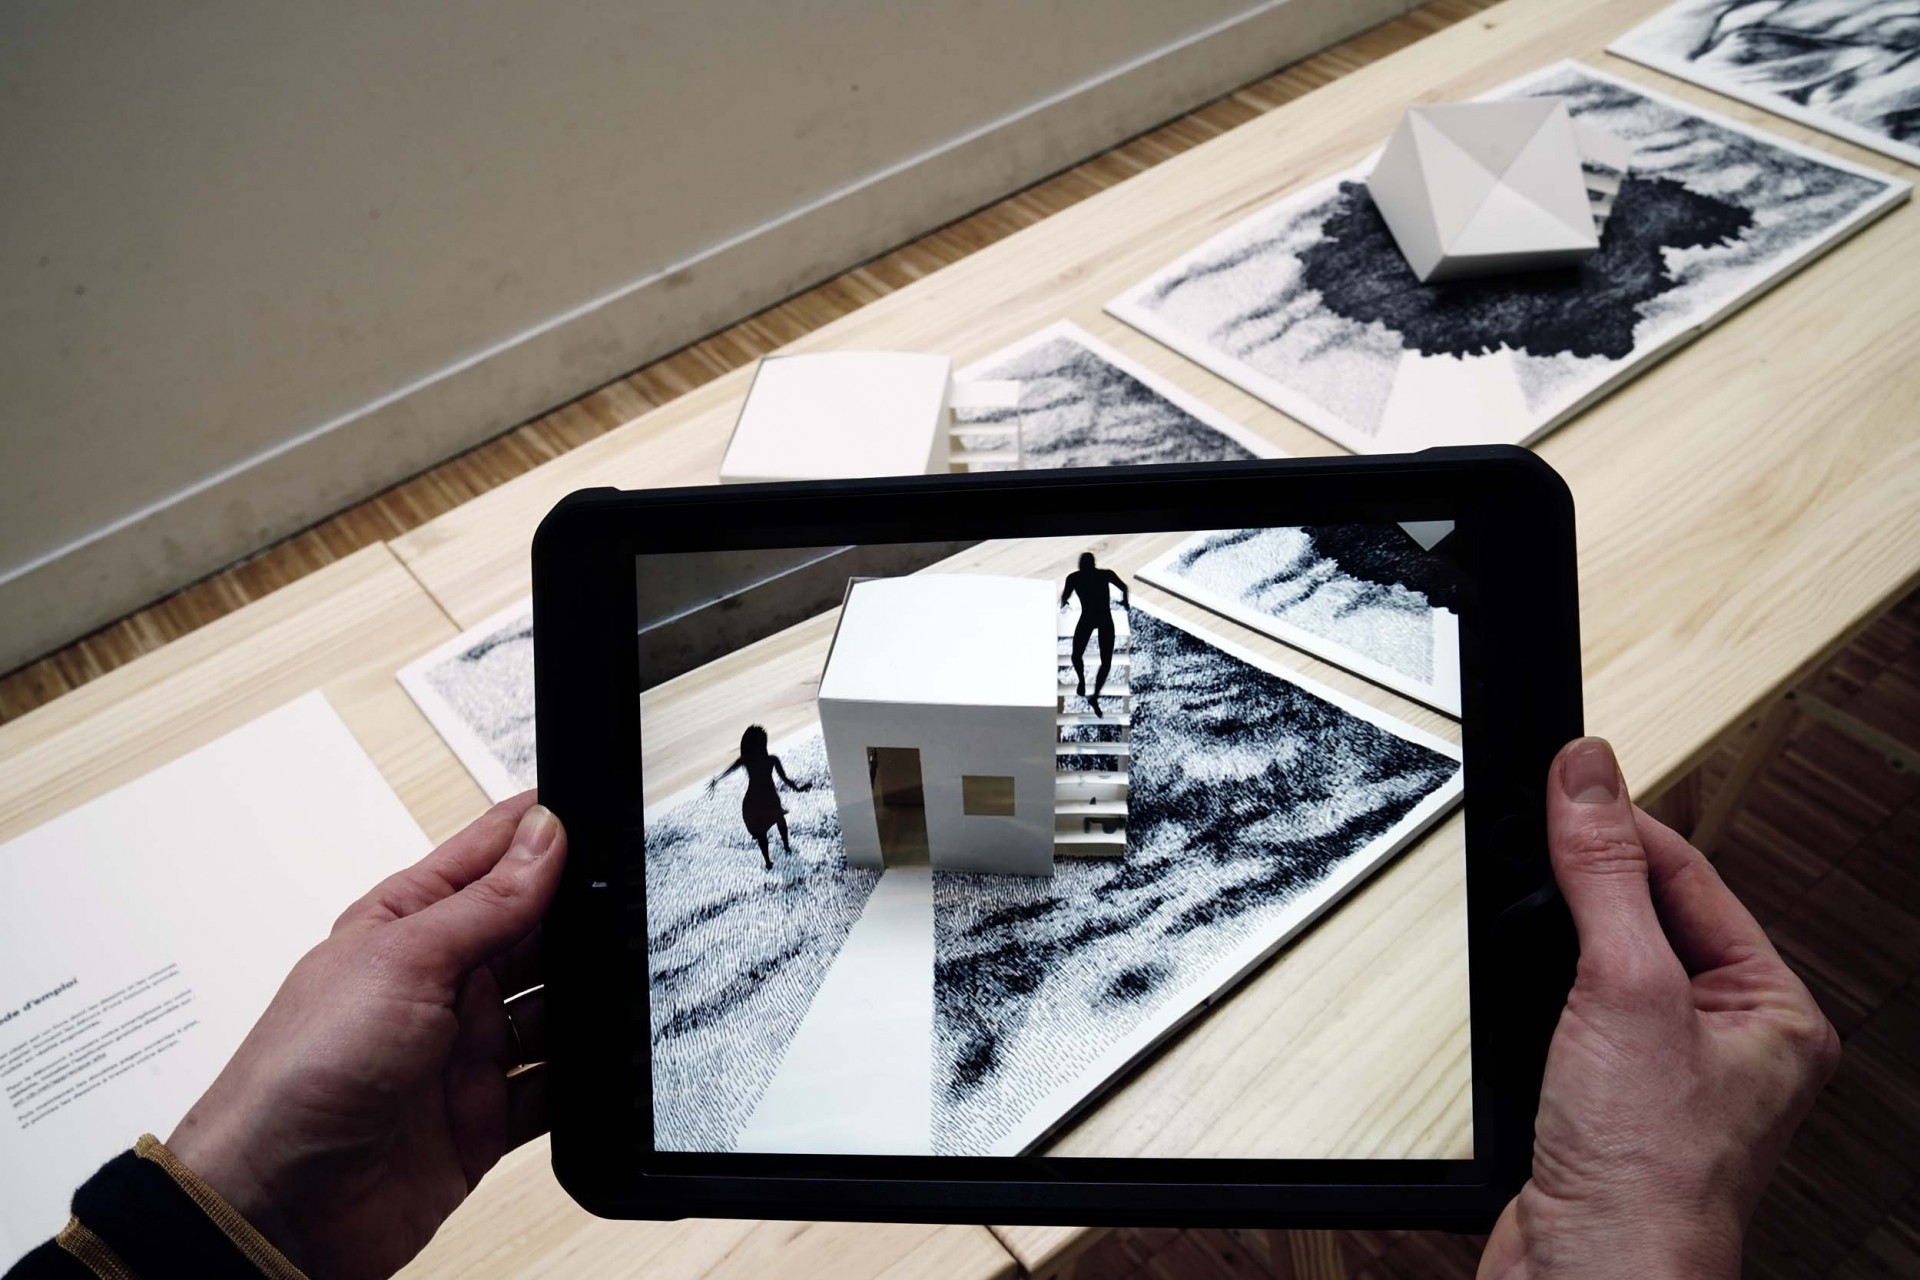
It got me really interested in what AR can do, and how it can bring still images and artwork to life. Before this I wasn't really involved with this kind of stuff, I've always associated it with games, which I now know is Virtual or Mixed Reality (an extension of AR). But after doing some research I've found that people have created a wide range a few things with AR, and gaming isn't the only thing it's been used for.
Week 3: Augmented Reality
The AR workshop we did during this week had really expanded my knowledge of AR. I always thought it was a really difficult process to go through, but after experimenting on Adobe Aero I was really excited to start working with it. The program is still a beta program, but I think it has a lot of potential. It's quite simple to use and navigate, and there's many resources and tutorials on how to create different things.

A link to my AR project
We had to create a site-specific AR project, and since we reflected on past projects, I decided to actually go back and create something for one of them. I was quite proud of what I made, I didn't expect the designing process for this to be so easy. It allowed me to bring in files that I've created on other programs and bring them all together to create my design.
After working on this AR project, I wanted to experiment a little bit and see what else I could do. I decided to just use one of the posters in my room as the test subject, I just did some simple things to it. I overlayed an edited part of the image onto it, to see how that would look. Also, I added some of the assets that Adobe Aero give you to work with, just some leaves to see if I could move them about and make it interactive.
Experimenting
This is a screen recording of me just testing out the features. The edited image just floated above the original one, but the little flowers around it looked cool. I managed to add a little interactive feature. When I tapped the maple leaf on my phone screen, it spun around. This is where I noticed some limitations to the program, the actions the assets could perform were a bit limited. I also couldn't get some of them to work properly. Maybe if I had used some different images around it the outcome would've been better. But I hope to look more into AR in my future projects, I think it definitely has a lot of potential in the design industry, I'd just need a bit more experimenting either on Aero or potentially a different software.
During this time we were also asked to reflect on how we can enhance our workflow. This had helped me identify problems I often arise when designing and find programs that would help me overcome them. Here is a link to my blog post:

Once again this made me realise, I try to avoid technology as long as I can when designing. That's probably because I was nervous about using new things and not being very good it at them. However, now I've realised that there's actually a lot of stuff out there that is made to optimise workflow, I've just never thought to explore it. I would have never thought that there are programs that can even sort out your files for you. I have been a bit close minded when it comes to this.
Week 4: 6x6 Briefs
For this brief I decided to transform the environment in some way. I have managed to link together my design tasks in this module. Since I have already done some work in AR, I wanted to further improve my projects. Whilst creating the concept for this, I realised Adobe Aero would not get me the results I wanted. The image anchor tool is limited to one image only, therefore it wouldn't work. However in this blog I wrote about what I would've created.

Week 5: Brutalist websites and CSS theming
Here is my blog about brutalist websites dot com:
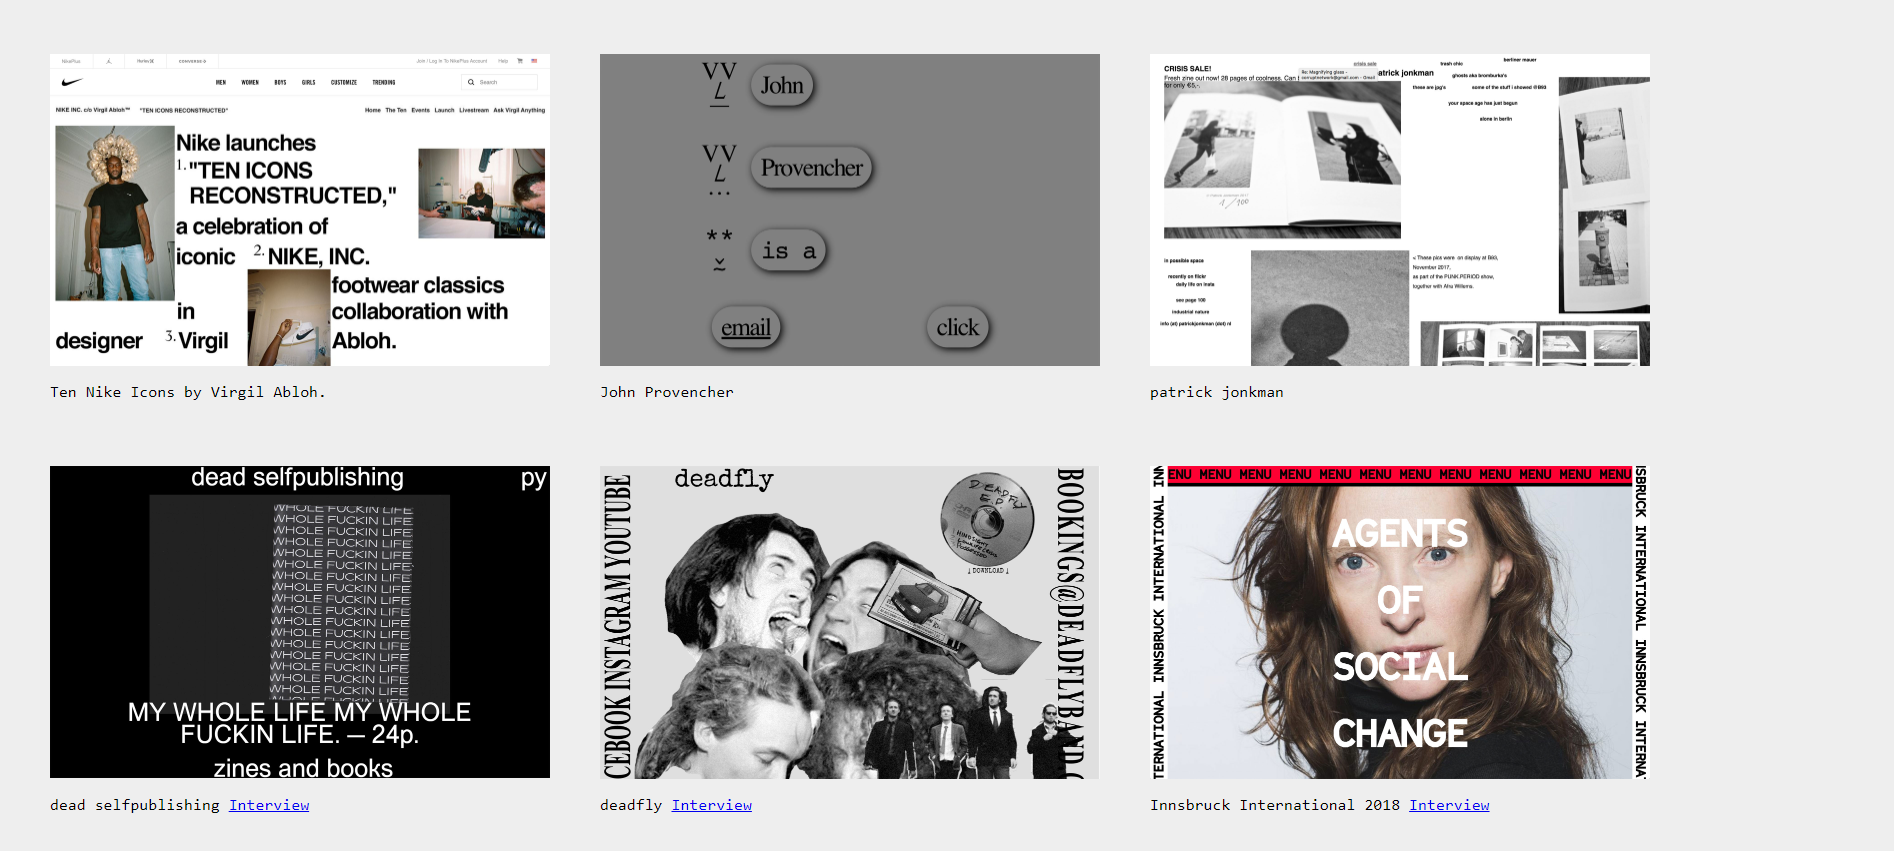
I quite liked this website and the idea of it, however a lot of the websites I tried to enter weren't working or were viruses. Which I should've been more careful with, since it is the internet.
The CSS theming task was something that I got frustrated with and struggled quite a bit. I've always thought coding was really difficult, and it is. I watched the tutorials on CAGD, and even on YouTube and I just couldn't seem to wrap my head around it all. Eventually, after trying for some time I gave up, which probably isn't the best solution but I was getting too frustrated. Coding would definitely be a useful skill to have, and I will revisit it in the near future, however for now I am leaving it. I struggled just changing the colours of the webpage, so for now coding just isn't for me. Before I had an appreciation for anyone who does any sort of programming and coding, but now after attempting it myself that appreciation is even greater.
Cinema 4D and Animation
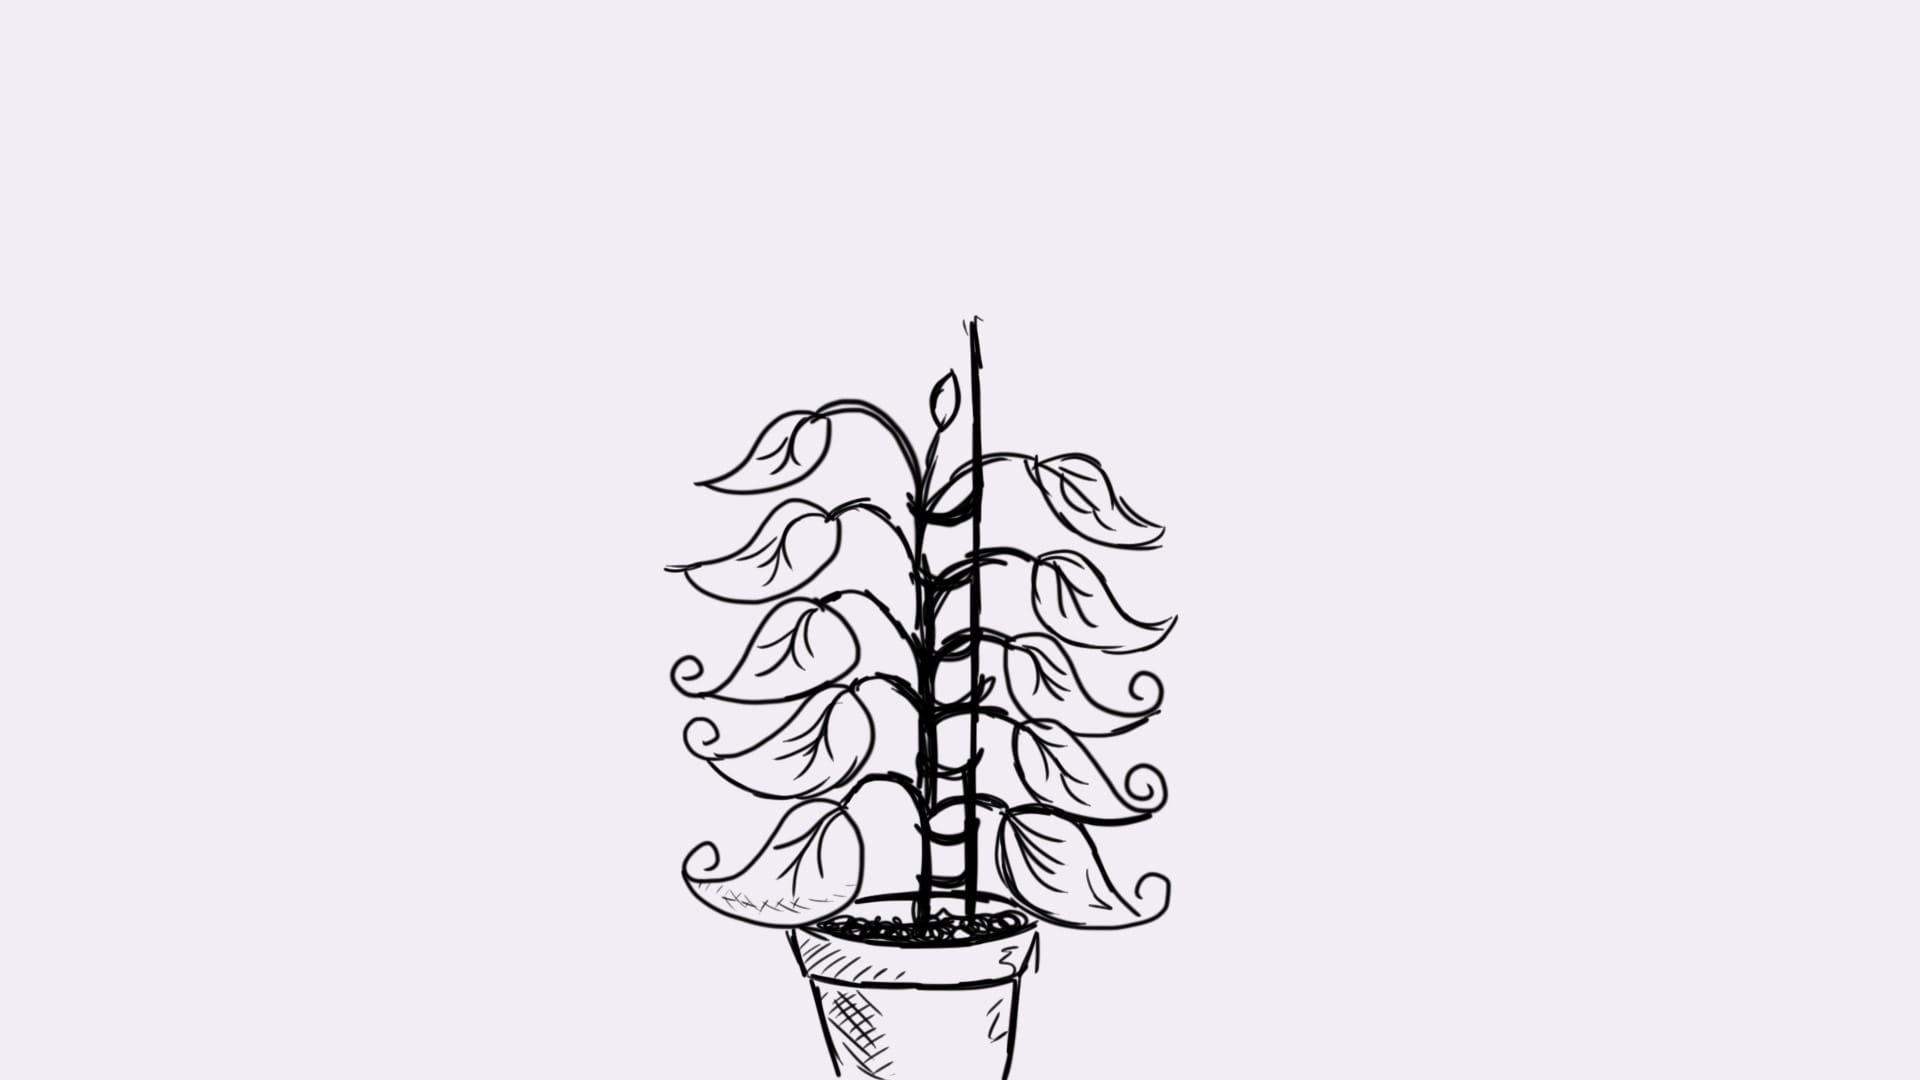
These were definitely my favourite sessions in this module, especially the animation ones. I've been interested in animation for a while now, especially after doing some small projects in Adobe After Effects. I didn't think 3D animation is something we would look into, but I'm really glad we have this opportunity. I did find the first few sessions confusing, but I was also really intrigued and would like to come back to this. Animating in Photoshop has been my favourite thing, this is something that I can see myself using in future projects. It combined a hand drawn element with technology, which I really liked, the work feels a bit more personal this way. These are my final outcomes from the sessions, which I felt very accomplished with:

Conclusion
I've enjoyed how open the brief has been, and I haven't been limited to one thing. The blogs have been a fun way to express myself and show off my work, without worrying about how 'professional' it seems.
This module has definitely opened me up to all sorts of technologies, it has made me see what I have been missing out on. I will consider new ways of designing and working now. Trying all sorts of outcomes has helped me narrow down what I enjoy doing, and would like to focus more on. As well as that, it's helped learn what I don't enjoy doing as much. It's made me more keen to learn and keep up to date with technology.
It was nice to explore what options I have when it comes to creating, and know that I'm not limited to just the standard Adobe programs such as Photoshop. There's so much more to the design industry now, and whilst some programs still have their limitations, a lot of them are fairly new and still have time to expand.
