Process Document

By DBOOTH© Declan Booth-Hudson
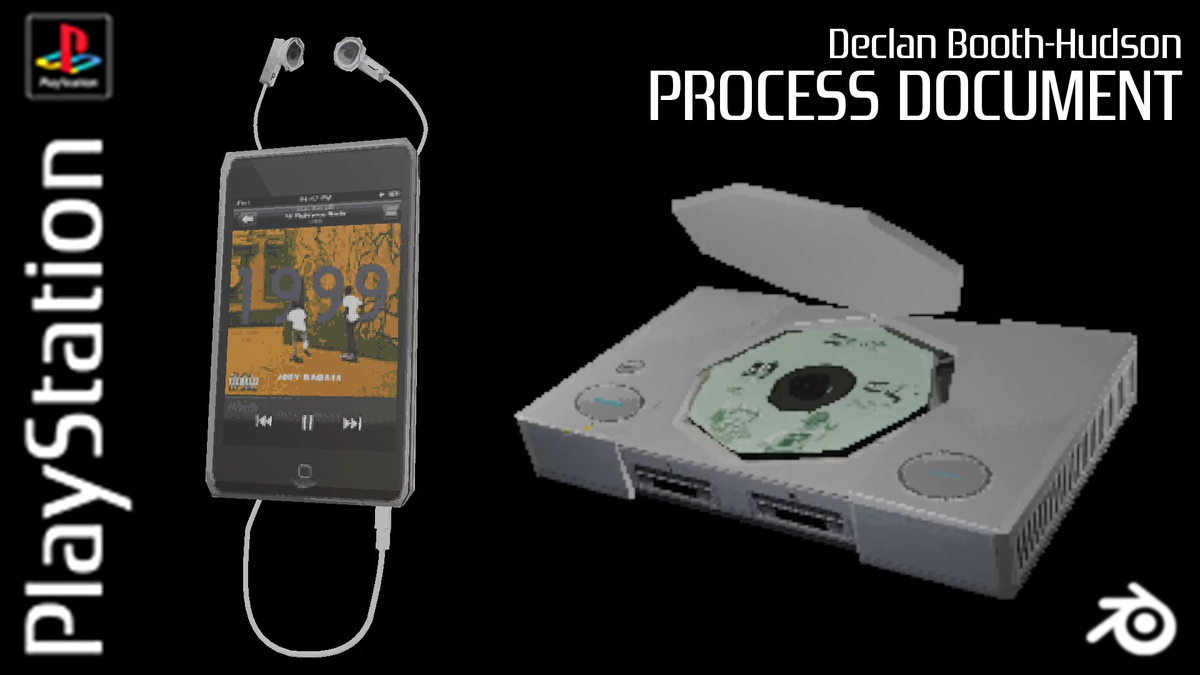
The 5.2 module has got me fully involved with 3D design mostly feeding off my nostalgia for PS1 games. I spent this module also refining my workflow and finding ways to implement technology into my graphic design.
Technological Landscape
The technological landscape in graphic design is always ever-changing the first huge shift in graphic design was the introduction of photoshop, when introduced a lot of traditional graphic designs pushed back on its introduction and called photoshop the "Microwave of the graphic design world". I'm seeing a very similar shift with the introduction of Ai tools. I wonder if traditional graphic designers were at fear that photoshop was going to steal their job, the same way a lot of modern graphic designers fear that Ai is going to replace our Jobs...
Rise of 3D Graphics and ease of use is reshaping graphic design. Today it is easier than ever to get into 3D softwares ,Blender for example in 2007-2010 was called "a waste of time" but as Blender has been free and open software since 2002 It has only gotten better and better and now in 2025 it is a top 3D design software for beginners and professionals and has even been used in major films like "Into the Spider-verse". With Adobe Illustrator integrating 3D it's even easier for Designers to create visually striking graphics that add depth and dimension making designs even more engaging and with this we can elevate aesthetic.
The introduction of (Ai) Artificial intelligence tools in graphic design. AI in graphic design is not a new thing for example, Photoshop has a "Select Subject" tool that was introduced in 2018 and what this tool does is uses AI to cut out an image from the background. In this case the select subject tool saves a lot of time for designers as manually cutting out an object can be very time consuming and you get the same result either way, so In my opinion this tool does not "do the work for you" so I have no problem using this to design in photoshop.
On the flip side we are seeing a new wave of very advanced AI image generator tools and just with a text prompt you can have a poster fully designed for you. This can be a very powerful tool for designers which can speed up design time and help out when in a creative block and there is this collected idea of "AI is not going anywhere so you might as well get with the wave or drown". Personally my opinion on AI image generators are that , Pushing aside the obvious problems of the immense power consumption they use and the fact the AI are fed peoples artworks without consent, I just find AI image generation fucking boring, I love the creative process I like making something from scratch taking an idea I've made and make it come to fruition and I can look back on it and say "I made that". With AI I don't get that same feeling. Im fine with using AI tools that help me create my idea like for example the "Select Subject" tool. I know my design process may be a bit slower and not refined as I'm not using AI generator tools but quite frankly I couldn't give less of a shit. I'm open to change this mindset sometime in the future but for now I'm going to steer clear from a lot of these Ai Generator tools.
Experimentation and Process
I never really thought to use external softwares and methods to speed up and improve my workflow and process but I'm glad I did as I've found some powerful and useful softwares and processes that not only speed up my Ps1 3D renders but make them look even better. All 3 of these blogs about workflow help me in making my Ps1 renders in someway.


^Recommended Read
For the First Blog I made a photoshop automate action that takes the document I'm working in and compresses the image size to 256px X 256px and it also compresses the colours in the image to only 16 colours. This small automate action has saved me a lot of time designing my PS1 style renders.
For the Second Blog I downloaded a Google Chrome extension called "save as image" because when I'm making a PS1 style render I work with a lot of images that I convert into image textures it's really annoying when I find the perfect image on Google and it is saved as a WebP file. With this extension when you right click to save an image there's a extra added menu allowing you to choose a file type to save the image as this small change saves me a lot of time as I don't need to go to a file converter website to change the file type of an image.
For the Third Blog I downloaded a software called "Shoe Box" I recommend reading the blog as I went fully into depth about what this program does. But this program is a must use for me as it has a texture ripper ,this new tool uses homography to correctly reverse the perspective transformations .This tool Helps me compile my image textures into one file for my PS1 Renders.
Engaging With Emerging Technologies
I engaged with (AR) Augmented Reality a bit with this module I took my Ps1 style models from blender and made them come to life through AR ,although this has not much practical use for what I'm doing in blender right now I could see me using AR in the future when working with a client and need to display something in real space.

I did not engage with much if not no (AI) Artificial Intelligence for reasons I mentioned above but to paraphrase it here AI has a huge grey area on ethics as it is new technology.It also show no signs of slowing down. I'm not some freedom fighter that doesn't use AI because it's bad for the planet, I avoid AI because it is boring to me. I became a graphic designer as I'm a very creative right-brain thinking person and I enjoy making stuff from scratch. Typing prompts into chat-GPT is just boring at the end of the day and I'd rather eat a bar of soap, at least I'd find some entertainment in that. So for now Im going to avoid Ai.
Blender
Firstly I wouldn't call Blender a "Emerging technology" as it has been around since 2002 but I added it to this subheading as Blender now is emerging as the industry standard. Blender is a very popular choice for 3D artists as it is free to download, open software and gets frequent updates, because of this it has a huge tutorial scene on Youtube making it even easier for beginners to learn. During this module I fully involved myself into blender learning modelling , texturing and animation. As a beginner I chose to make PS1 style renders as not only did I grow up with the Ps1 its easier for beginners to make PS1 models as they are "low-poly" and use less shapes and can look quite rough around the edges.
This First Blog below shows in detail a Ps1 model I made and each technique I used to achieve the Ps1 style and why the Ps1 models look how they did and why. I recommend giving it a read as it show the level of understanding I have when making these models.

^Recommended Read
This Second Blog below is a time-lapse of me making an old computer it is a interesting watch seeing the model being made from scratch.

This Third Blog below details making a Ps1 model from scratch.This model is very unique as I scanned in images of my real life Casio watch to make the image textures and because of this the model has the same scratches and imperfections as my real life watch.

^Recommended Read
This Fourth Blog below is another time-lapse of model making.

This Fifth Blog below is a time-lapse of me making this PS1 style pot noodle from scratch.

This Sixth Blog below is my favourite blog and model I've made yet. When making this I had enough practice and felt that I understood blender well enough that the process of making the shoes went very well with no hiccups. All the practice was paying off.

^Recommended Read
Compilation of DBOOTH PS1 Renders
^BY DBOOTH
Intentions And Future Directions
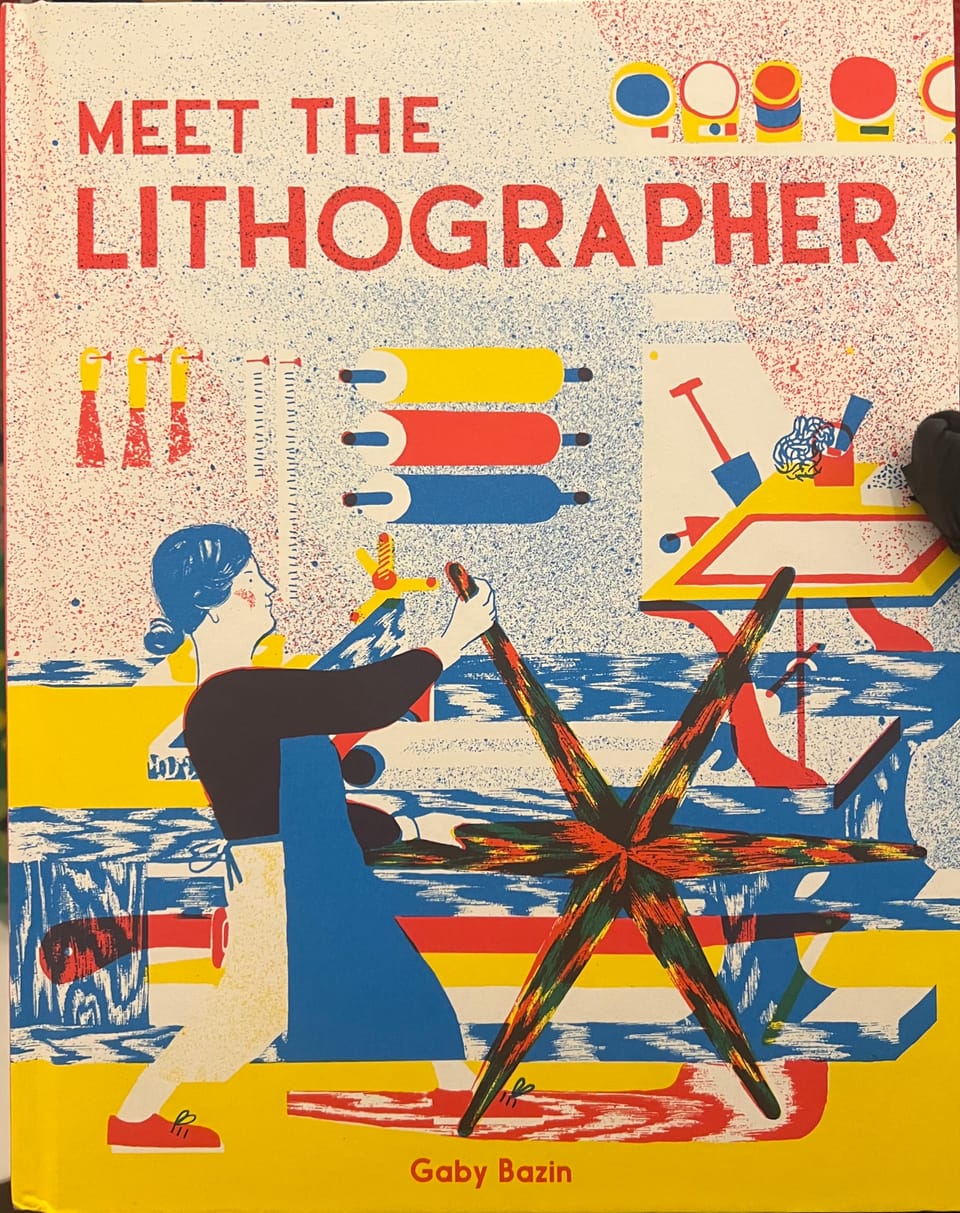
My relation with technology will always be ever-changing as technology is developing at such a fast rate it's almost a struggle trying to keep up with it at this point. I never had the chance to explore (VR) Virtual reality as the barrier of entry for this technology is quite expensive because you need a VR headset. In the future I hope to borrow a VR headset and take the time to do some 3D modelling. In Virtual reality I imagine this will be a very unique and fun experience as you can pivot around the model in real space. For now at least I definitely want to pursue Blender and maybe branch out from PS1 renders but for my next projects I definitely want to include blender in some form. My only fears with the future of technology in graphic design is the loss of old techniques and analog techniques. For example letter press kind of died out as an art form due to the release of Photoshop , Illustrator and etc, sure there are still people that do letter press but it is not as popular as it once was and I believe this is due to technology evolving for better or worse, I mean photoshop is cheaper and easier to obtain than a letter press.
Reflection And Summary
I really enjoyed this module mostly due to how open the brief was, I wasn't confined to a tiny box of design I could branch out and design whatever I wanted and I believe that's when I make my best work when I'm allowed to "spread my wings". When I follow my own interests the work speaks for itself , I mean I had a basic understanding of Blender before this project but now I have very good grasp on how to use Blender this is because I was very interested and motived to learn 3D on my own pace. Being confined to a specific brief isn't how I like to work and because of this it affects the quality and quantity of the work I make. For future projects I hope to become less stubborn and learn to integrate AI in my design process.
