Week 5 - Animating
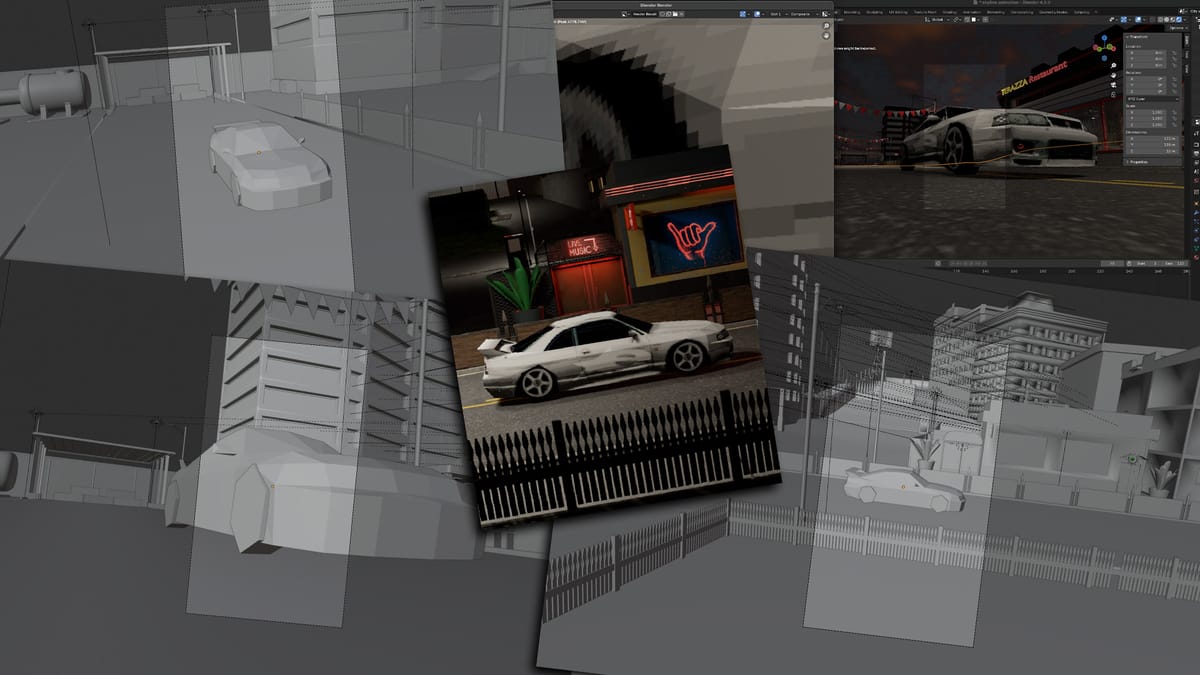
Now that I had edited my skyline model, it was time to start animating. Originally, I wanted the car to drift around the corner of the street but as I loaded the models in, I realised that the road that it would drift around was not a flat entity. This meant that when I went to stick the car to the road to make it easier for animating, it was clipping through the floor horizontally.
I watched many Youtube videos on how to fix it, none of them working, so I decided to animate the car on a flat part of the road. By using keyframes, I set the path of the cars animation by changing it's position.
Once I had the path, and tweaked the export settings so that the film was at 12fps, 10 seconds long and set the resolution at 1080x1920, the perfect size for an instagram reel. After this I animated the rotations of the wheels along with the path so that the car looked like it was driving.
Next up was the camera angles. I used the shortcut option + command + numpad0 to set the camera in different positions, rendering a new scene each time, to add variety to my short film. Below you can see the different angles I chose to render!
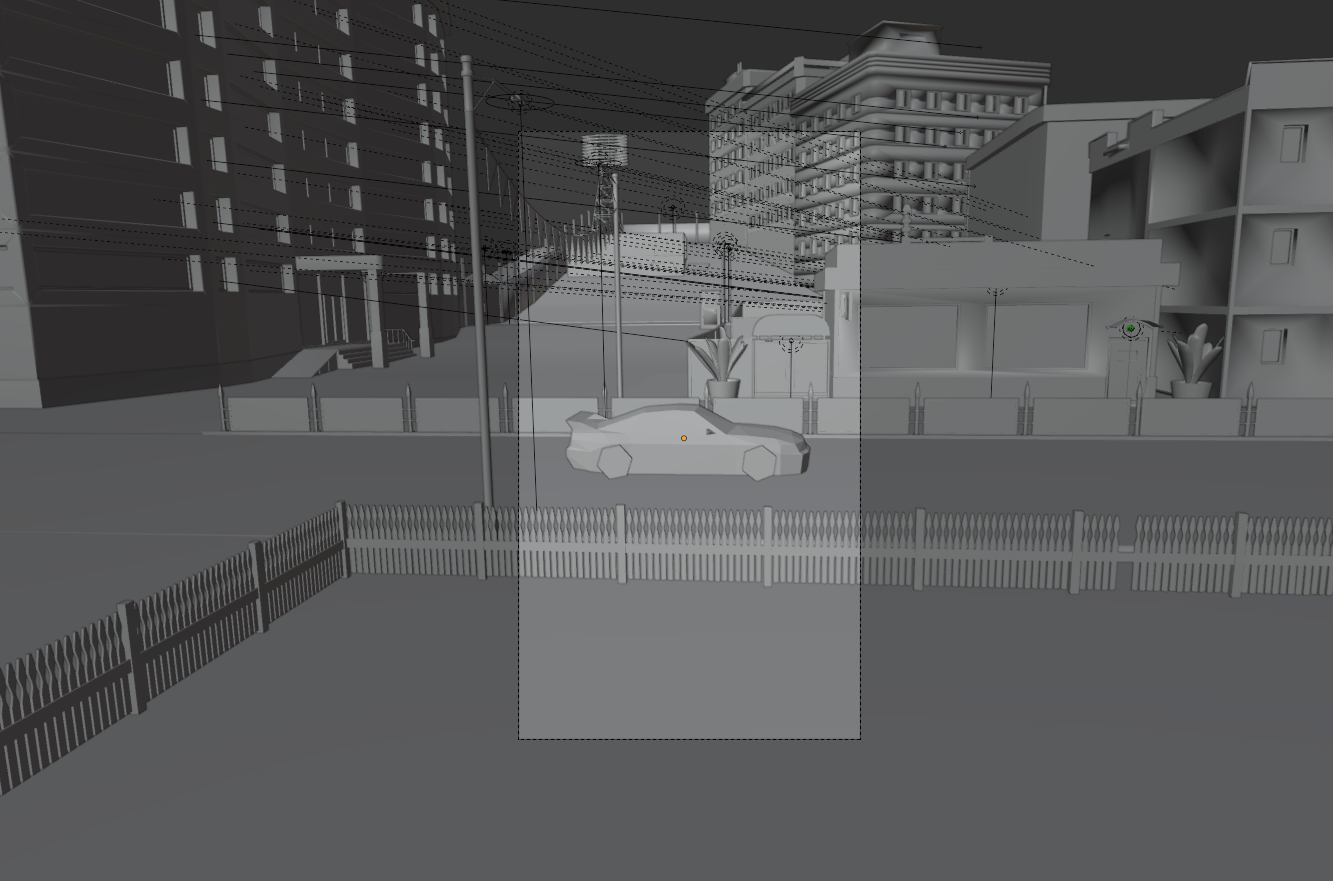
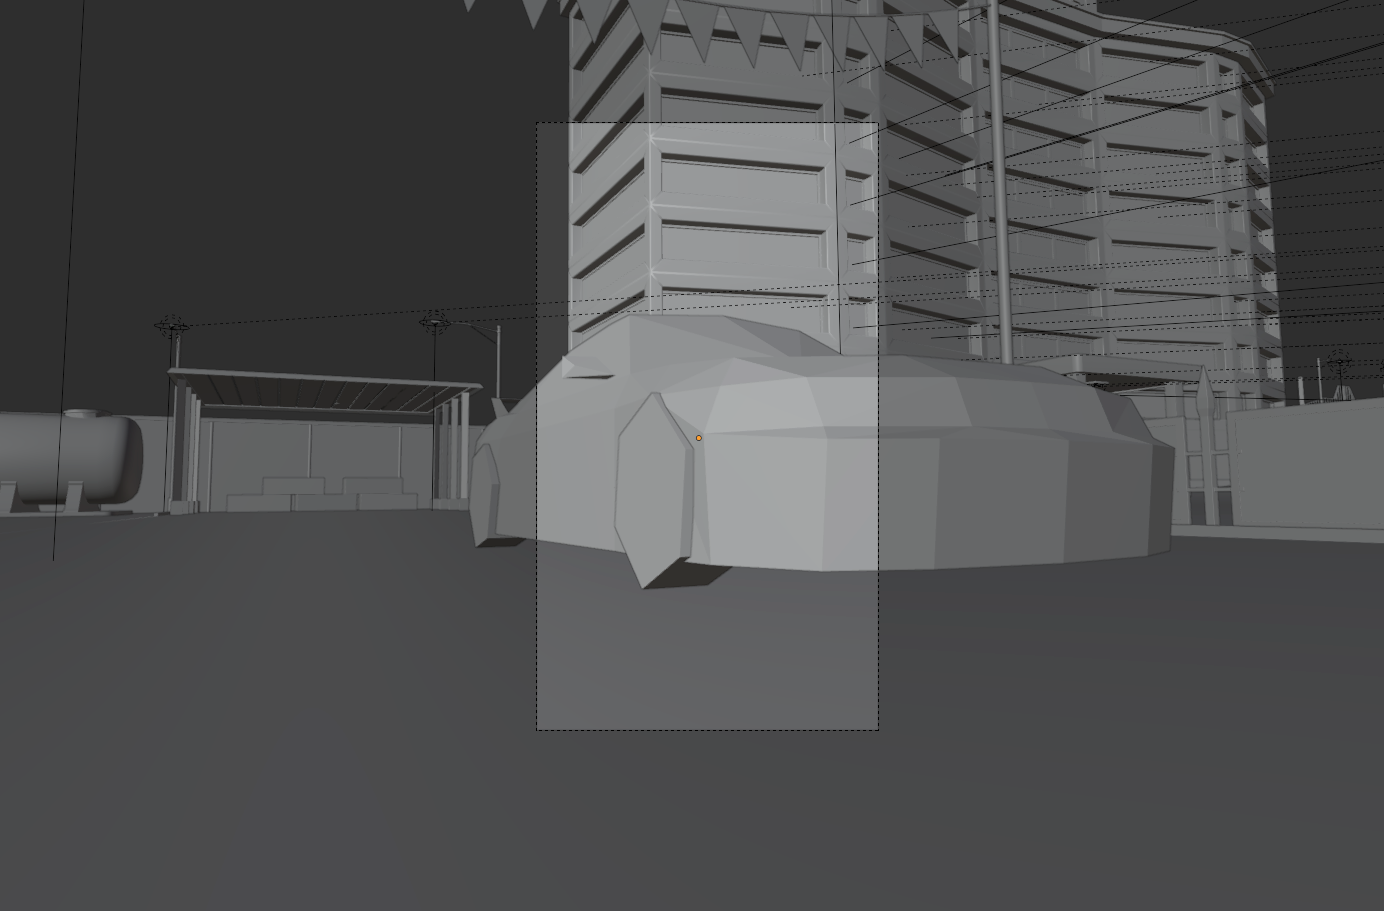
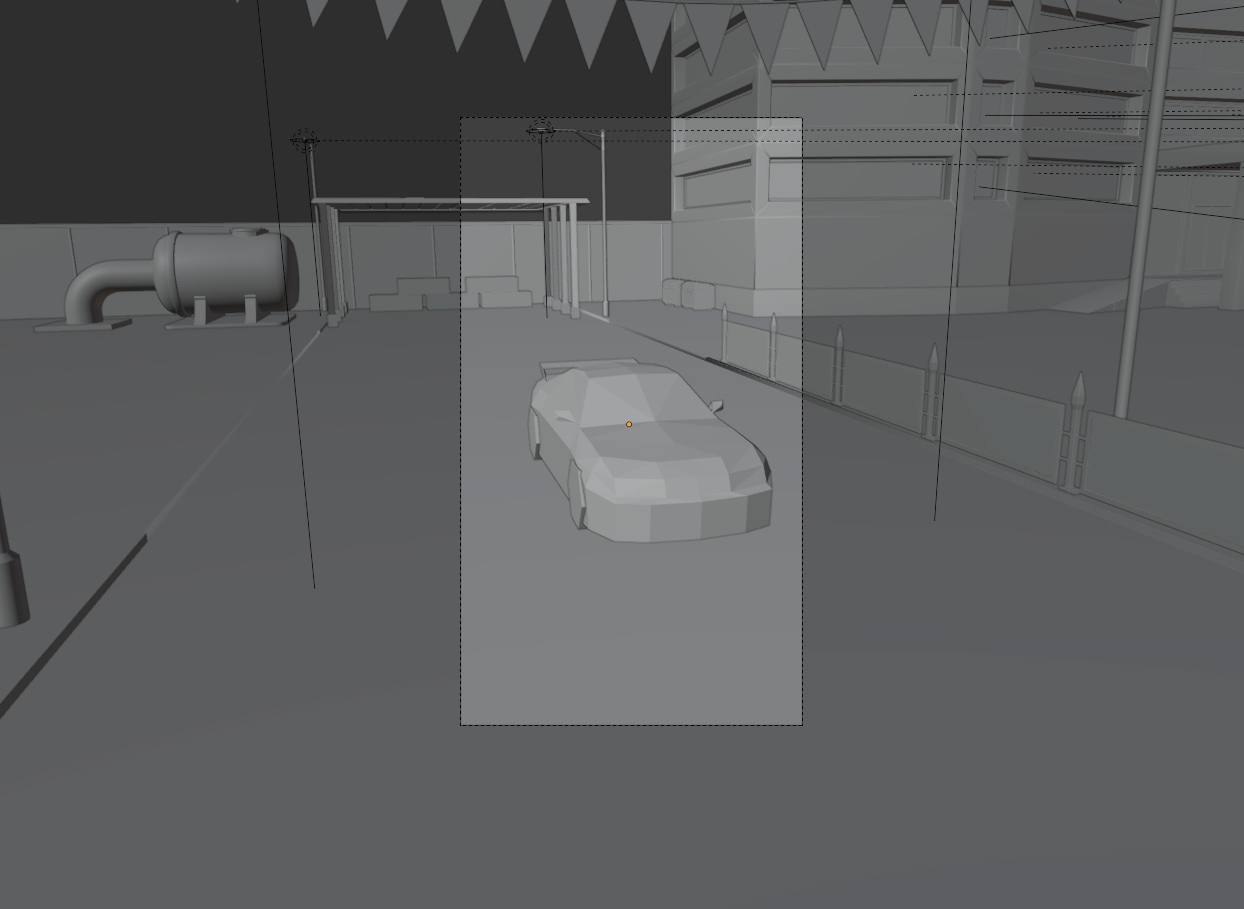
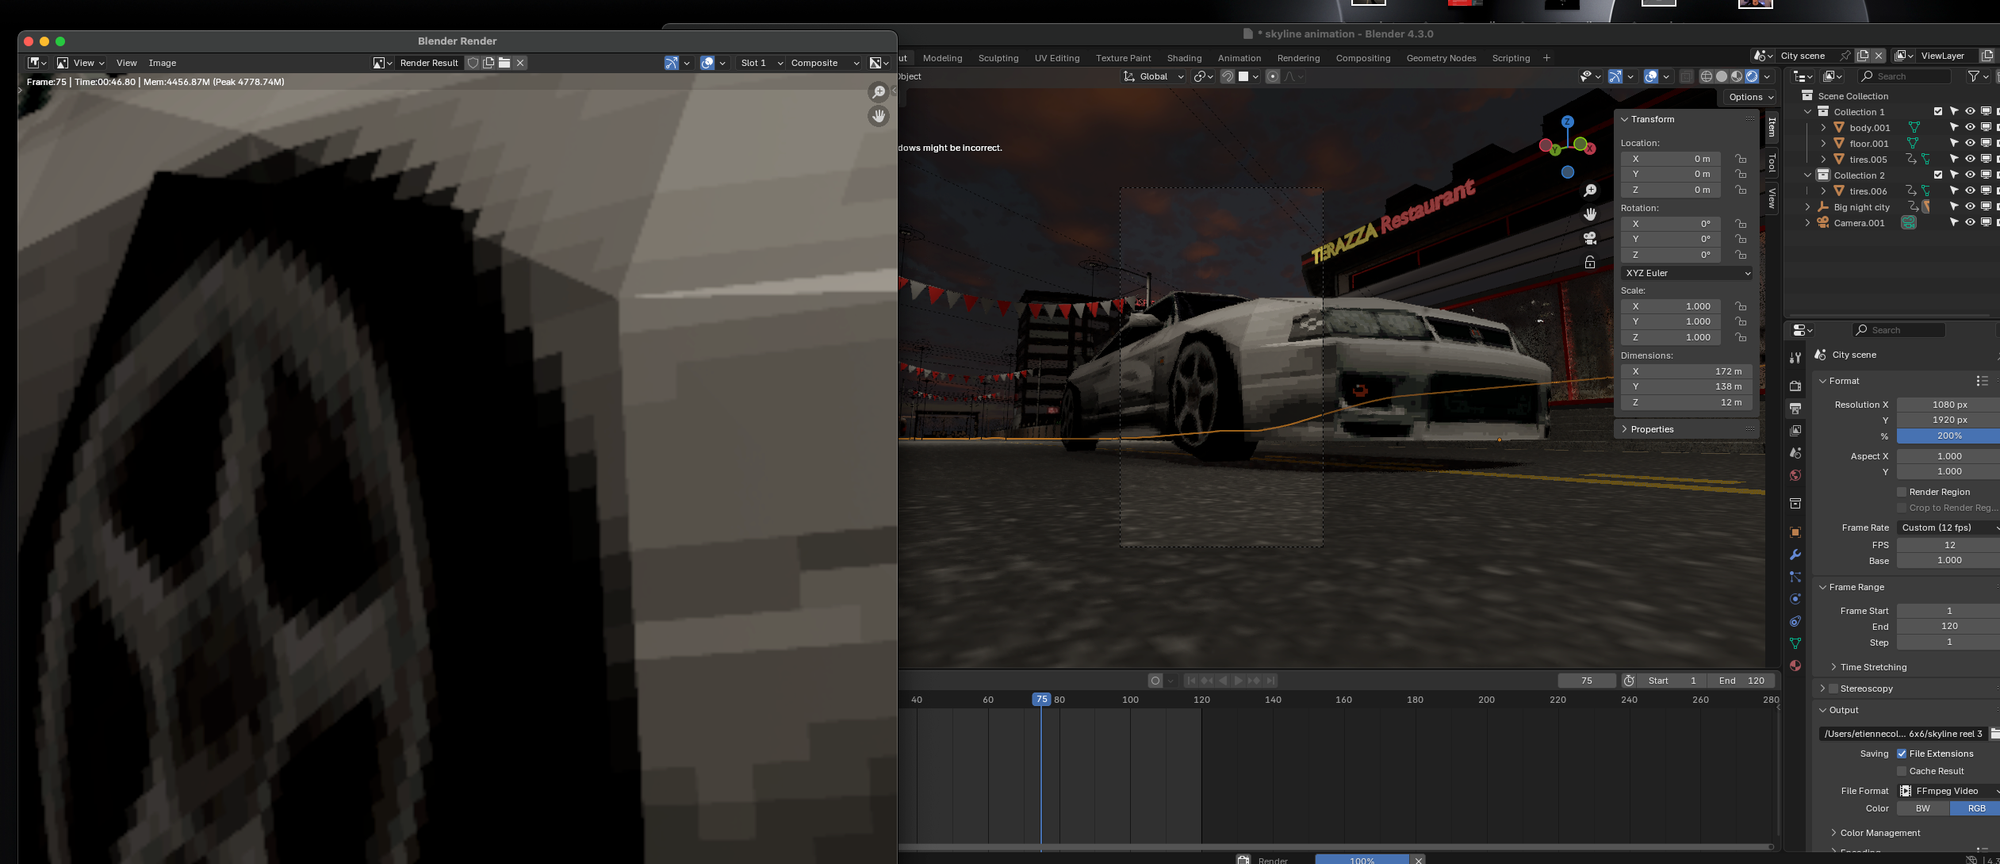
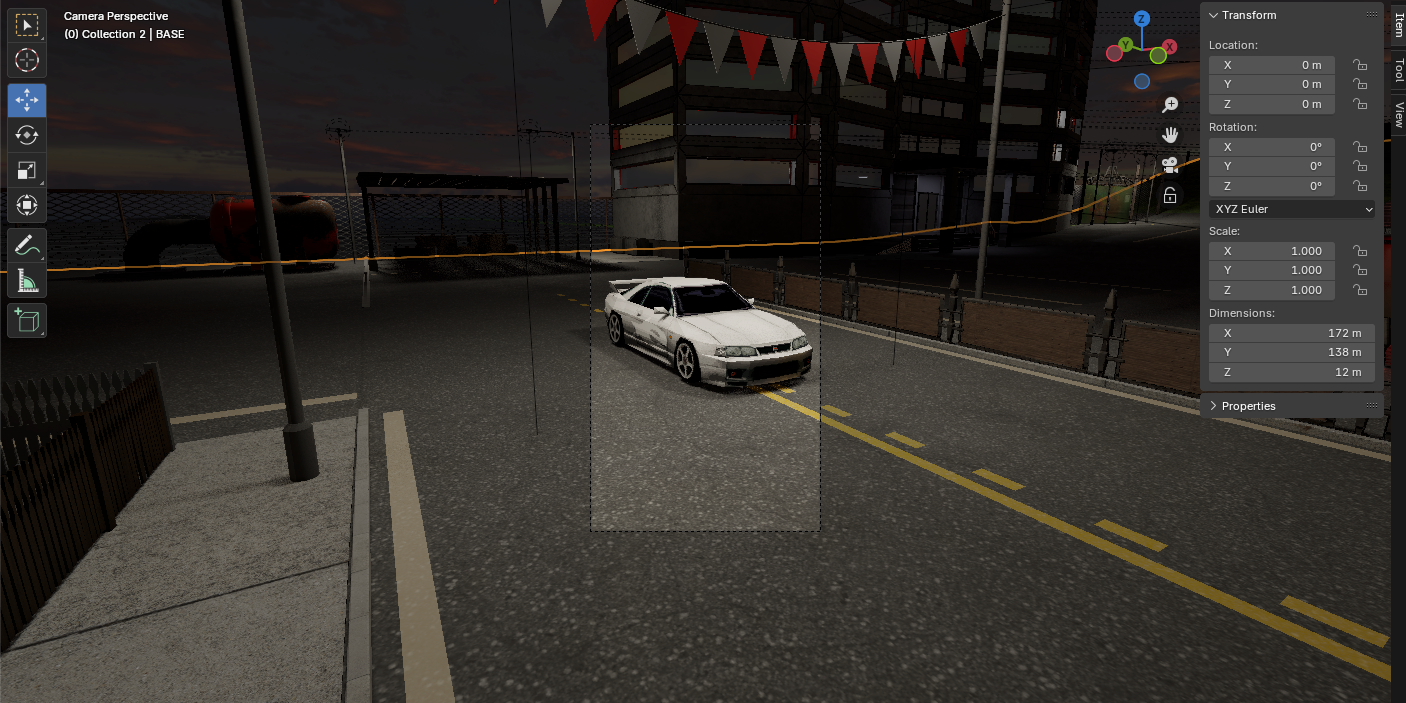
Here are the renders!
