Week 4 - Cinema 4D - Texturing & Modelling Pt.2
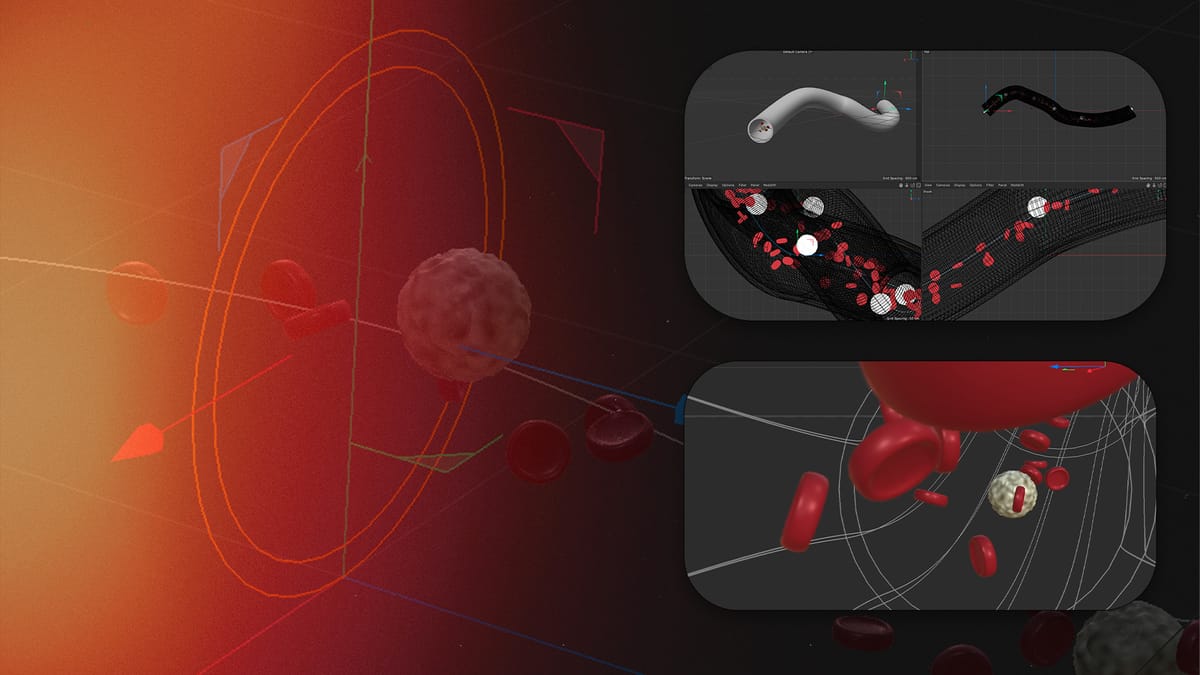
As part of this weeks session, we coloured the white blood cells, created a capillary for the blood cells to flow in, and added a camera. This is how we did it.
Texturing
First we textured the white blood cells again and added Maxon noise as well as a colouring it to give it more depth.


Modelling
We then started on modelling the capillary. We started by working in the top down view, using the splice pen tool. Using the anchor points, we drew a line that we would build the capillary around.
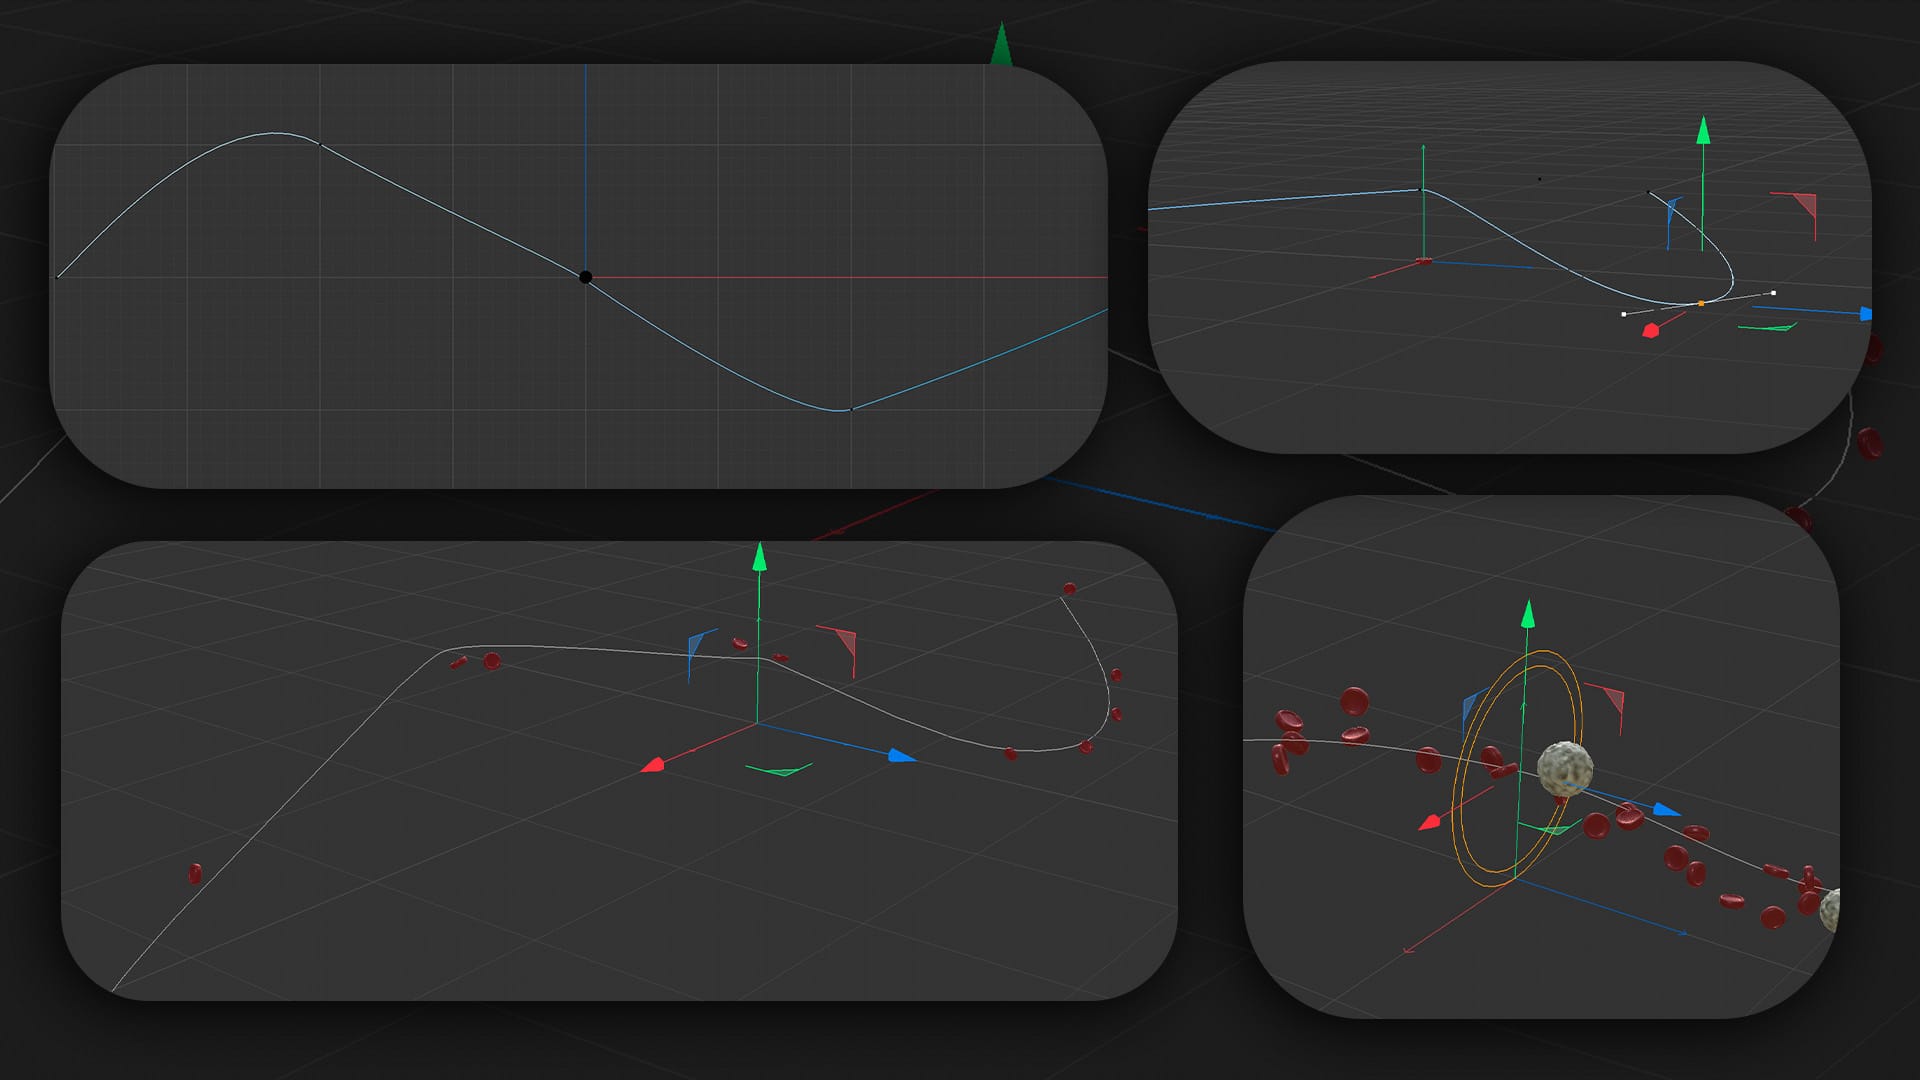
After we drew the line (see pic 1) we then raised and lowered different sections to create the effect of a blood capillary. (see pic 2) Then, we added the red blood cells making them stick the splice path.
We also added the white blood cells the we created a circle shape around the splice path which allowed us to create the capillary. Next we put a tag onto the circle to stop the cells from passing through the capillary.
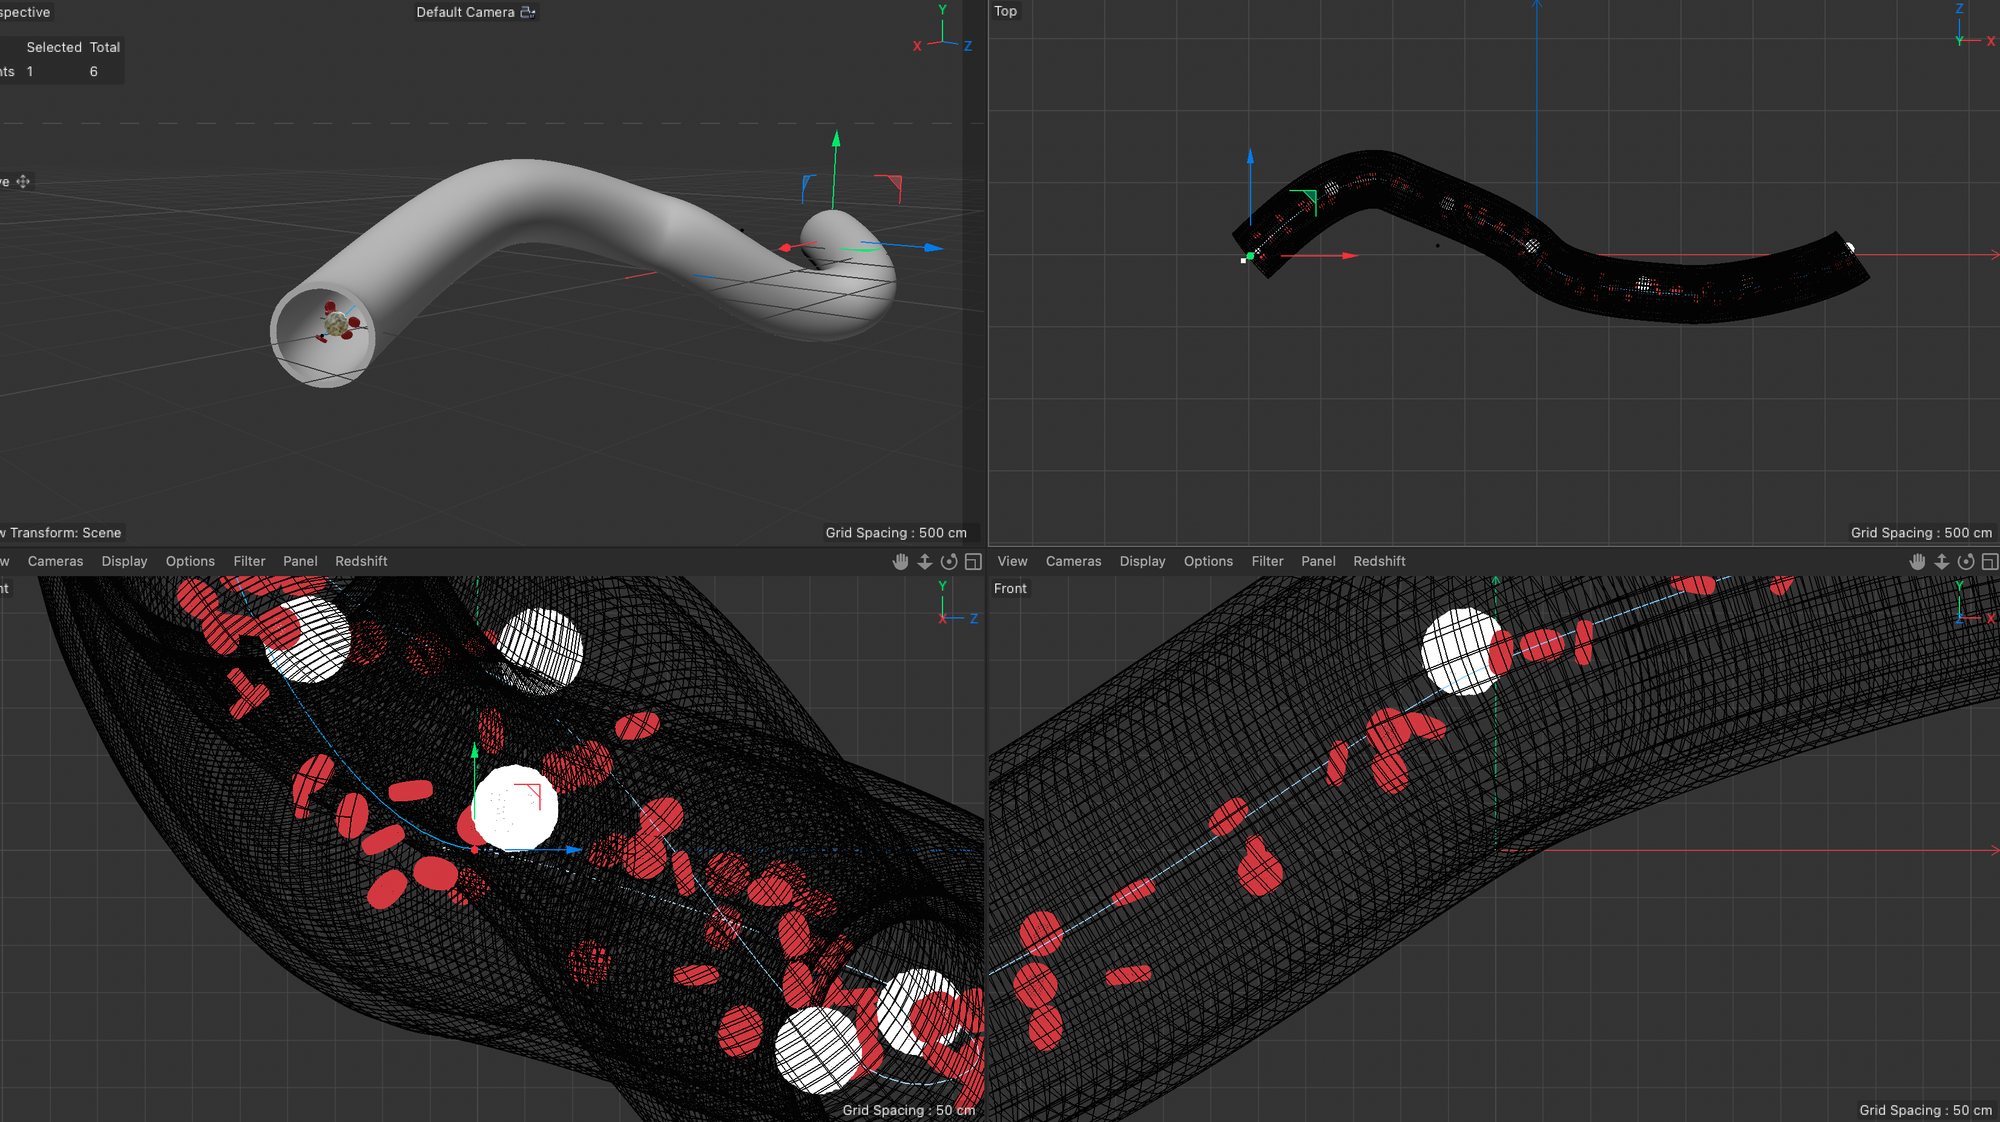
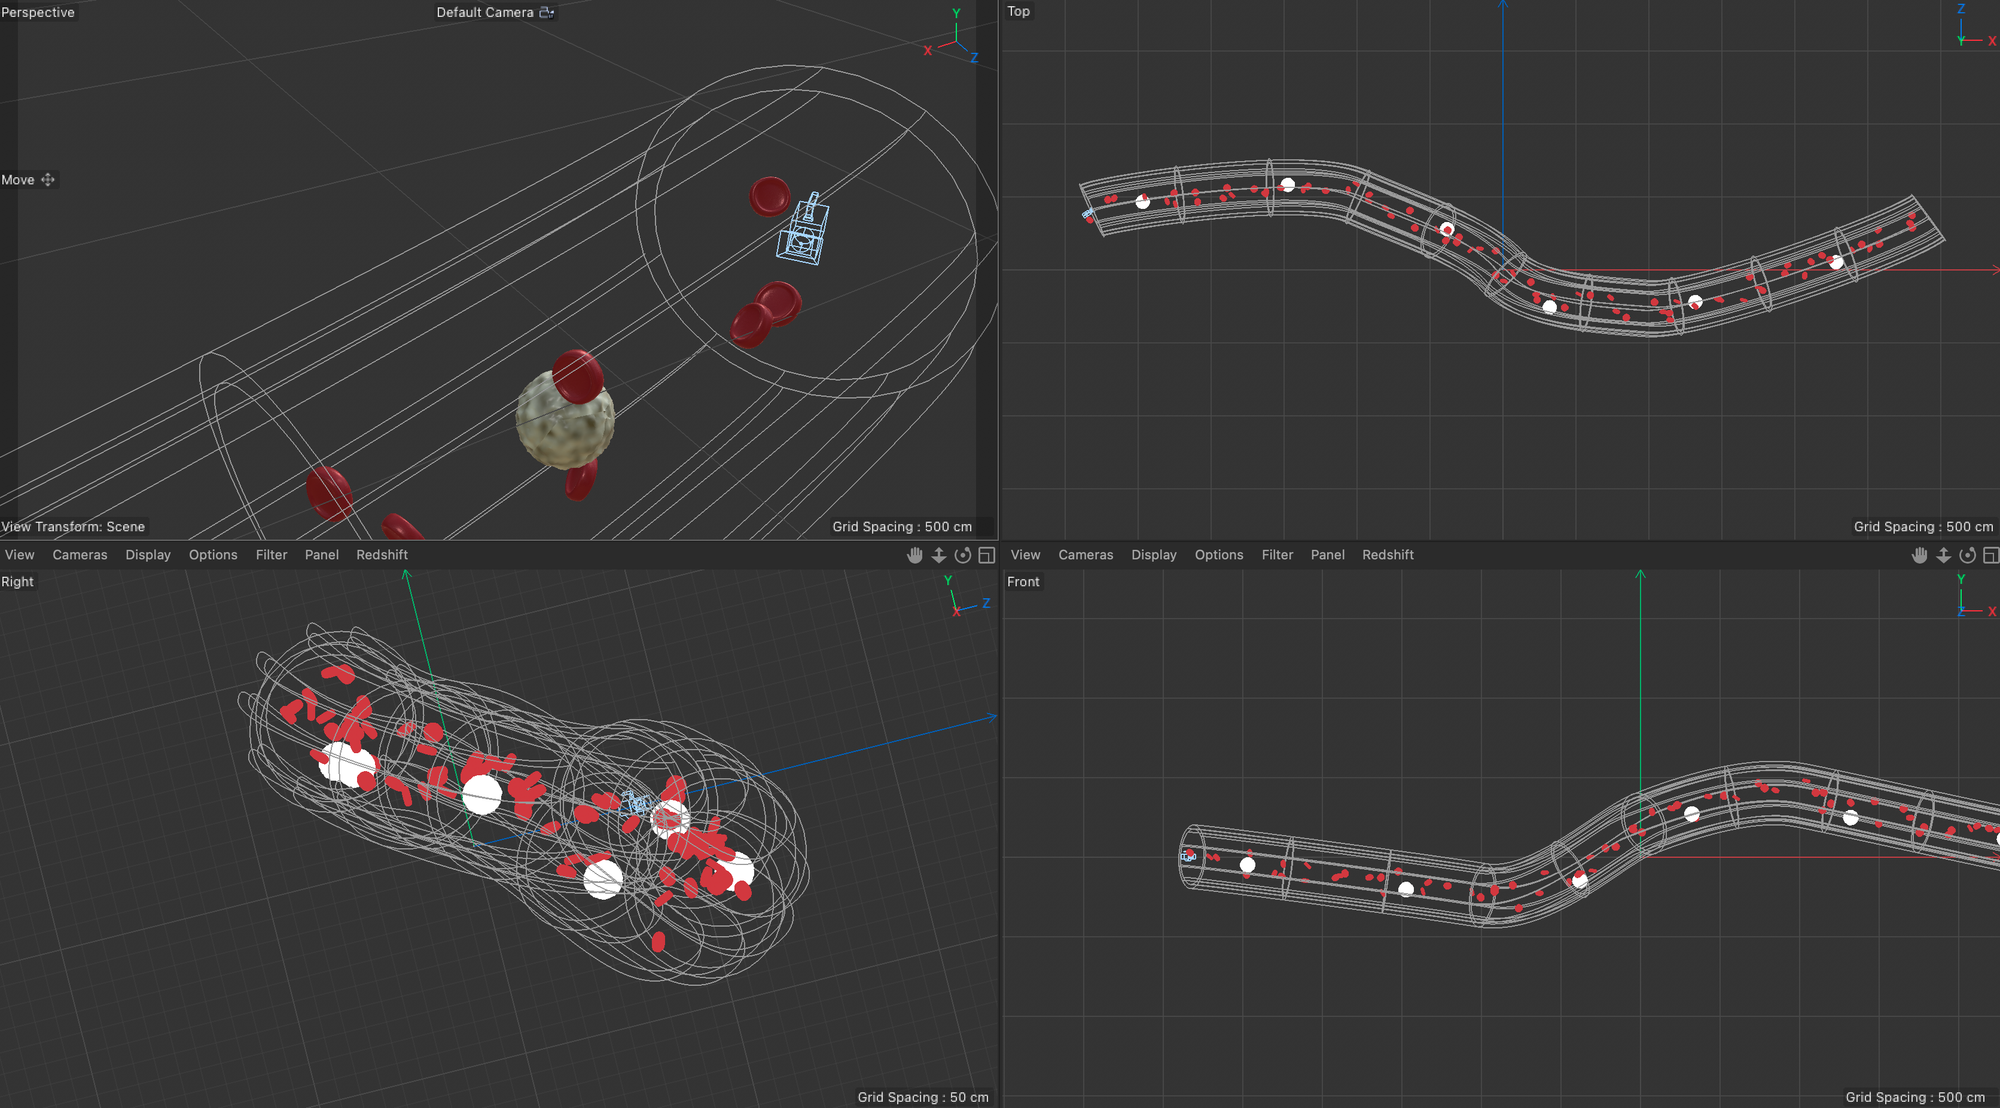
After that, we made the capillary transparent so we could see through it, and started to add the camera into the scene. We added the RS camera into the scene and the stuck it to the splice path so that it was looking into the capillary.
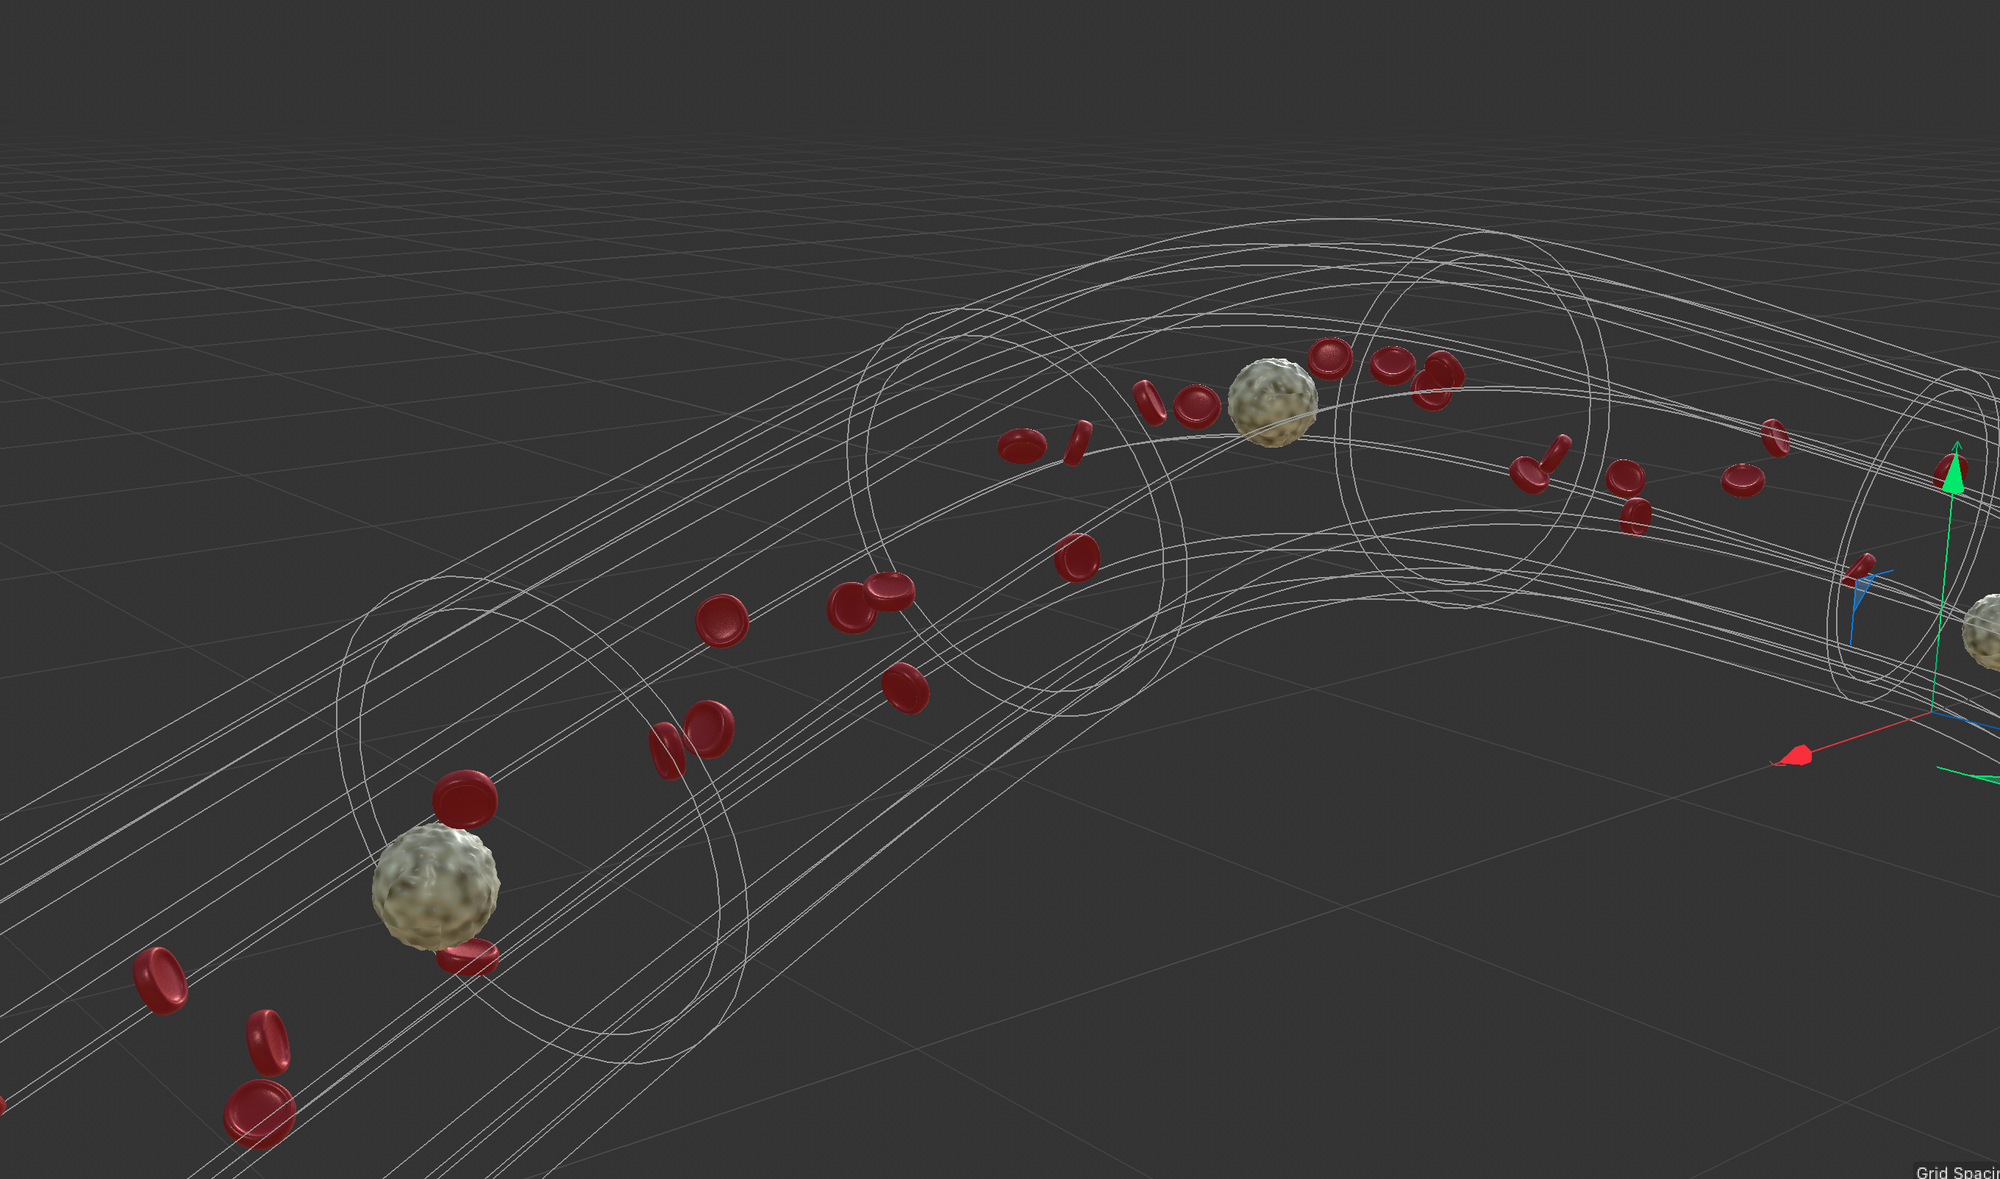
Finally, we used keyframes to animate the camera across the spline path, making it travel through the the capillary along with the blood cells. Next week we are going to bring this into AE to finish it off.
