Week 4 - Blender Beginnings

As part of the two week brief I have decided to pick up blender for the first time and do some 3D modelling & animation. At this stage I'm not sure what I want my outcome to be however I know I want it to involve 3D, as it has always interested me but I've never gotten around to learning it.
A brief idea is that I want to create a short story with blender and maybe put it into ar so that it's more interactive, but one step at a time... first I need to learn how to use Blender!
Modelling
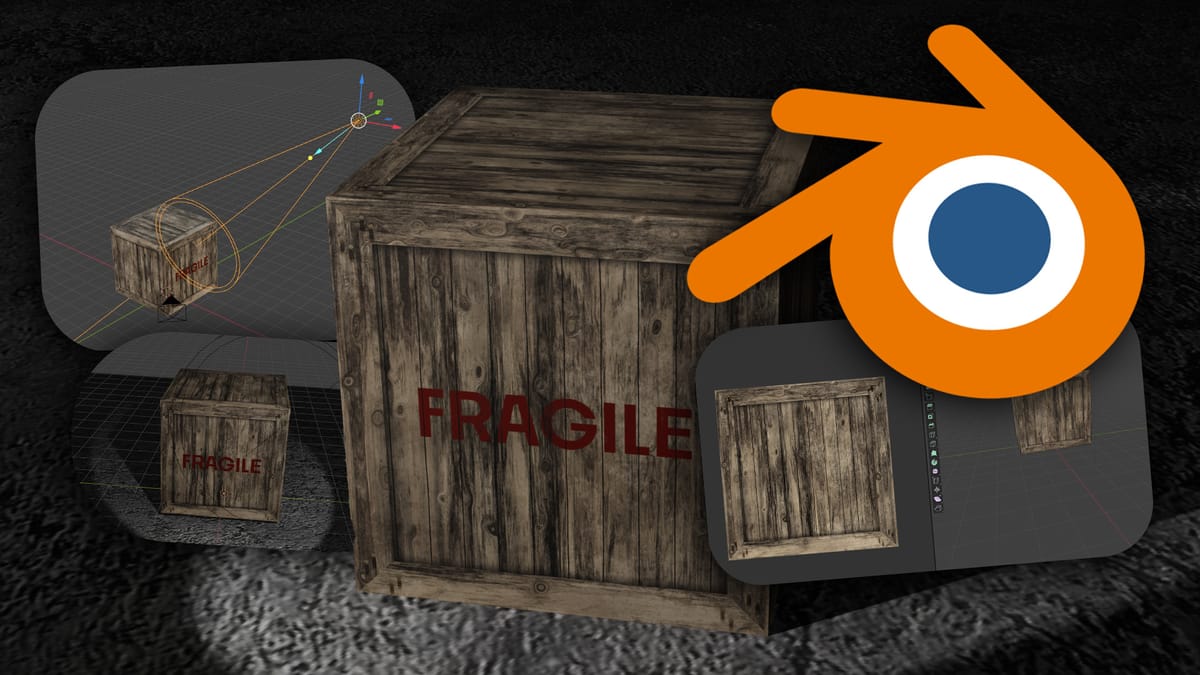
I started today by learning the blender interface and making an animation of a crate spinning. Dec has been using Blender for a while now so he helped me get the hang of the interface and talked me through making this animation.
First I started with a cube, made it bigger and moved it around, just to get used to the controls

Texturing
I then needed to texture the cube so that it looked like a crate, so I used the UV editing mode along with an image texture to map out the crate texture onto the cube. The controls were a bit fiddly at first but it wasn't long before I got the hang of them.

I then wanted to add a "fragile" part to the crate so I dragged the texture into Photoshop and used blending modes to blend the words "Fragile" into the texture, then re-mapped the texture to two of the sides of the square.

Lighting
Once I had textured the crate I moved on to adding lighting to the scene. I turned the regular light into a spotlight and increased the Watts so that the light was more powerful, then dragged it away from the box so that there was a better coverage of light and more shadows.

Now that the lighting was in place, I moved the camera so that it was in a good spot for the animation. I also added a floor and textured it using the same method as the crate, using a concrete texture from google. I also added some roughness to the floor so that the light would bounce off of it better.

Animation
Finally, it was time to animate the scene. Using rotation keyframes I rotated the box 359° so that it would loop better. I made the animation 10s, and 30fps, so 300 frames in total. I also added some pixelation to make it look more retro, as that is the kind of style I really love.
Here is what the interface looks like using the timeline and keyframes to animate the box. Just like that, after about an hour & a half, my animation was done, learnt completely from scratch with the help of Dec.
