Process Document 5.2
Specialist Graphic Design Projects 2- Technologies.
Today's blog will be about understanding the power of Figma and the tools it holds for a creative designer we can utilize, the ease of use of the interface is very similar to Illustrator the main reason why i have adapted my process document inside Figma to allow me to attach multiple GIF files which have been converted from MP4, my whole design journey has been focussed around Cinema 4D and creating stunning visuals.
If this link doesn't work, ive also adapted my process document inside Leeds.graphics.
Process Document 5.2
Growing up in the ’90s, I’ve witnessed an incredible transformation in technology. I still remember using early computers and flip phones, but as I got older, everything became more digital. This transition shaped how I see design today. Being a graphic design student, I find myself constantly balancing the traditional methods I admire with the advanced tools that make design faster and more accessible.
Technology has had a huge impact on my work. Software like Adobe Illustrator, Photoshop, and newer platforms like Figma or Procreate have made it easier to bring ideas to life, experiment, and refine my designs. I can do in hours what might have taken days or even weeks with analogue tools. At the same time, I appreciate the craftsmanship behind traditional techniques and try to integrate that mindset into my digital work.
What excites me most about technology is how it opens up creative possibilities. Blender & Cinema 4D allow me to experiment with concepts I never thought possible. Motion design, 3D modelling, and interactive design have become more accessible than ever, making it easier to expand my skills and explore different areas of design.
However, there’s a flipside. With so much automation, I sometimes wonder how much of design remains truly “human.” I think creativity is more than just efficiency—it’s about telling stories and creating connections. That’s something no AI tool can replicate. I also try to be mindful of the ethical side of technology, like avoiding over-reliance on AI-generated work and being conscious of sustainability in design.
Technology hasn’t just shaped how I work—it’s transformed the entire field. Social media platforms like Instagram and Pinterest let designers showcase their work to the world. It’s inspiring, but it can also be overwhelming to keep up with so much talent and competition. Still, I believe
technology is a powerful tool that connects us and pushes us to grow as designers.
Looking to the future, I see myself embracing this balance. The skills I’ve developed from traditional methods and my ability to adapt to new technologies give me an edge. As a designer, I want to use technology not just for efficiency but to create work that feels personal, meaningful, and impactful in a constantly evolving world more importantly i want to experiment with non traditional methods of design and utilise VR and AR technologies more as we advance into the ‘metaverse’.
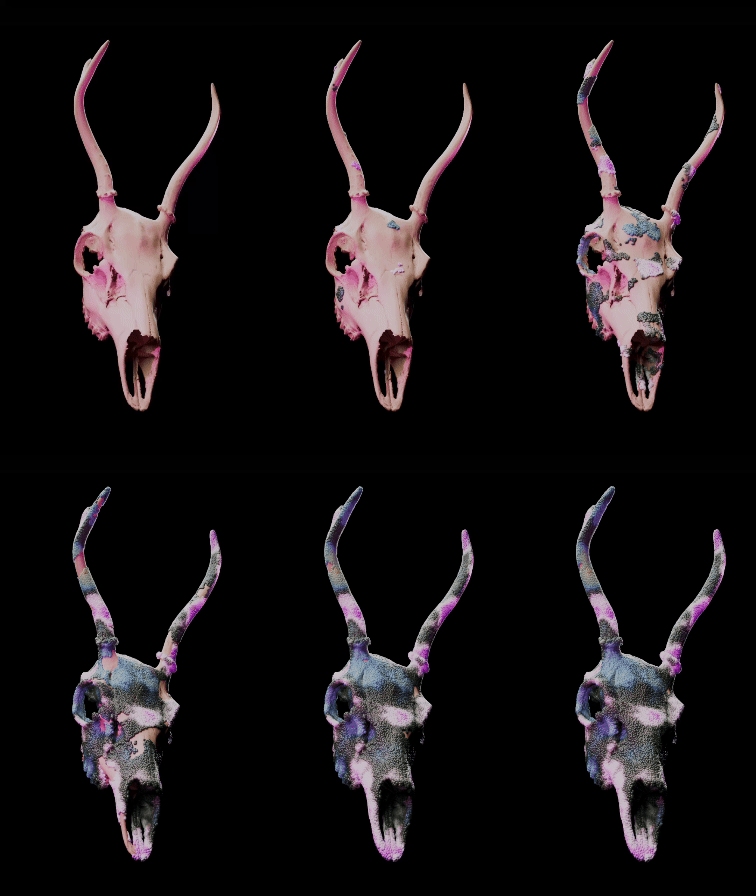
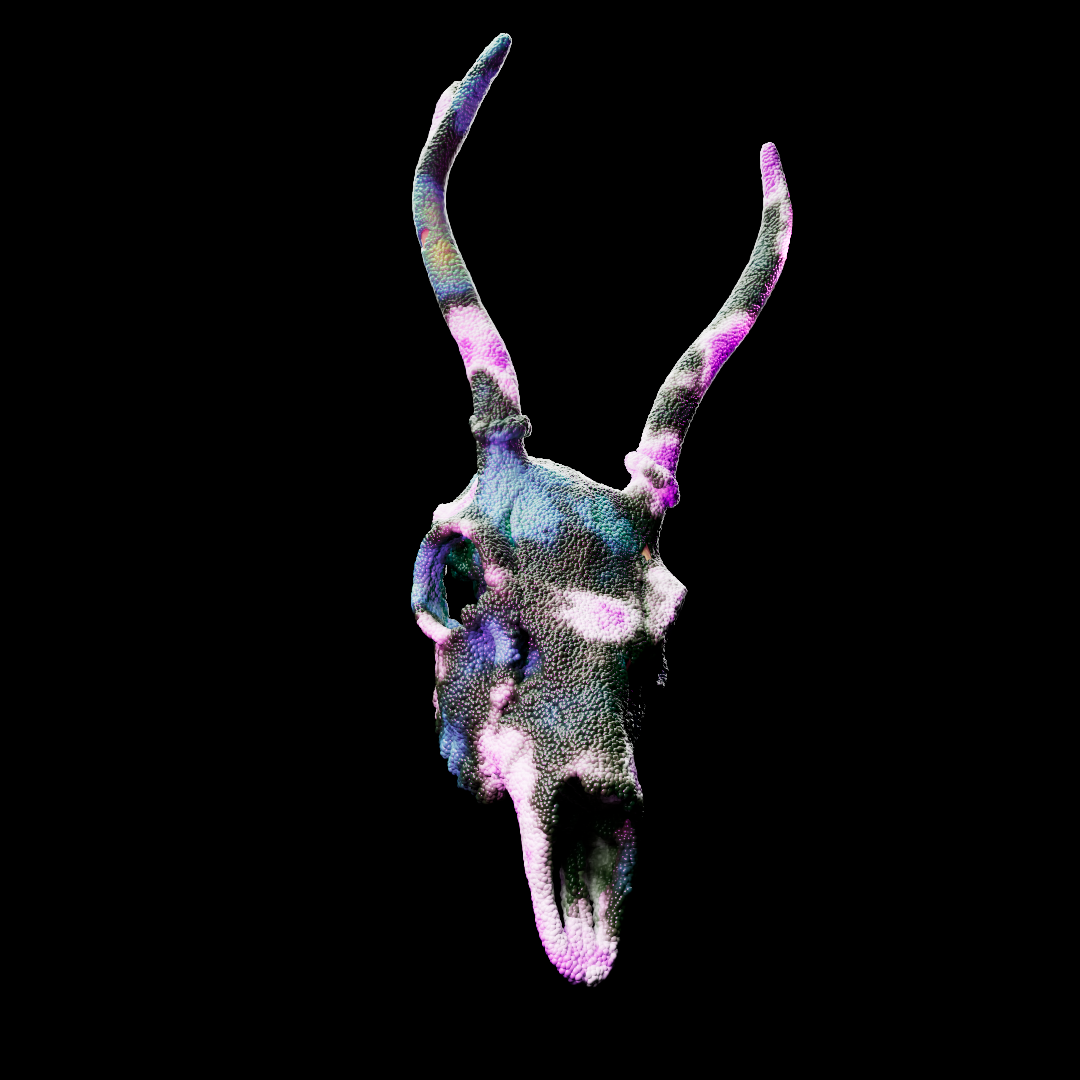
My current interest is peaked with 3D modelling, Motion Design and integrating real world scans into point cloud geometry systems to create these stunning impactful visual designs.
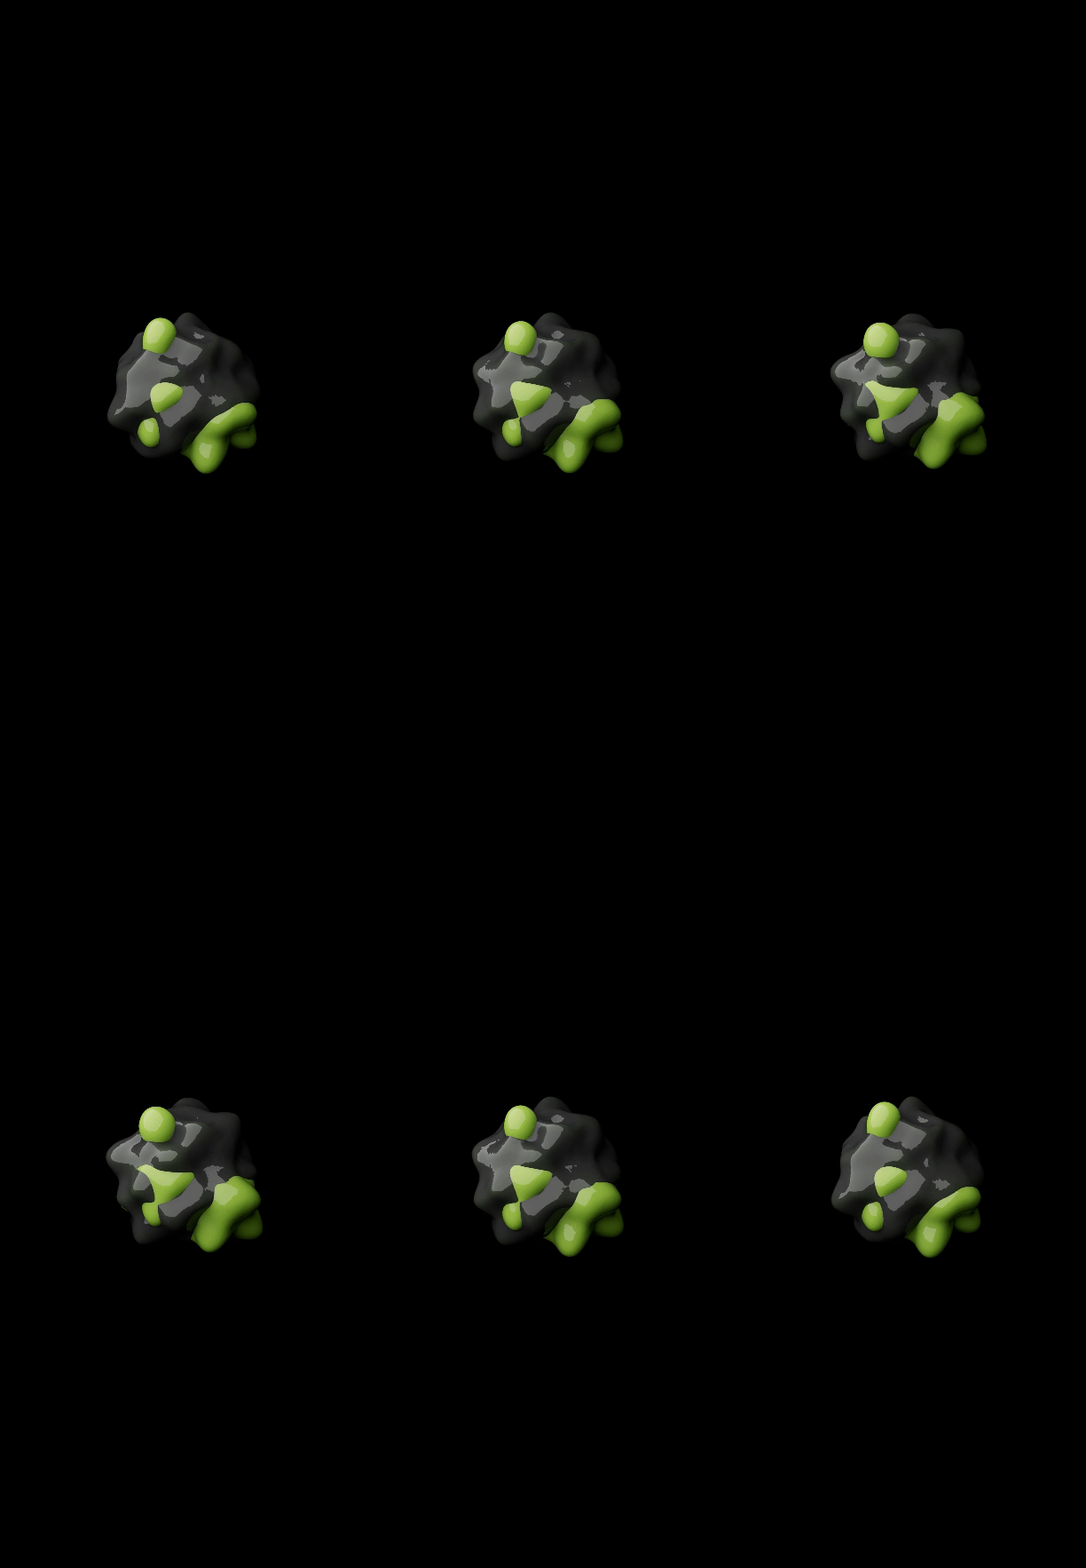
This project was looking mainly at Particle emitters and Volume builders and how i can control particles emulated onto a surface to create this decaying effect as a passion project but mostly to demonstrate the skills im learning currently within Cinema 4D.
Emitter Particles & Mesh Emitters
This project tested my computers GPU capabilities to render and operate a cloner system and an emitter system with over 10’000 particles but thankfully Cinema4d has a lovely built in function which enables you to cache an animation in its simplest form to render in real time with less usage.
The main learning point from this project was to disable redshift prior to setting up your animation to reduce the GPU usage.
2D Design to 3D Motion
Self initiated research and work integrating with cinema 4D and merging my existing skills with new and updated technologies, The project started by being influenced by Johns 3D workshops and the power of cinema 4D and the realm of 3D modelling.
The inspiration was to start basic and learn the simple skills required to get a clean smooth animation or render, the learning curve for this software is very high and its a minefield of tools and values and parameter's but with a little time and understanding of the X, Y, Z planes from previous jobs using AutoCad systems and Laser Cutting software i was already familiar with similar codes and values.
my mindset when it comes to learning a new software is to enjoy the process and experiment in an unconventional way to create problems to solve and research, this led to an array of projects branching off generating what i like to call a ladder of progress with each project my skills refined and developed into something substantial enough to complete said goal.
Here is an example of a previously visited project of trying to get 2D posters to animate it took a long process to understand how to do this but along the way developed skills i can use in other projects for example the ability of HDRI textures on lighting and how to texturize and UV Map custom models.
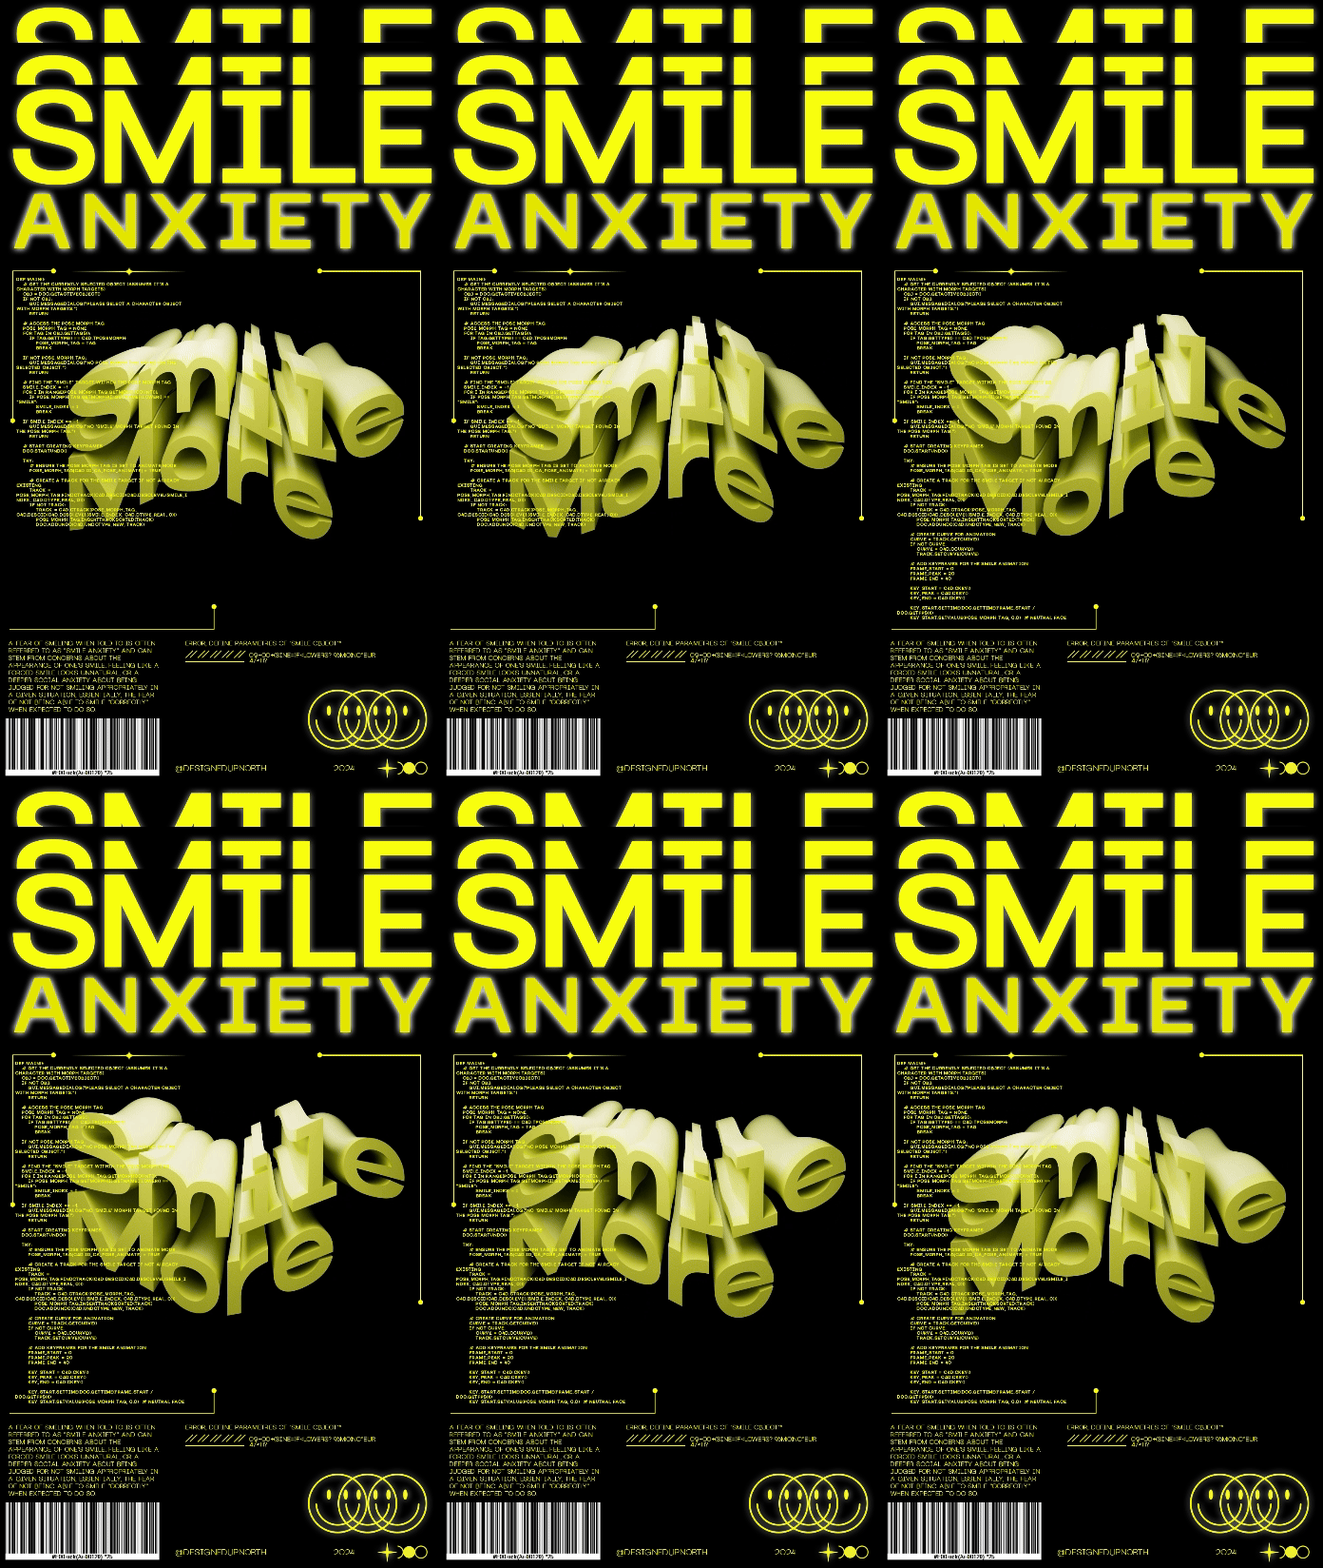
This poster started as a 2D design but lacked the depth to make it visually appealing, using Cinema 4D and a few simple tools built into the software I was able to extrude and animate a typeface using formula fields and turbulence the end result once added into photoshop as a video layer gave the poster more depth and motion.
The overall process wasn't simply to make a 3D poster it was the process of finding out how, which took several days longer than expected behind more learning curves within cinema 4D.
This project has opened a wide range of design possibilities and has pushed my skills beyond 2D design. implementing this method in various ways can make a design really stand out and catch the audience's attention, especially with social media and content creators.
Nostalgic Windows 95 3D Poster
More 3D Poster concepts utilising the new method within photoshop and cinema 4D to add depth sticking to a theme of Windows 95, something very nostalgic for me growing up, i wanted to evoke a sense of nostalgia coming into the new year.
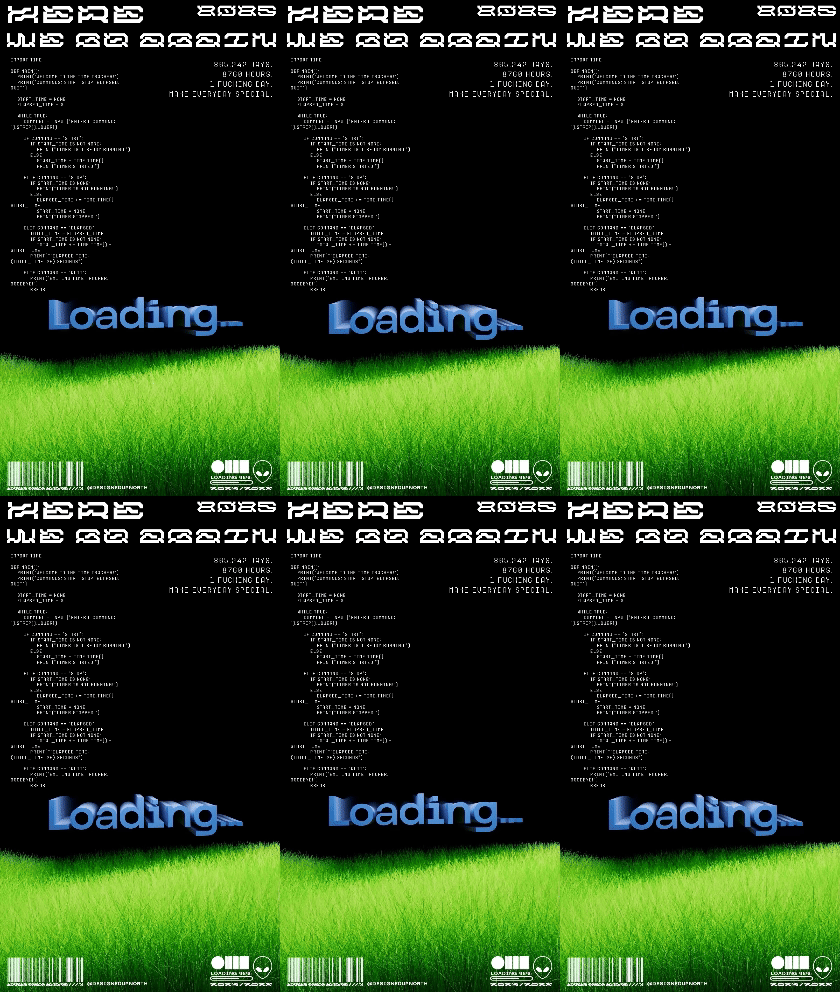
The idea was to eventually broaden my Cinema 4D skills and integrate them within typography but still keeping that legibility in typeface design. eventually i will get around to mastering the tools provided to create some more visually appealing typographic animations
Typographic Experiments
Typographic experiments which led to a commission of work for a YouTube channel to be used in a gaming platform
This small project was working again with type using field forces to create simple motion i posted it online and it grabbed the attention of somebody who wants something similar so i set to work and designed another version with lighting.
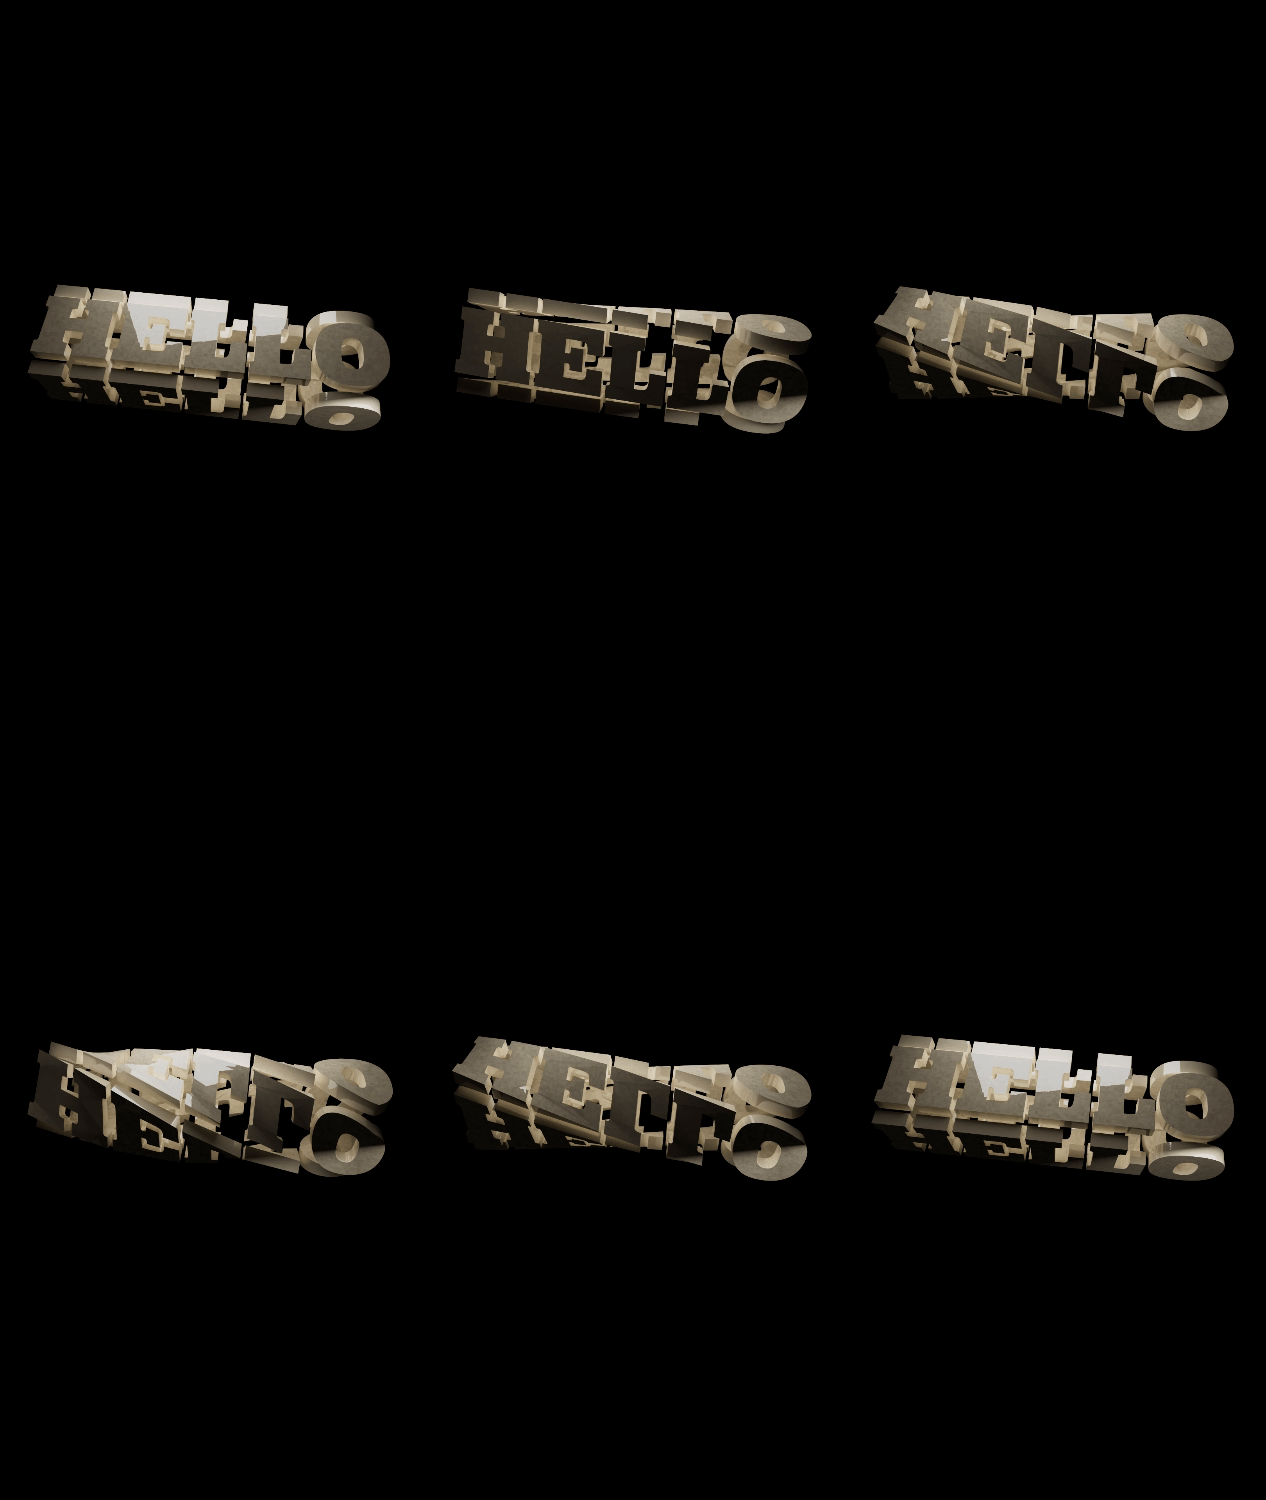
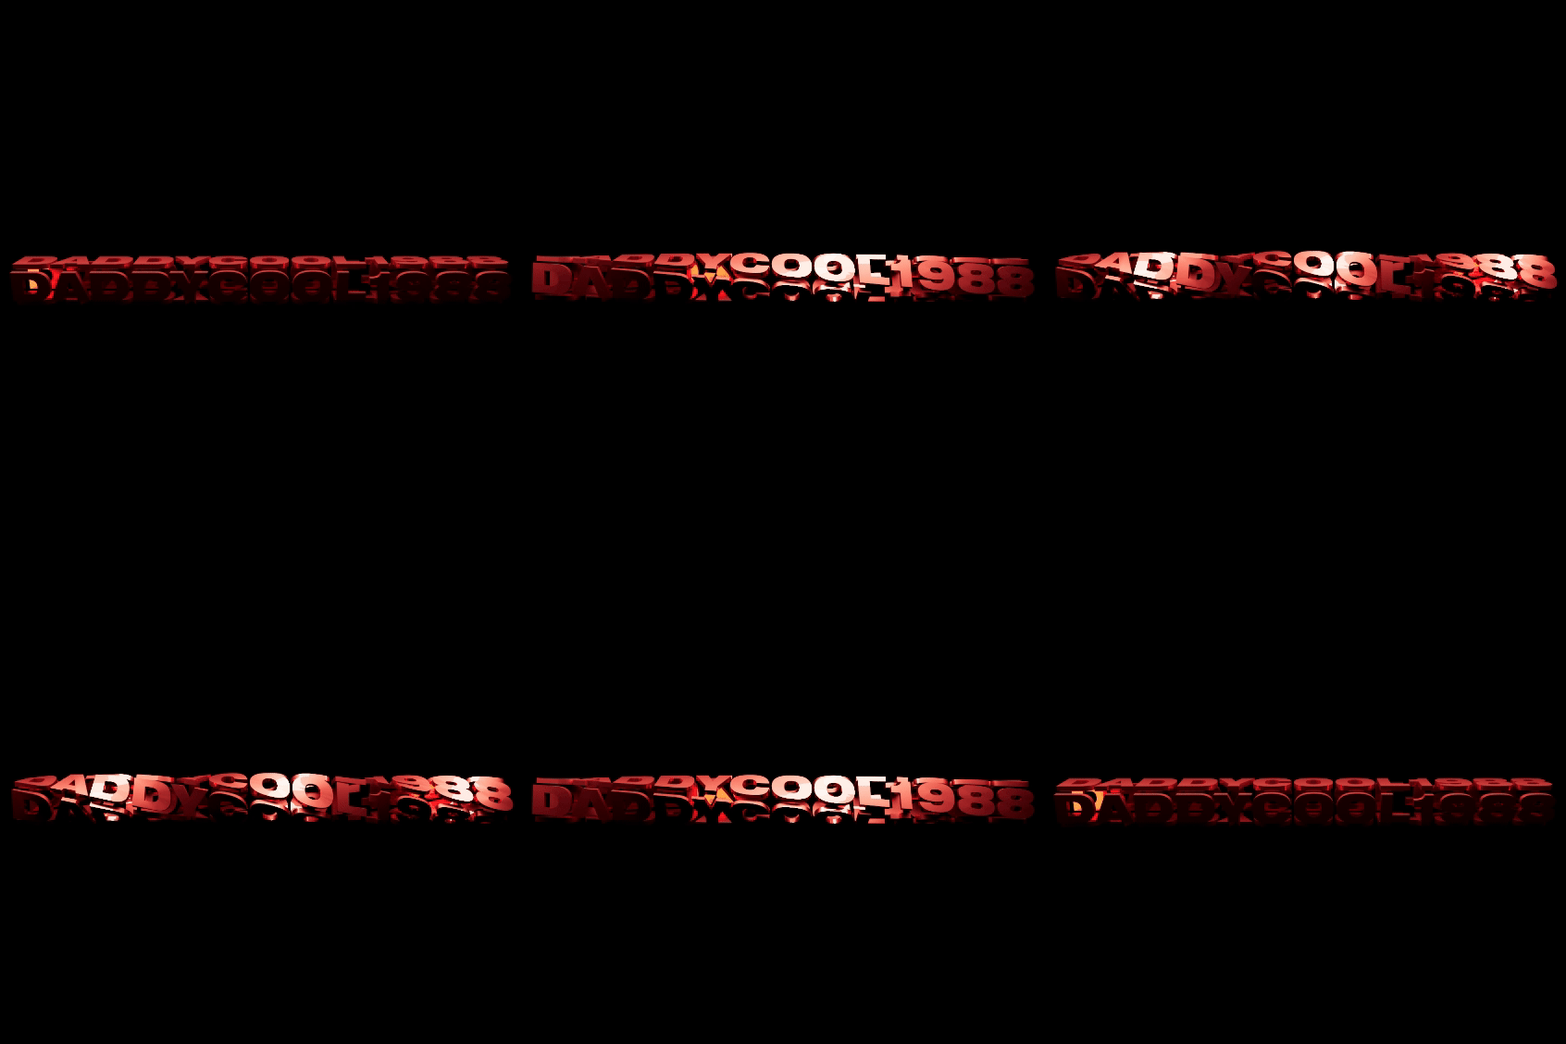
Quite satisfied with this one at the time, but looking back i could of adjusted so many thigs which ive now learnt especially lighting and textures, the key to a good 3D render is setting up the key components such as lighting, texture, depth of field, spacing etc and then getting the dimensions correct for client work.
Early Physics Tests
Honourable mentions, i wanted to keep this design process document clean with some of my best work for aesthetic purposes but just had to include this very early animation playing around with rigid body physics in cinema 4D as you can tell i was still learning to render and properly ratio my cameras and lighting.
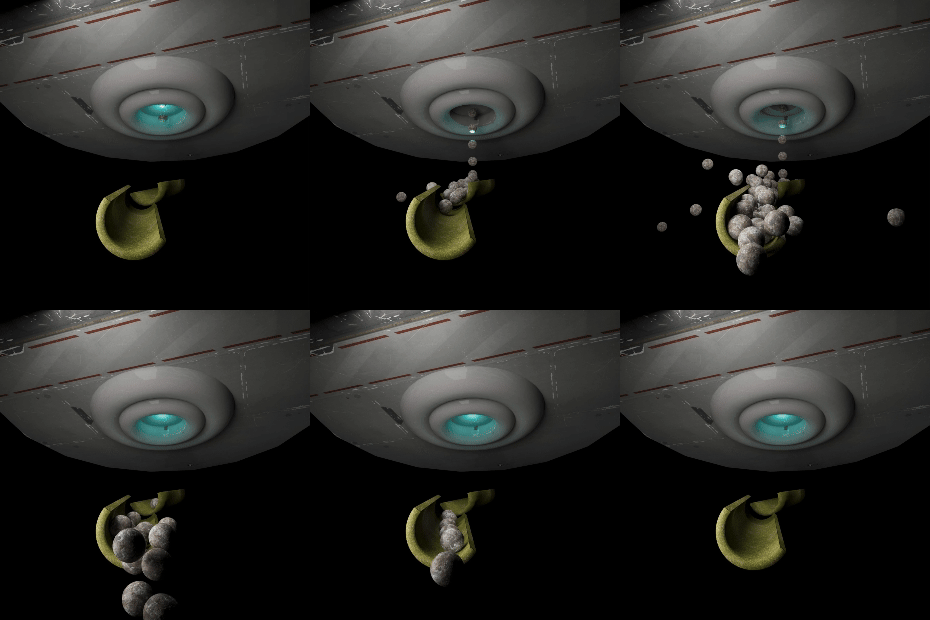
Honourable mentions, i wanted to keep this design process document clean with some of my best work for aesthetic purposes but just had to include this very early animation playing around with rigid body physics in cinema 4D as you can tell i was still learning to render and properly ratio my cameras and lighting.
Taking inspiration from media and trying to back engineer how the team from The lord of the rings tv series created their stunning intro visuals
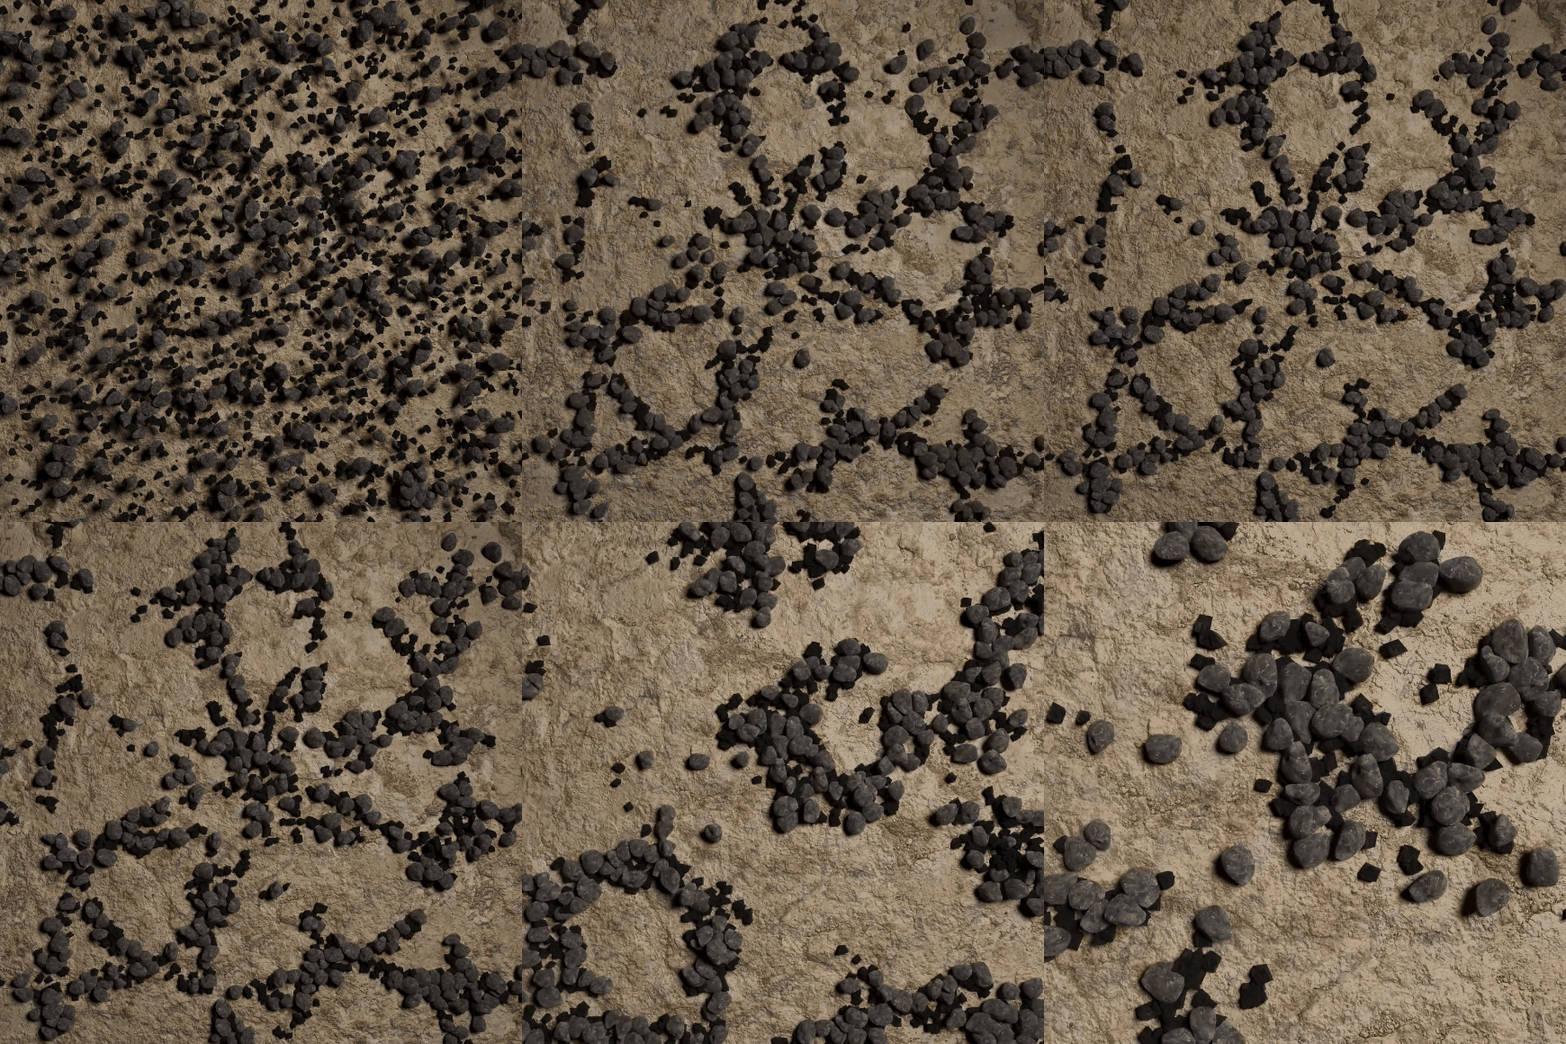
ended up looking into field forces and cloners again using attractor tools to generate some interesting motion, overall the project took a lot longer than anticipated due to the technicality of my PC not being of a high enough standard to cope with 30’000 clones again luckily enough cinema 4D’s software of caching the animation helped but limited my art direction with the fluid animations.
for future reference id like to experiment more with this type of dynamics but just require higher GPU and a better operating system, overall I'm super please with the short clip we have here it just shows the potential reach i have within the design industry not just physically but digitally.
Procedurally Generated Animations using nodes
Here i delved into efficiency within cinema 4D and how to handle animations from a different perspective using nodes to perform simple actions like creating geometry from values this led me down point generating animations.
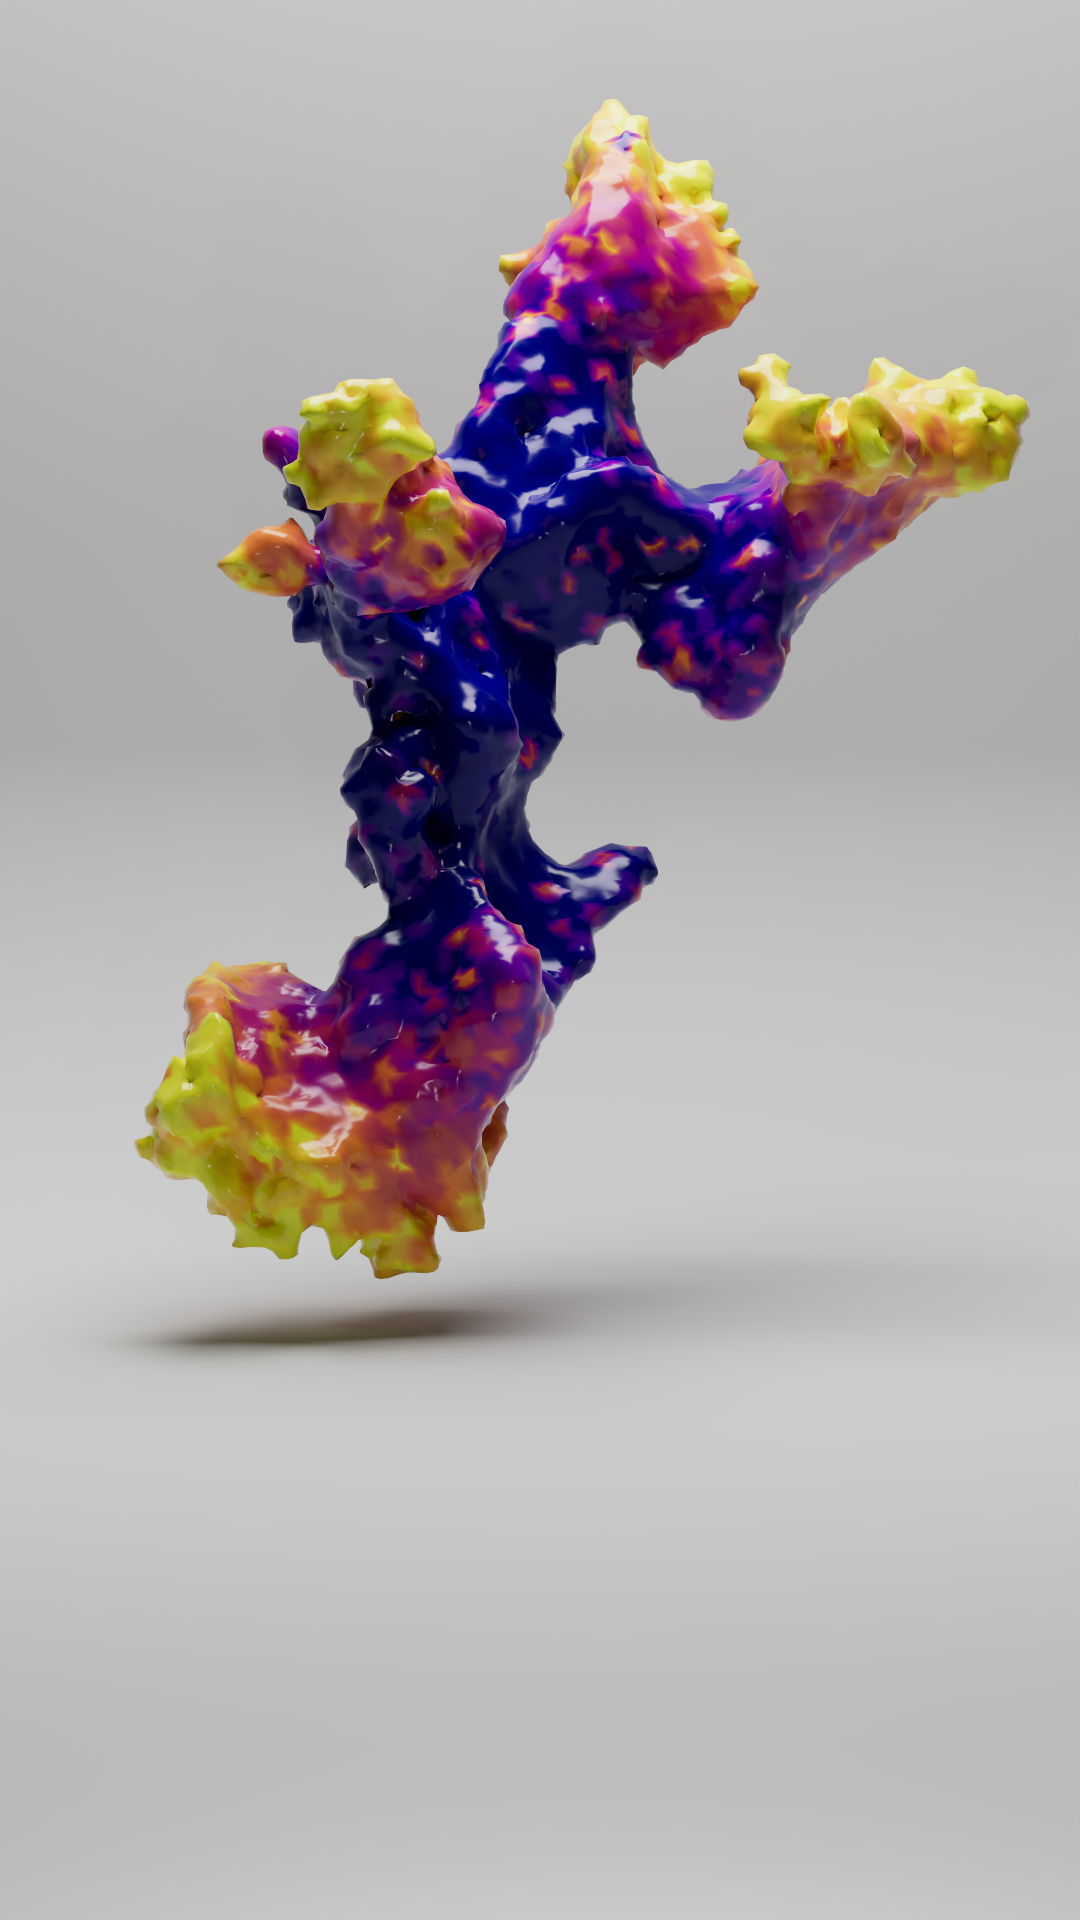
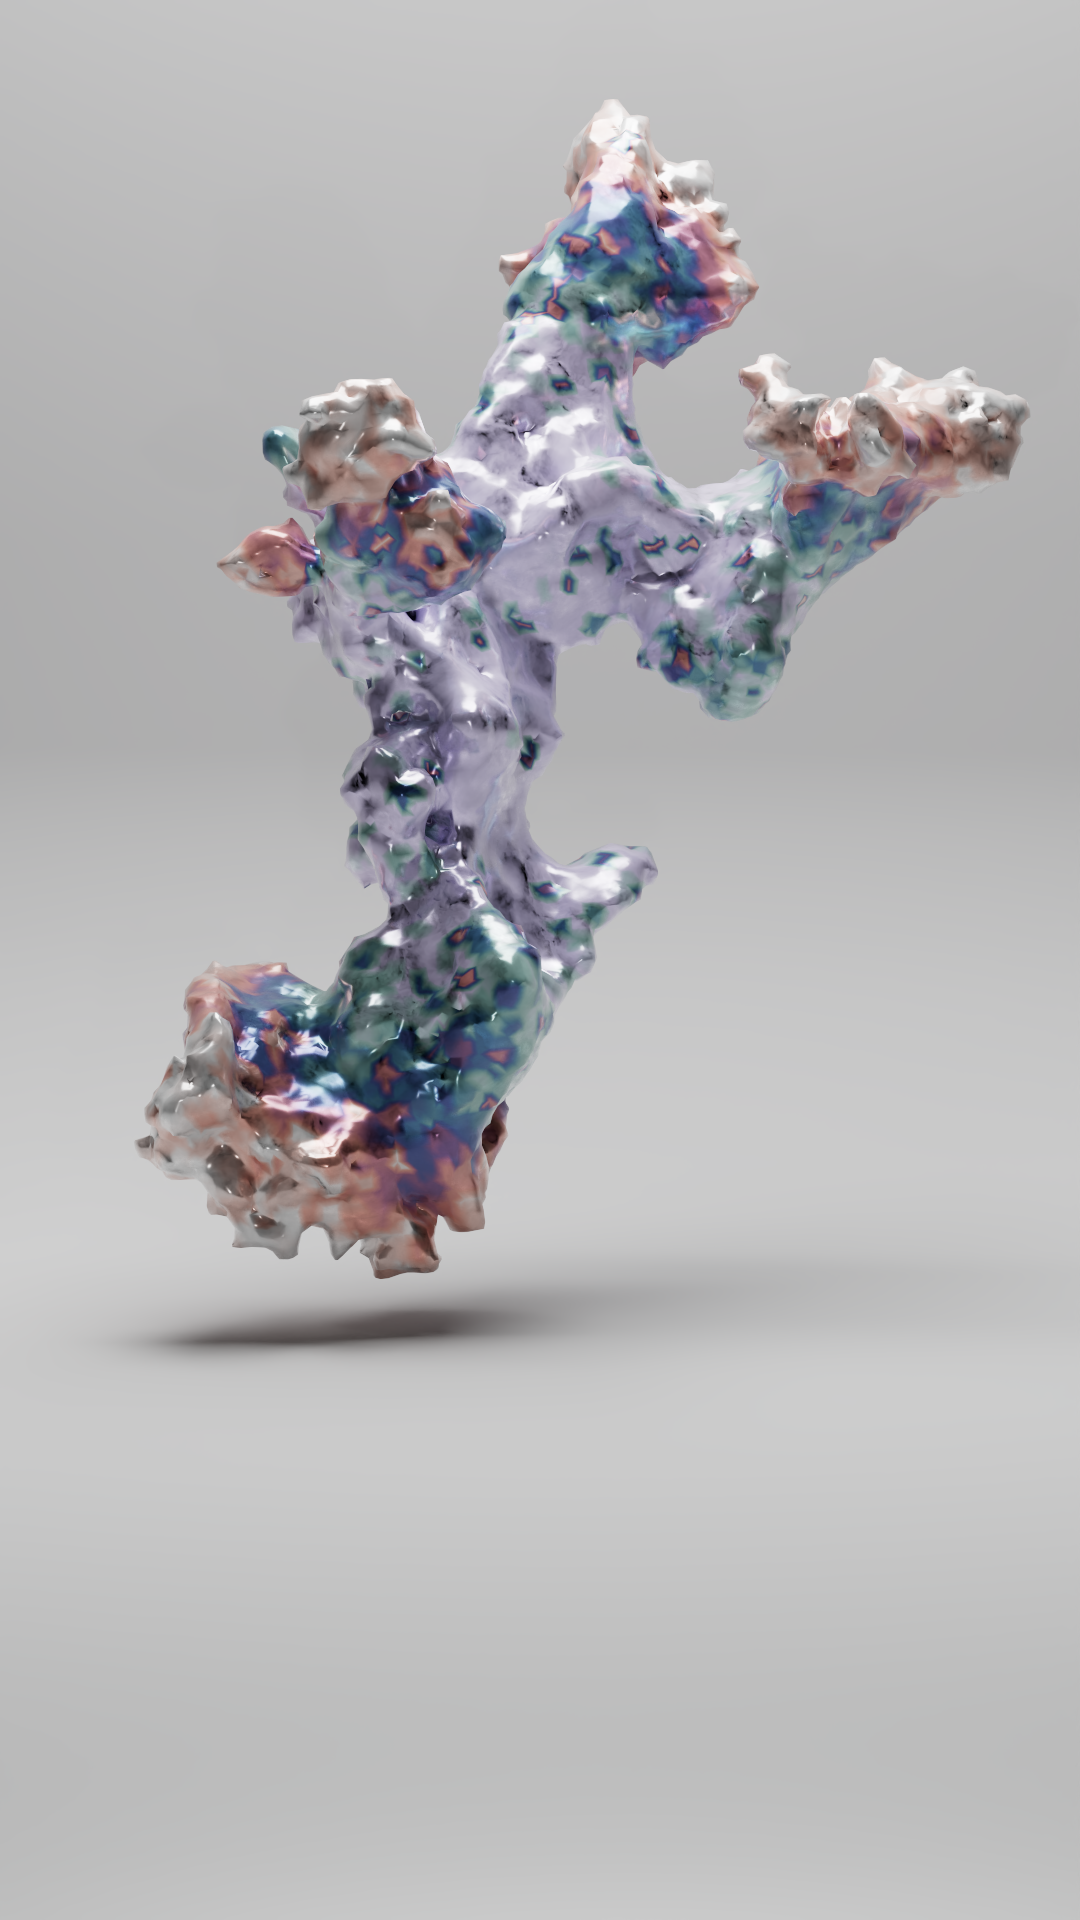
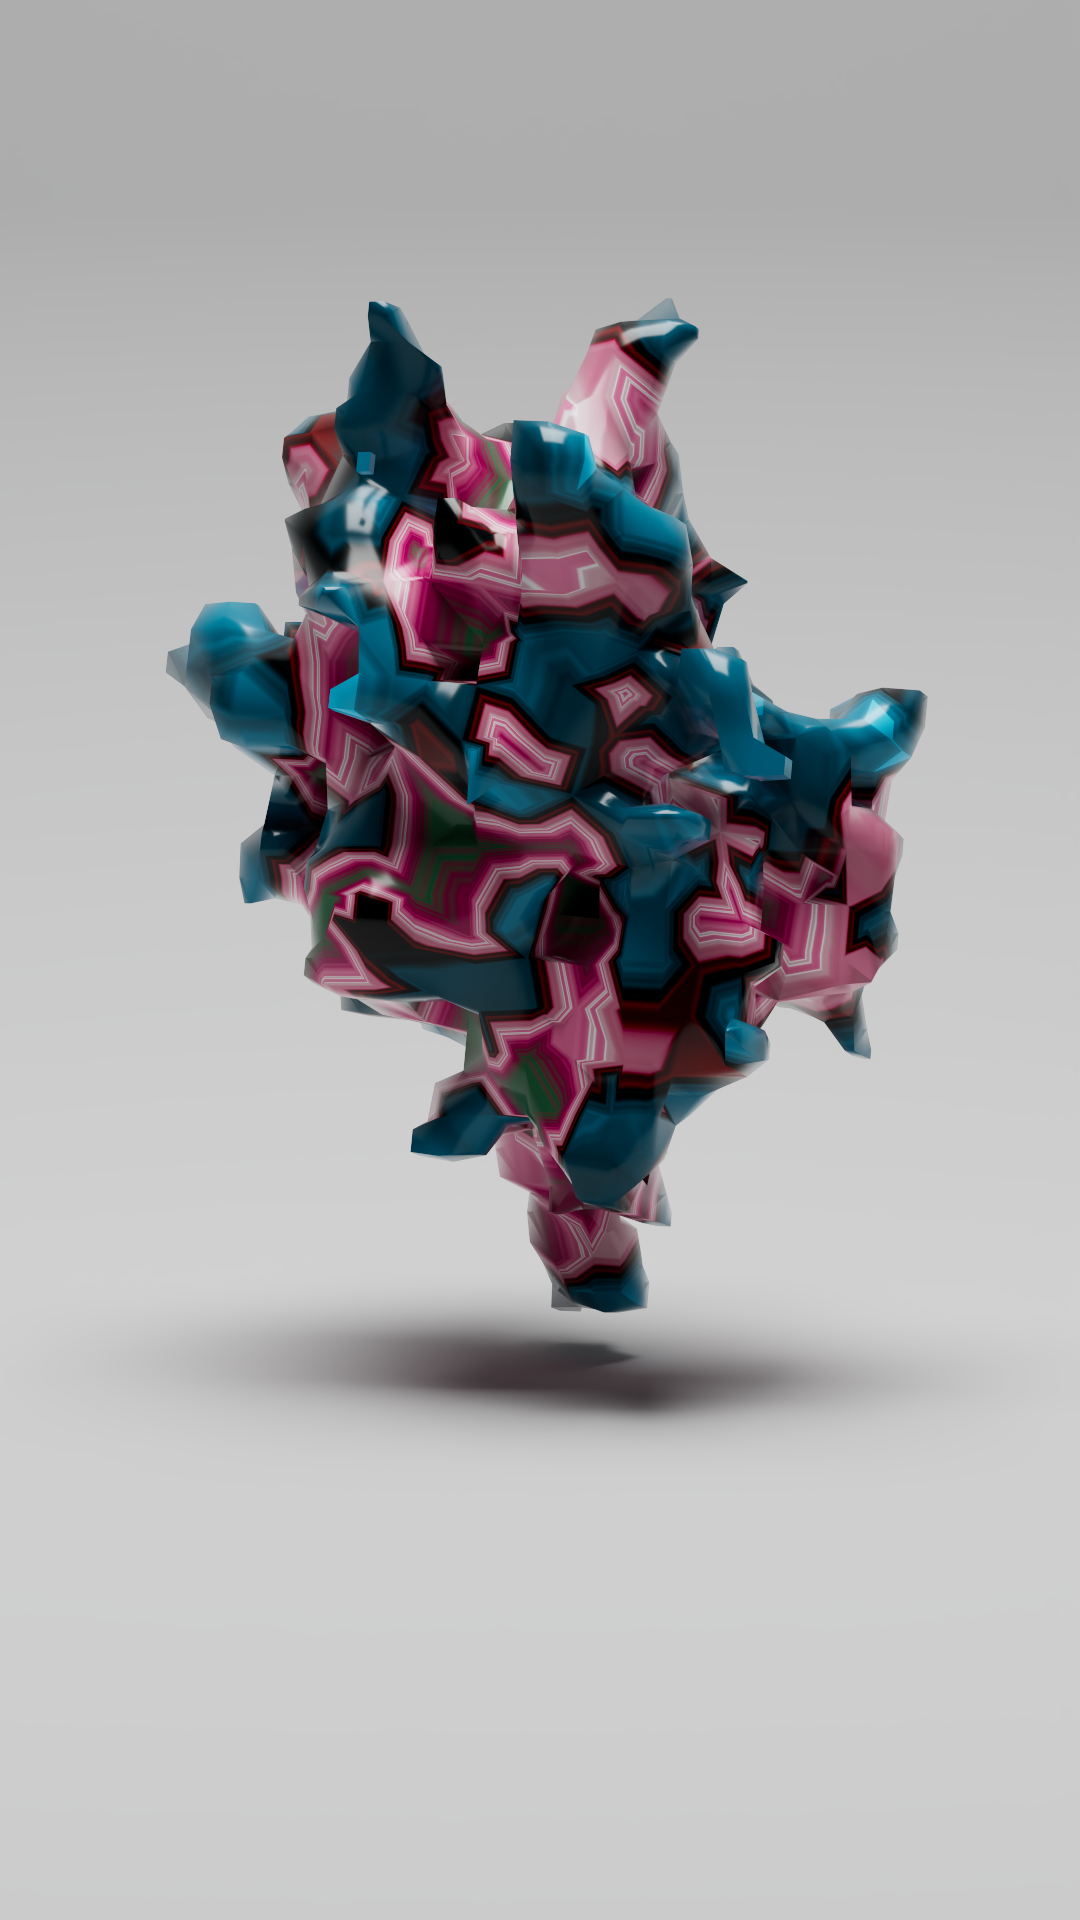
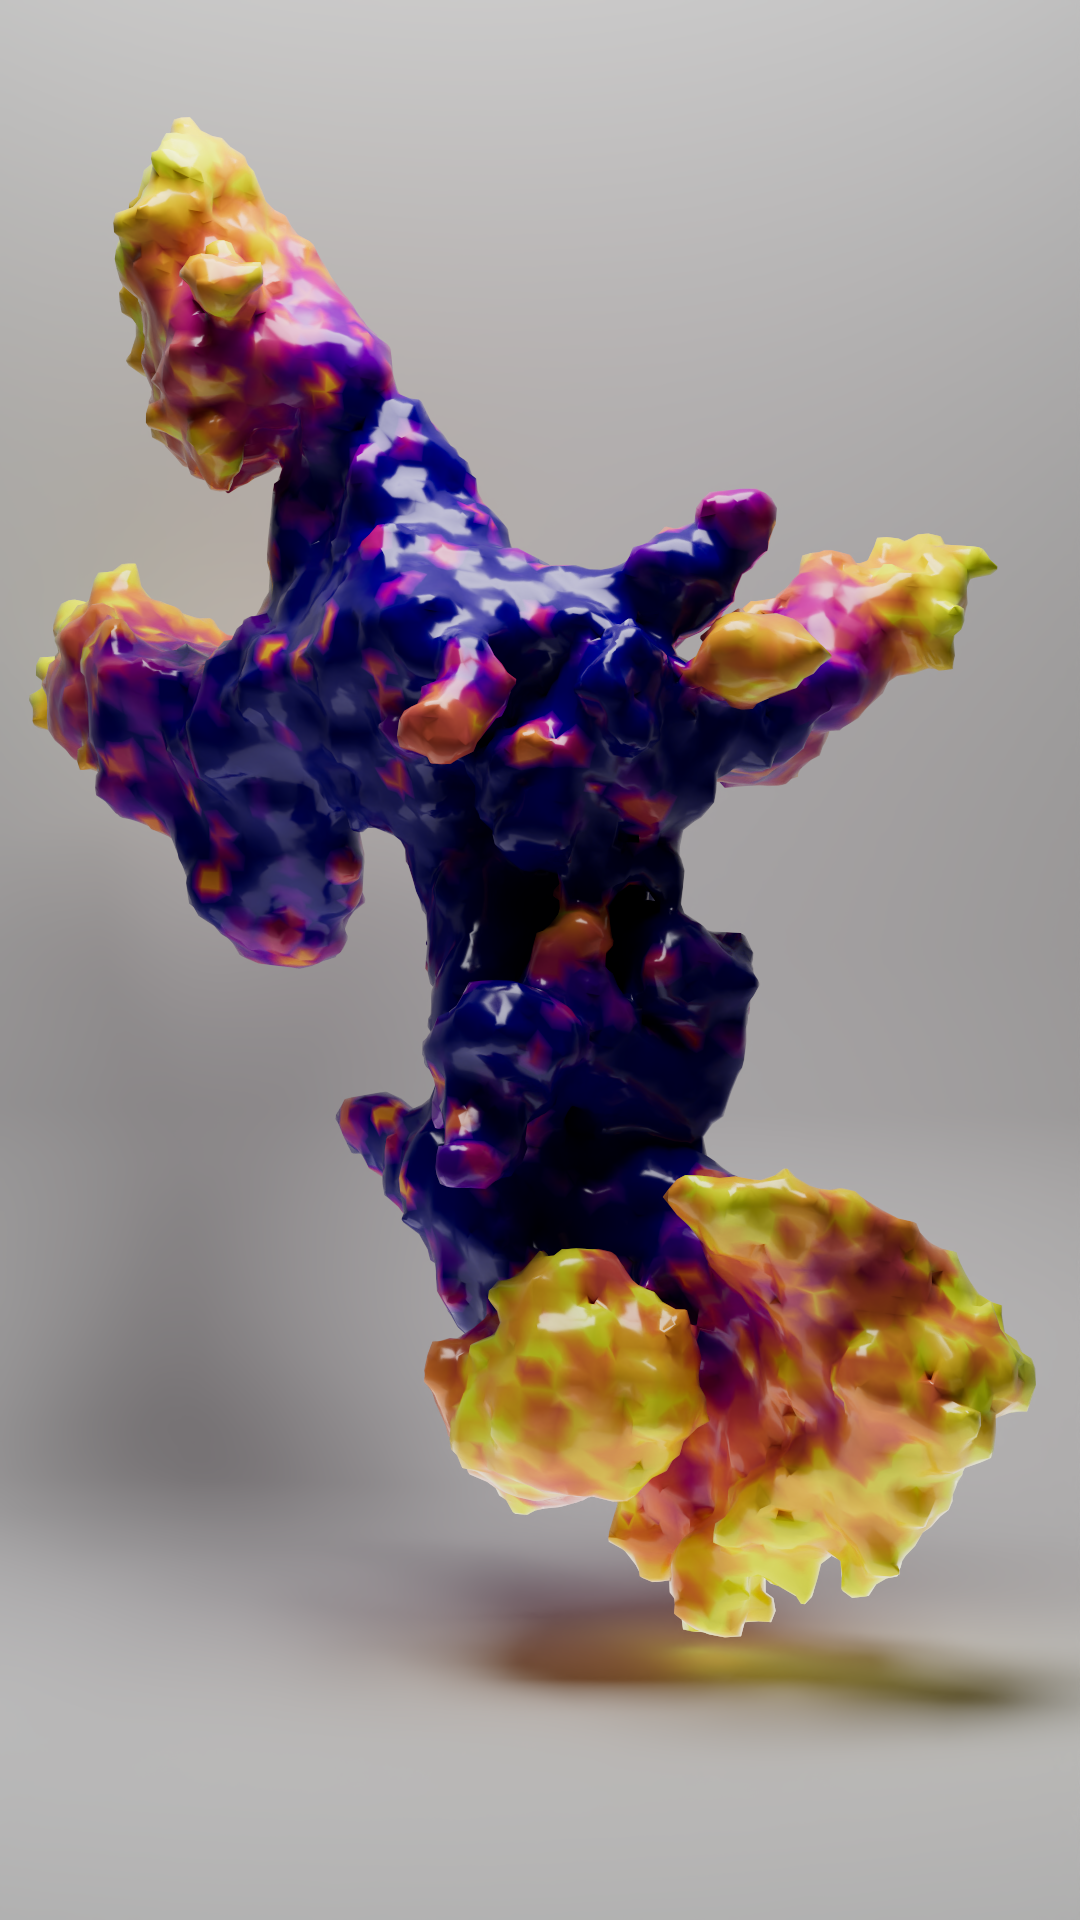
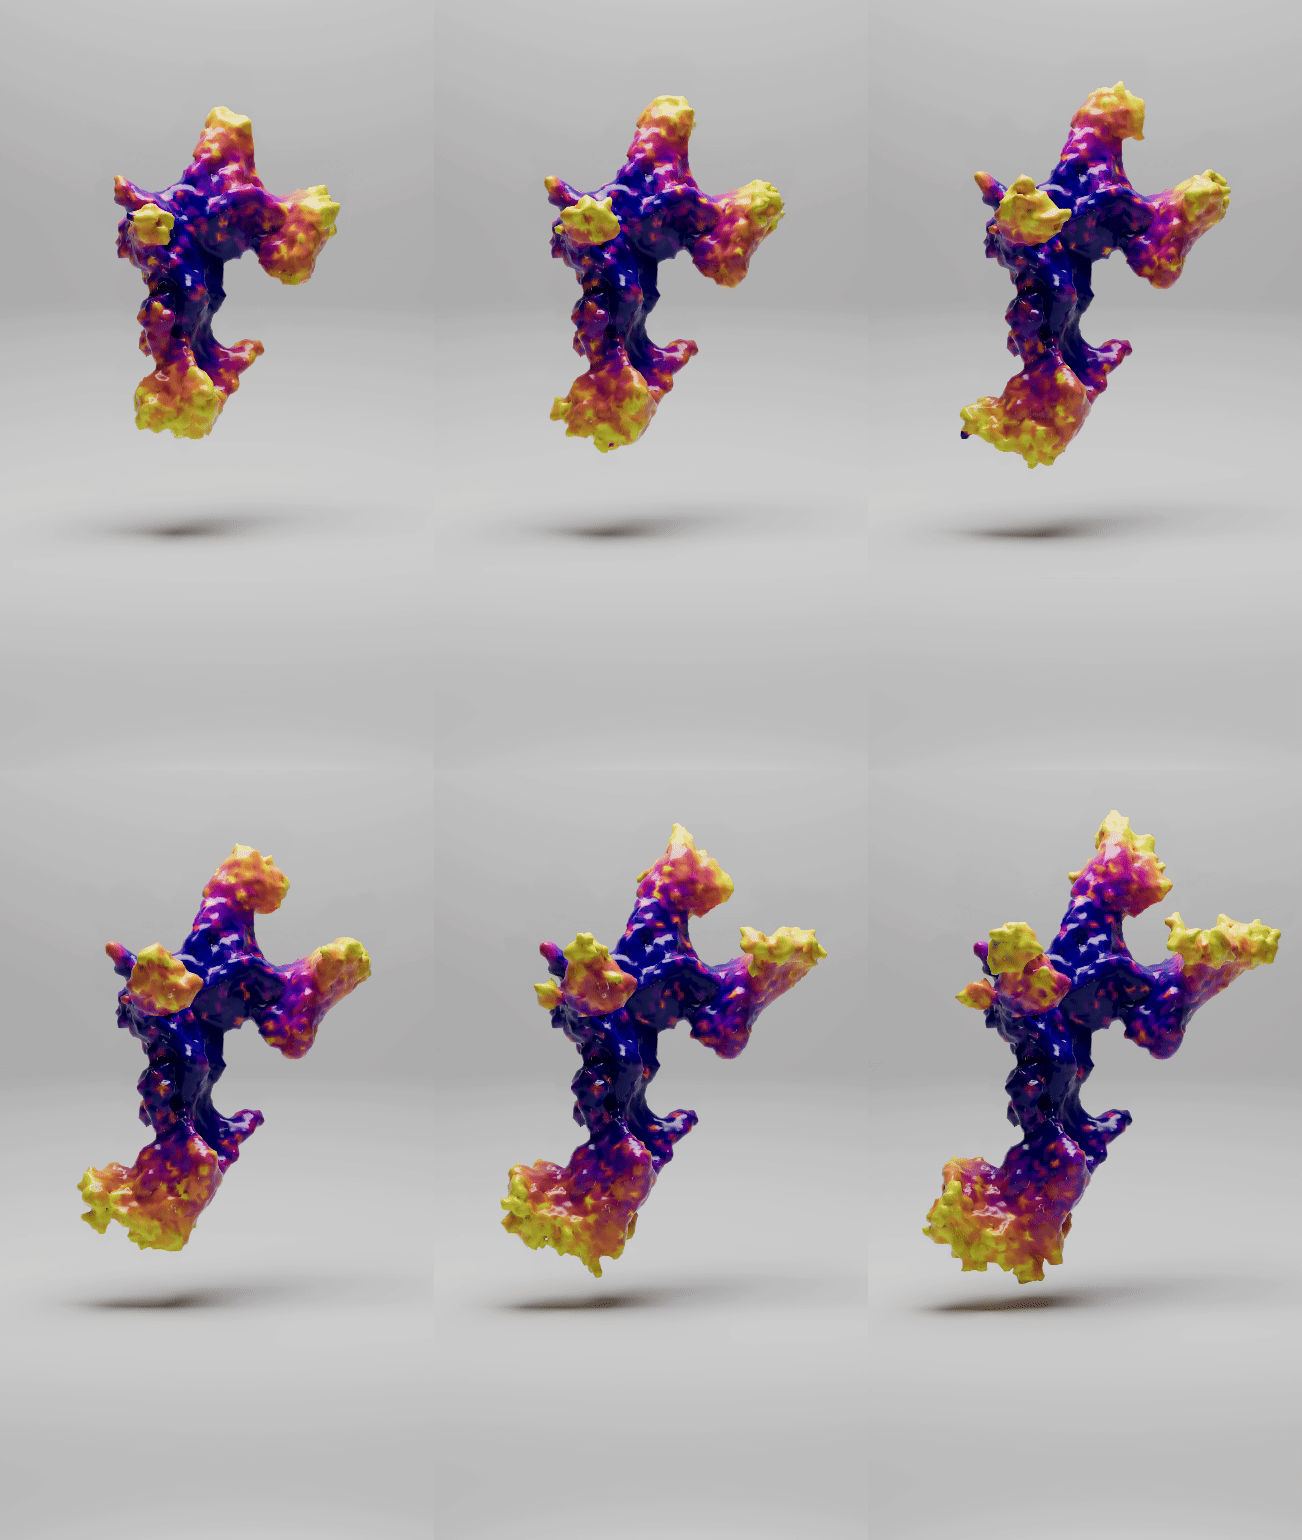
Using my now new knowledge on rendering, lighting, texturing and animating im combining all these skills to be playful and experiment in my own way again following that ladder principle of experimenting with something until we find a problem.
Entropy
This eventually became a whole series based around point generators I've saved the preset so all i have to do is adjust the values and edit the properties to create an entirely new design and set my workflow up for future design work.

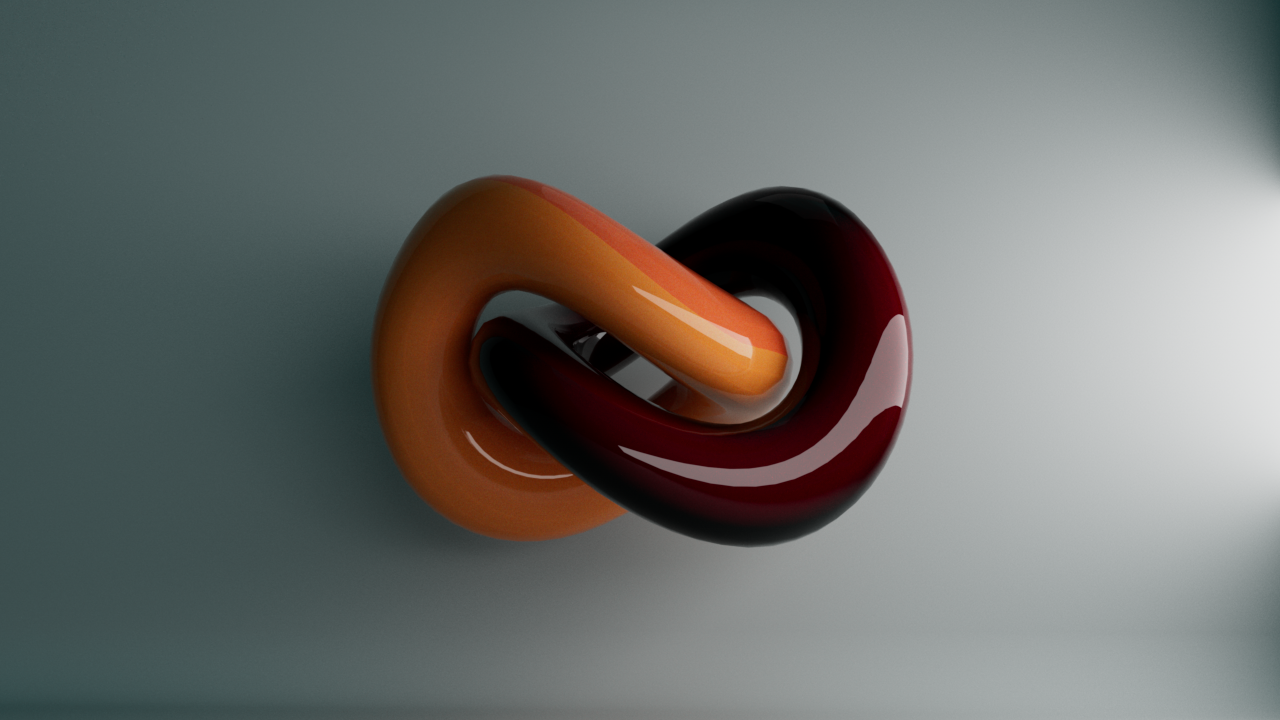
Sliding node animation
Working on another node project and utilising uv maps to texturize different objects within my design
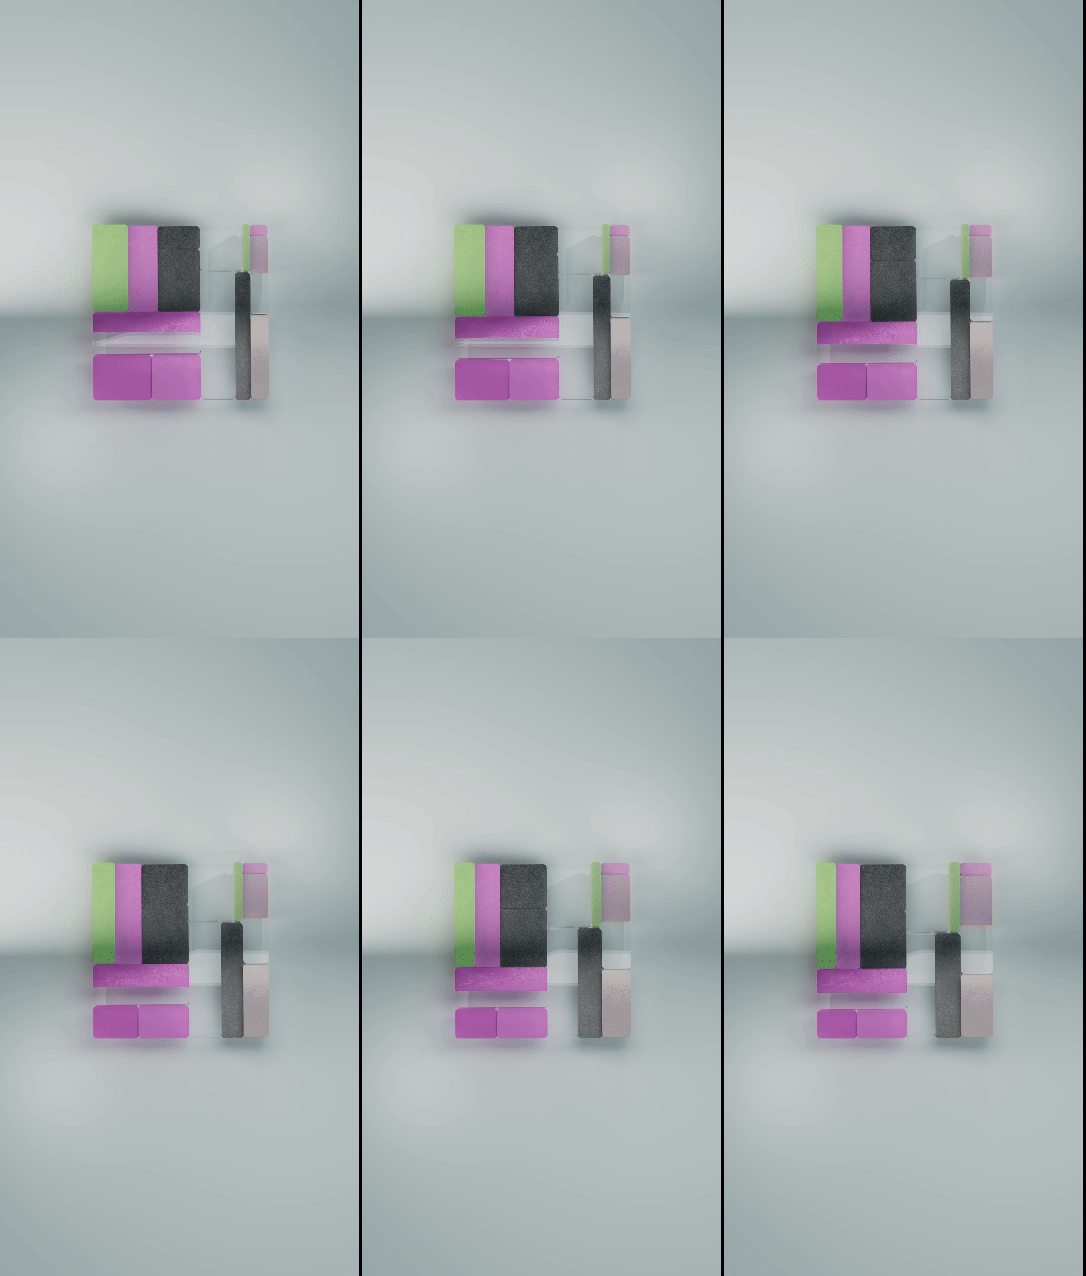
I struggled the most with this project due to the complexity of the node structure and making sure the inputs and values are consistent i eventually encountered a cinema 4D bug which ruined my overall render but eventually found a fix for the bounding boxes not operating correctly.
This led me into looking at making seamless loop animations and the method behind how to set up keyframes.
