Process Document

week 1
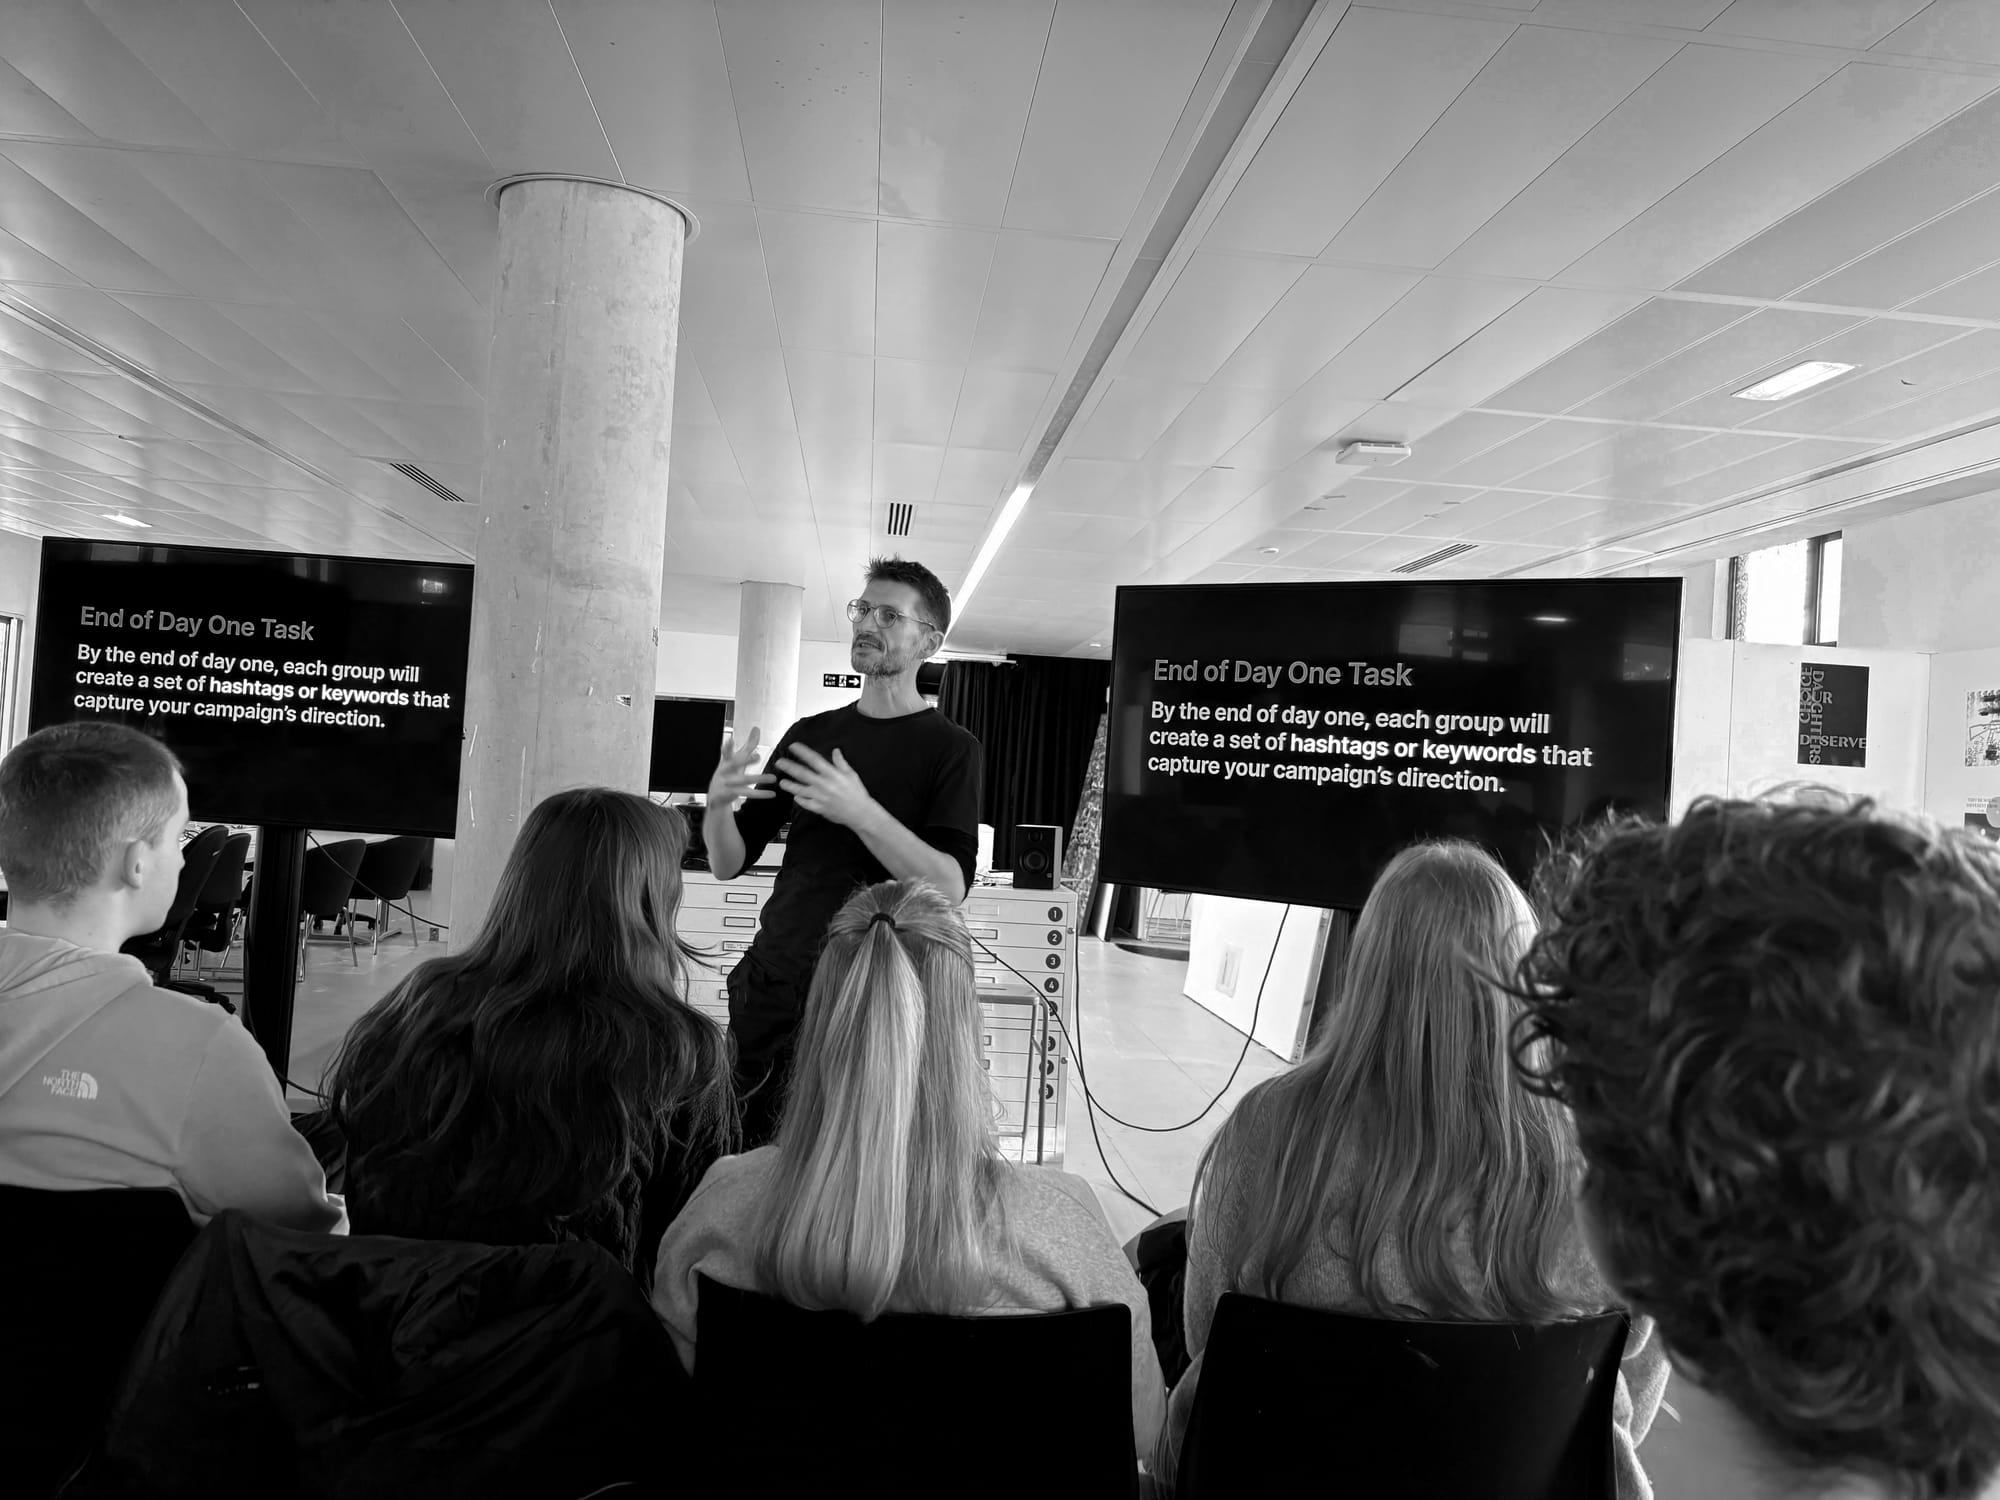
During the first week, we were introduced to the module and given a brief overview of its theme. In the introductory seminar, we explored various new technologies, which highlighted the possibilities for what we could create using these tools. Instead of focusing on a specific technology this week, we were introduced to methods. We received a brief to help us plan, creating a visual mood board based on the 10 Laws of Simplicity. Additionally, we were encouraged to work in small groups to develop ideas for raising awareness of neurodiversity in public spaces.
I learned that working as a team has great potential. Together with my group, we generated ideas that I would never have come up with on my own. We communicated effectively and collaborated to create a unique outcome. Each team member brought their unique values and skills, which meant that some people were better suited for certain roles than others.
When it came time to present, I found that I could set aside my fears and present effectively. My team supported me and provided the necessary information for me to discuss our project.
week 2
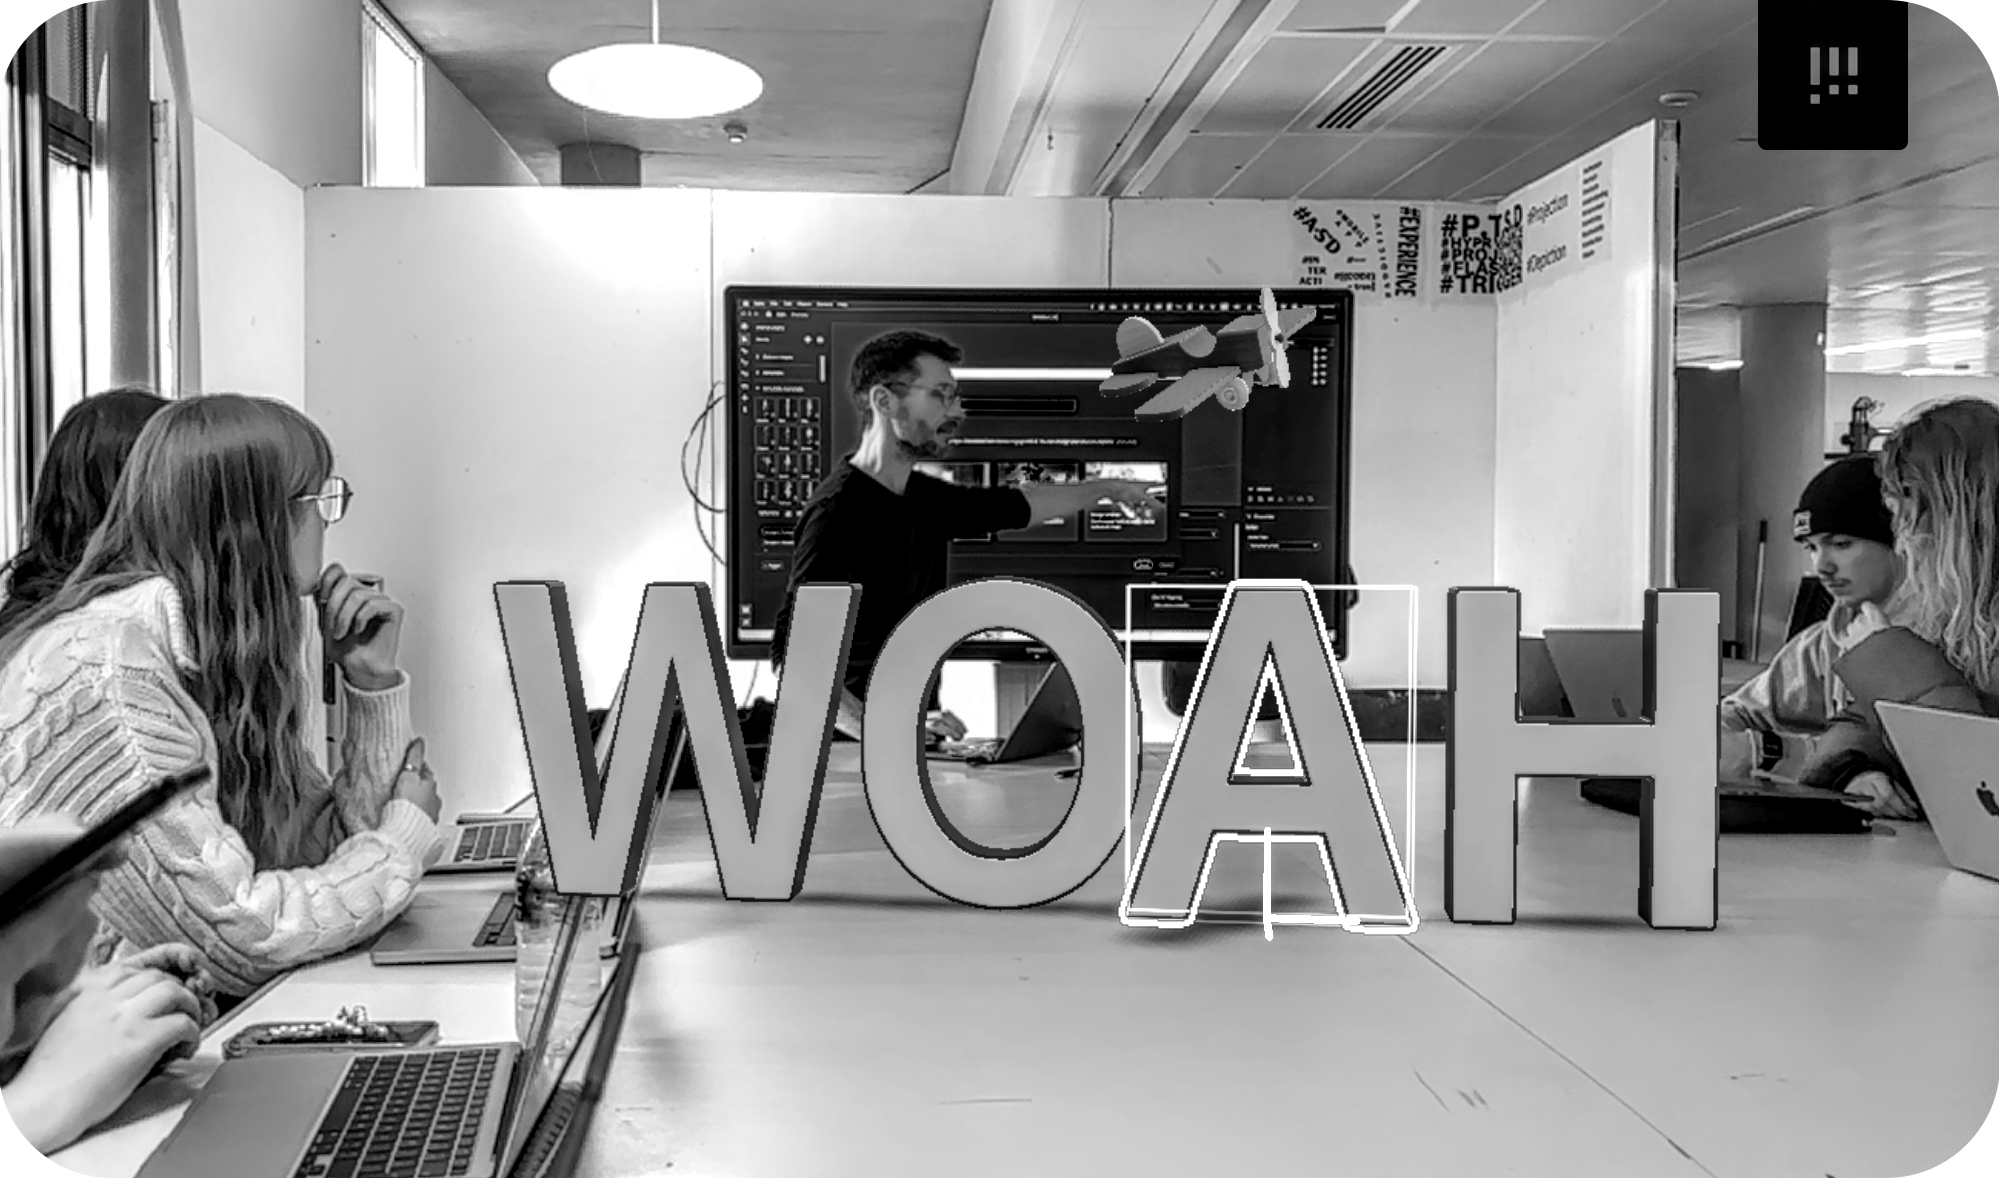
This week, we explored new ways to communicate ideas within a physical space, focusing specifically on augmented reality (AR) and its potential for visual communication. I learned how to use Adobe Aero to create experiences that simulate various scenarios relevant to my life.
I see rats running around on the daily and it makes walking home feel quite surreal. I created an experience that simulates walking down my back alley in response to the project, complete with virtual rats scuttling away as you approach them. I'm very interested in AR and the endless possibilities it presents, but my limited experience with the software resulted in a rather basic experience.
While I only scratched the surface of AR's potential in graphic design, the possibilities it offers are truly exciting. However, AR does have its limitations; users typically need to be familiar with modern technology to navigate an AR environment, which can pose challenges for those who are not tech-savvy.
Week 3
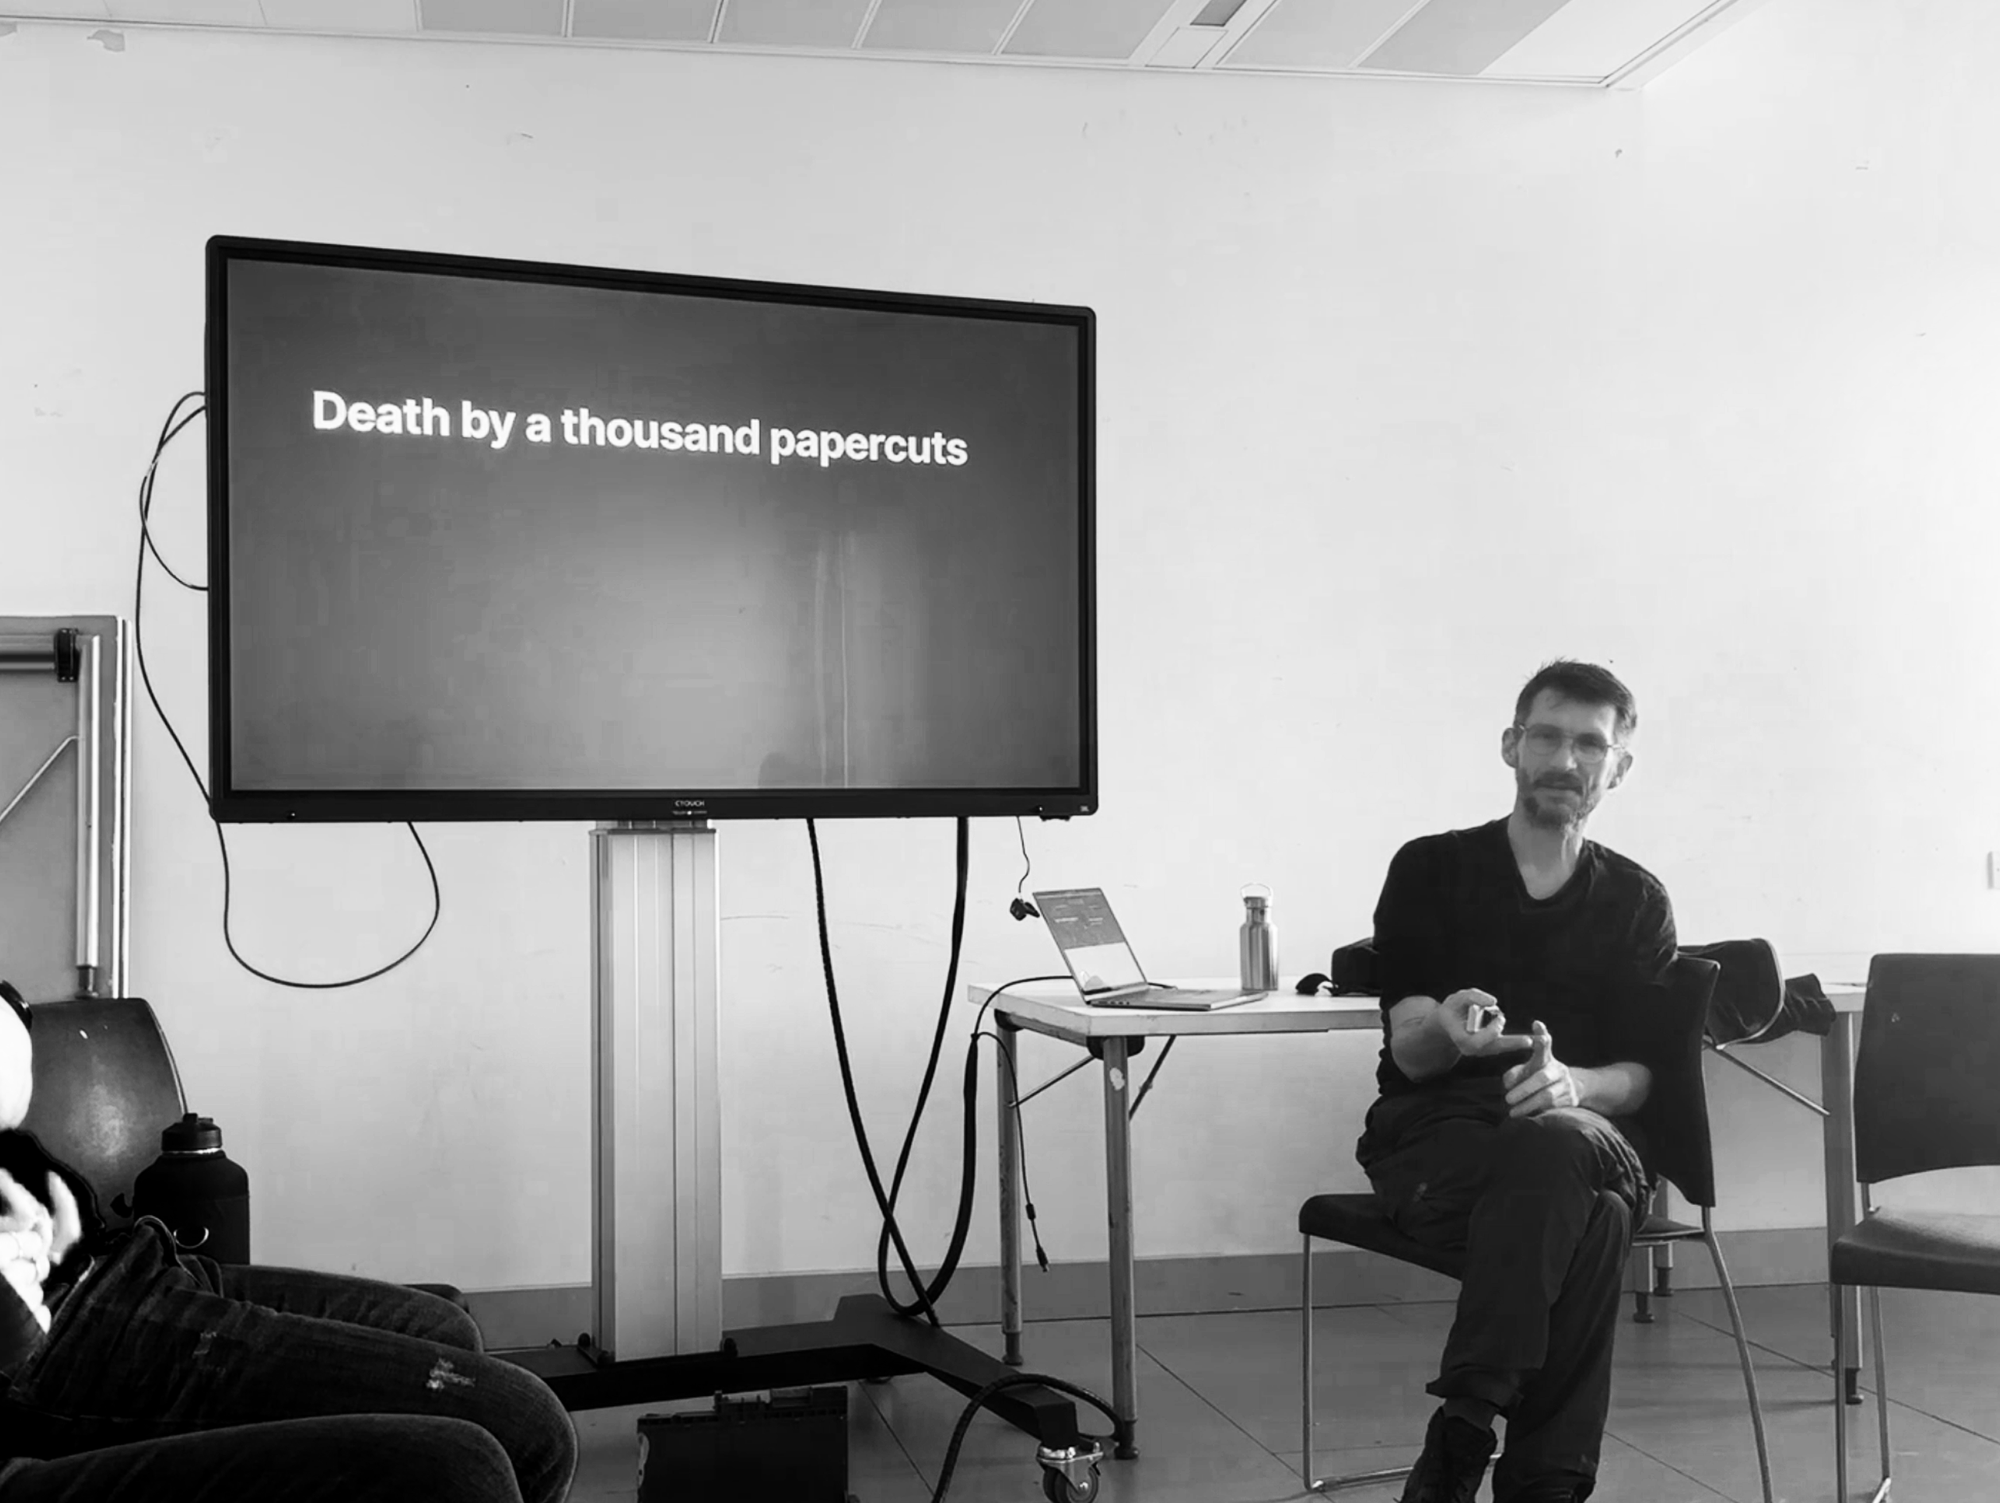
The week 3 seminar was particularly insightful for me. It introduced valuable tools and strategies to improve my workflow.

During this week, we learned about processing code. Before this seminar, I had a very closed mindset, believing that code was useless for graphic design. However, by the end of the week, my perspective had completely changed.
I am still hesitant to use code due to the steep learning curve, but I no longer hold a grudge against it. One of the challenges I encountered while coding was getting specific lines correct to achieve the desired outcome. I overcame this challenge by researching and fine-tuning my approach. I've come to realize that coding has the potential to automate processes and create randomized yet stylized designs. In the future, I now understand that I can use code to generate an abundance of material that varies while still following a theme.
week 4
During week four, we worked independently, as we were given a brief that presented multiple prompts and outcomes. Our task was to create an individual outcome, distinct from those of our peers allowing us to showcase our distinct creative voices and approaches. This week allowed me to delve into and experiment with new technologies that could offer innovative solutions to future briefs.
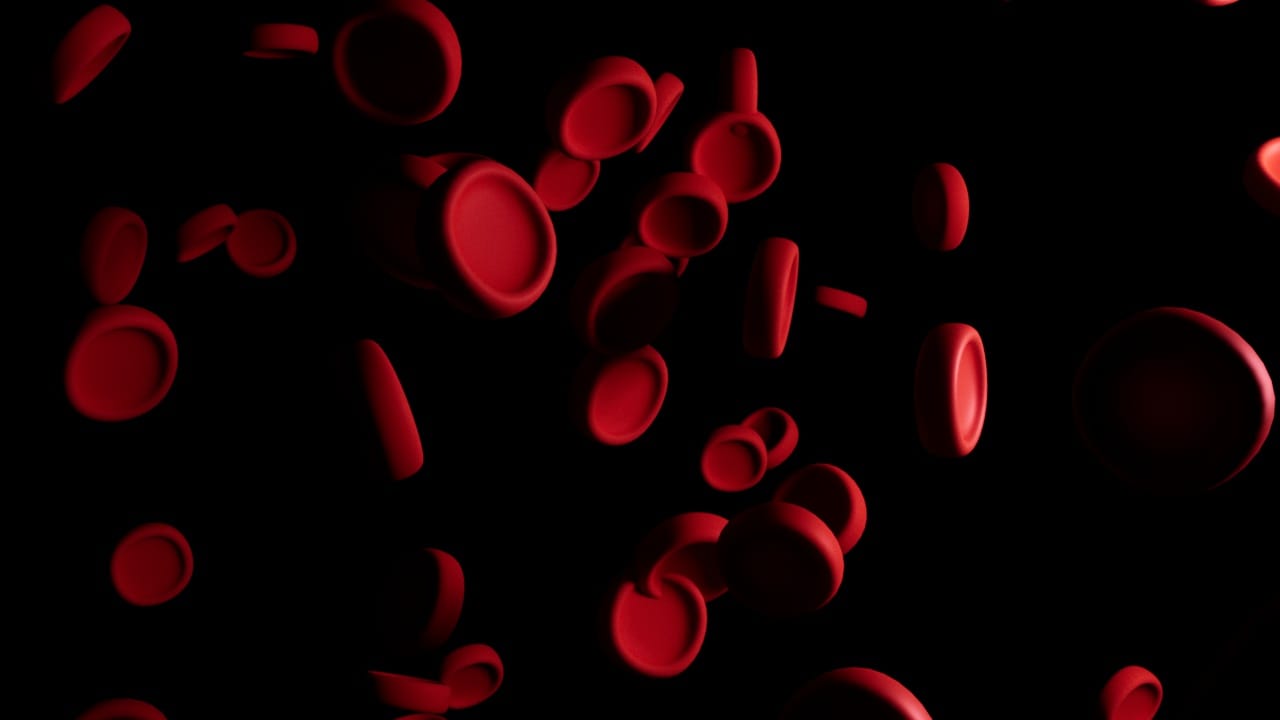
Throughout the week, I not only focused on meeting the specific requirements of the brief but also documented the entire process. this documentation included brainstorming sessions, sketches, and notes on the technologies and methods I explored, which provided a clear reference for my creative journey.
The experience reinforced the critical importance of developing ideas thoughtfully and remaining adaptable when the outcomes do not align with my original expectations. There were moments when certain ideas didn’t work out, but I learned to modify my approach, ultimately leading to a more refined and satisfying final piece. This showed me the value of thorough documentation in tracking my growth and decision-making.

Week 5
This week, we focused on distribution and the mechanics of HTML and CSS in web development. Our assignment involved exploring brutalist websites, showcasing the diversity of web design and creative possibilities.

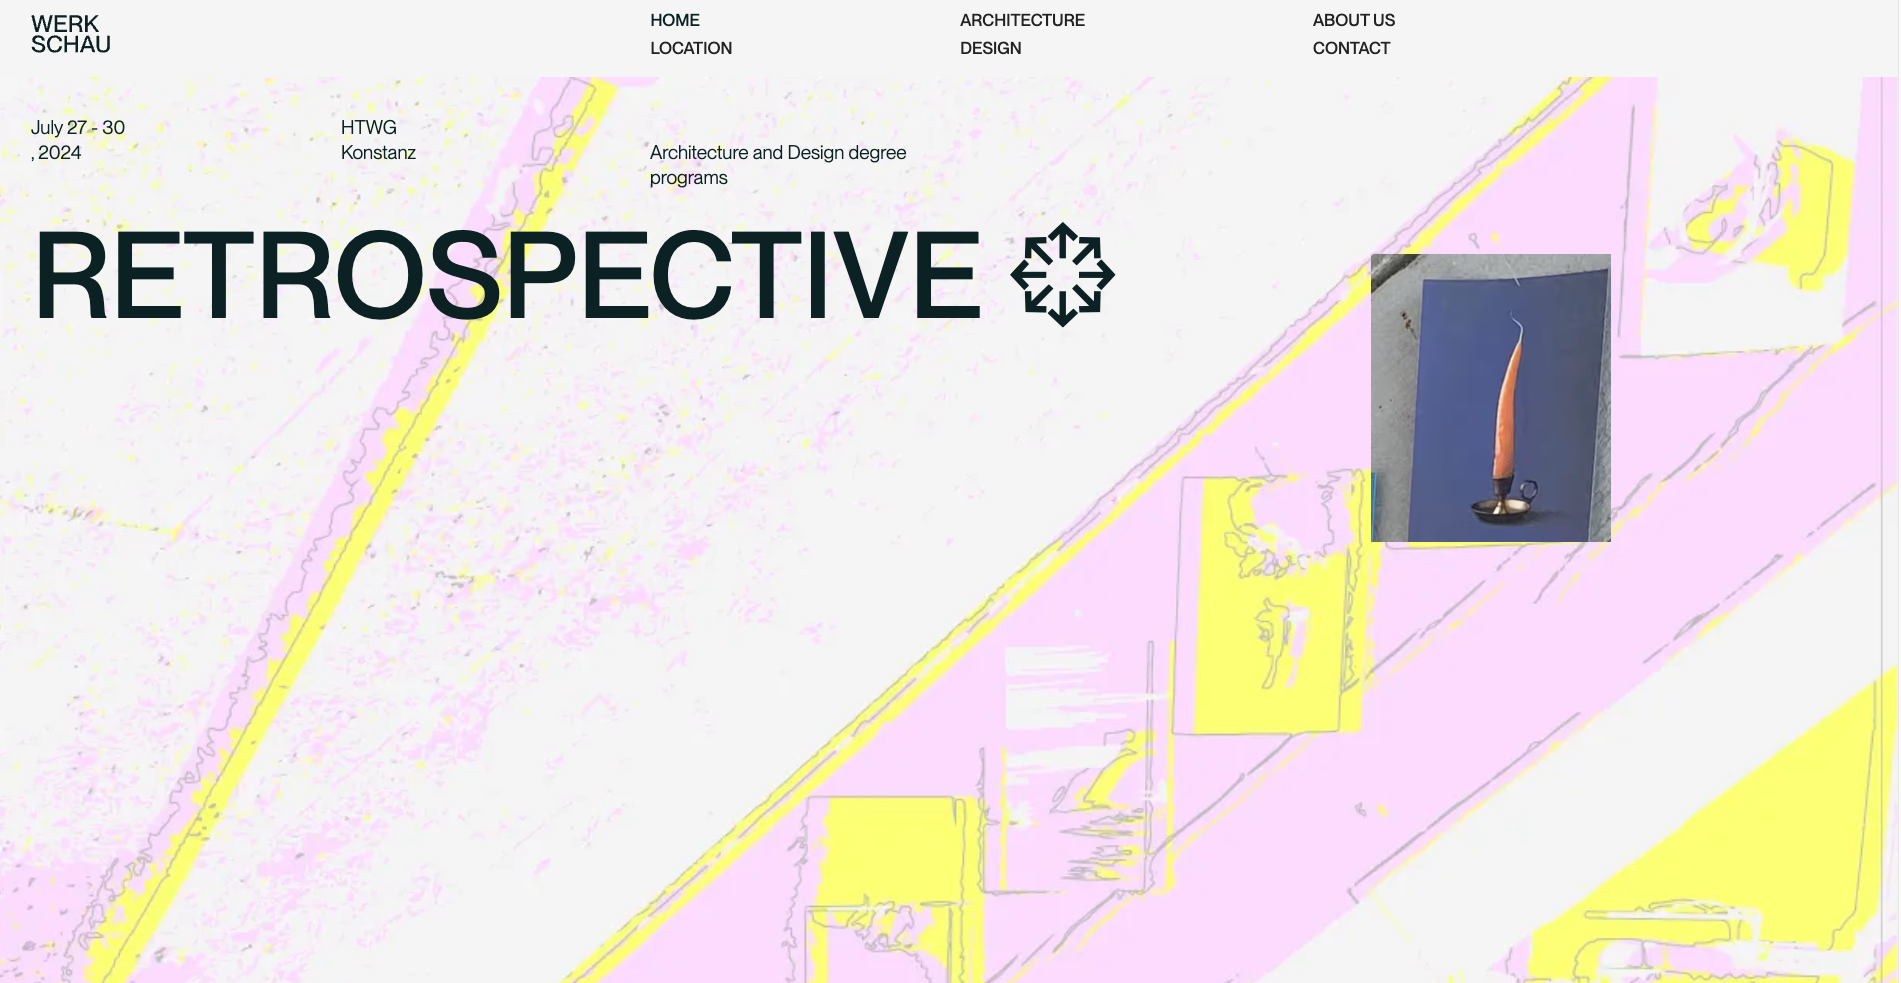
The workshop centred on hands-on coding, where we learned to modify existing websites through HTML and CSS. This experience allowed us to experiment with layouts, colour schemes, and typography, deepening our understanding of user experience.

Overall, I gained a greater appreciation for the complexity behind website development, recognizing the technical skill and creativity required to craft effective designs.
Jon's 3D workshops
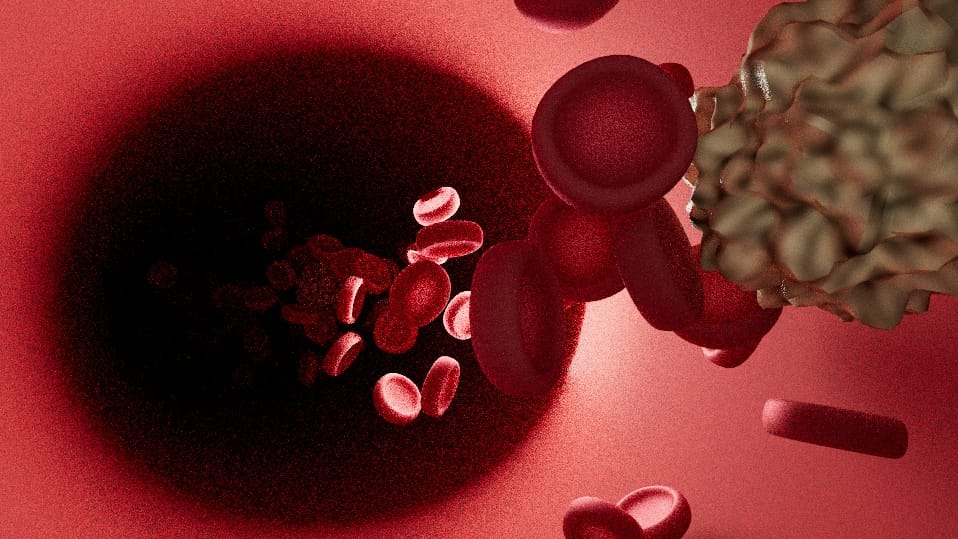
over three weeks we were also introduced to Cinema 4D and how to use all of its tools in different ways. we were also taught the importance of learning 3D design as it is growing ever more popular in the modern world of design.
reflection
During this module, I explored a range of emerging technologies and methods, including coding, 3D design, augmented reality, and group collaboration. I found that augmented reality was particularly effective for visual communication, as designing with it was a personal experience. In the future, I could integrate coding to create automated designs that vary slightly with each iteration.
One of the challenges I faced during this module was maintaining an open mind about new technologies and how I could use them in my designs. To overcome this, I will strive to approach tasks with less bias and a more open mindset regarding the tools I can use to achieve my goals.
When writing my blog posts, I sometimes struggled with what to say. However, during other sessions, I was able to get into a flow, effectively writing down the necessary information and incorporating visuals to support my writing. As the weeks progressed, I found that my blog posts became easier to write, resulting in a more fluid and navigable format.
Overall, this module has been incredibly eye-opening.


