Process Document
Week 1 - Initiation

We were set to create an campaign to spread awareness about neurodivergence, especially within city areas. I worked together with Dan, Matt, Louis and Matthew in order to begin to develop the idea. The initiation stage of a project is all about coming up with an idea and beginning to create sketches about how the idea may turn out. Our first idea was to rebrand an underground subway line in London, giving riders features in order to make them the most comfortable within the setting of a fast and loud train, however we didn't really like the idea, what ideas we came up with for it were mentioned but not developed. Matthew then retooled the idea into a more localized implementation - the food pods. Me and Matthew sketched up ideas of what the food pods would look like on paper, which then Dan and Louis took onto the computers, creating a further digital mock up in InDesign, and an interface mock up in figma, whilst me Matt and Matthew then began to create the pitch script for the project.

This brief would have been a lot more difficult if not for working within a team, as once we had come up with the actual idea for the project, we were able to divert the team into working on the whole range of material needed to create the initial pitch slide, that we were to present to our client - in this case Graham. Each person worked with what they felt most comfortable, and able to work with for this stage of the process of a brief - preliminary ideation. Viewing the entire 6 weeks as one whole brief structure, during this first week we created the initial steps that are required for any brief to be able to find its footing and begin to go from just a brief to an actual idea that can be created and sent off to a client.
Initiation - creating sketches and preliminary ideas to begin to develop the brief and the project into its first stages. Getting the project on track.
Week 2 - Innovation
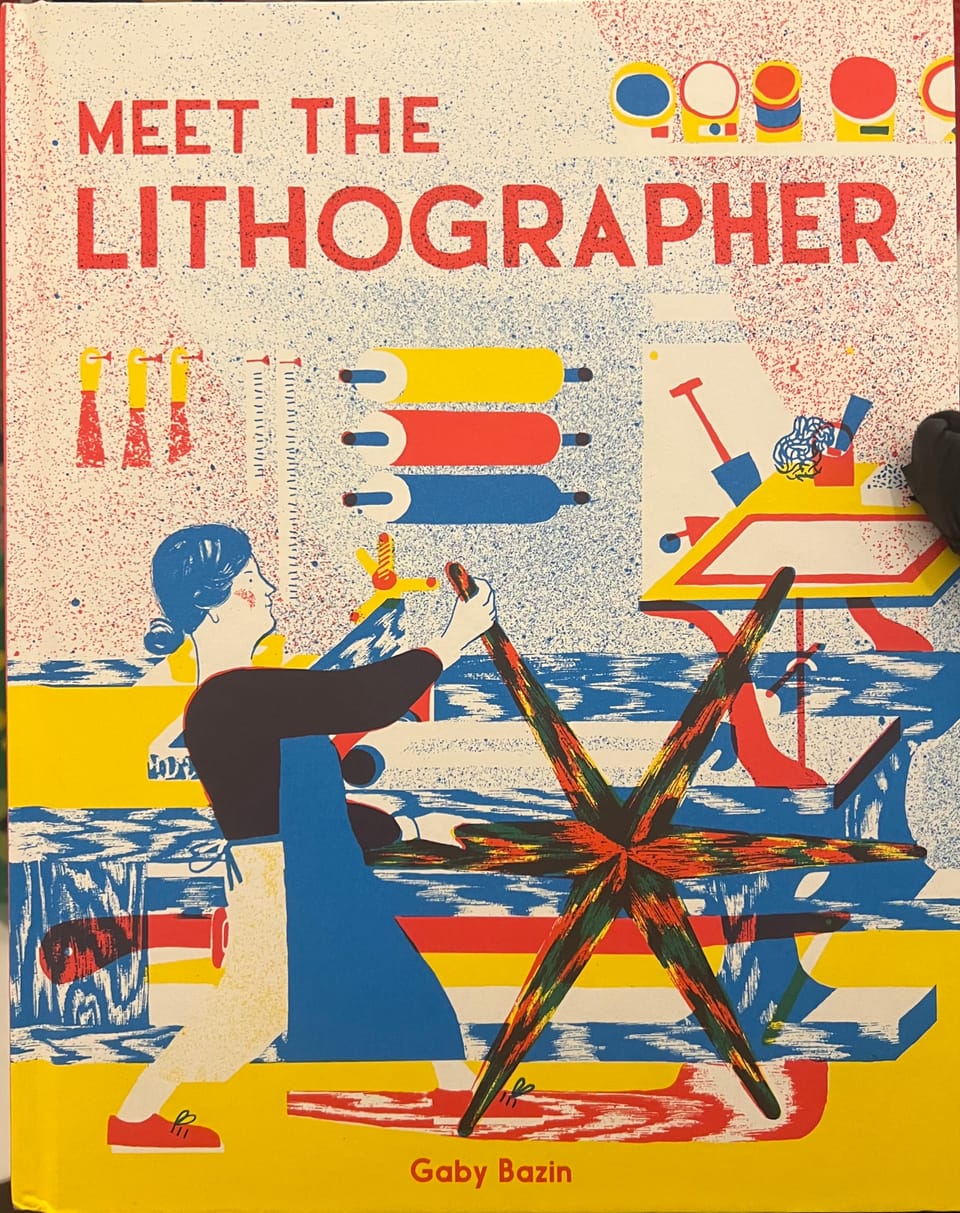
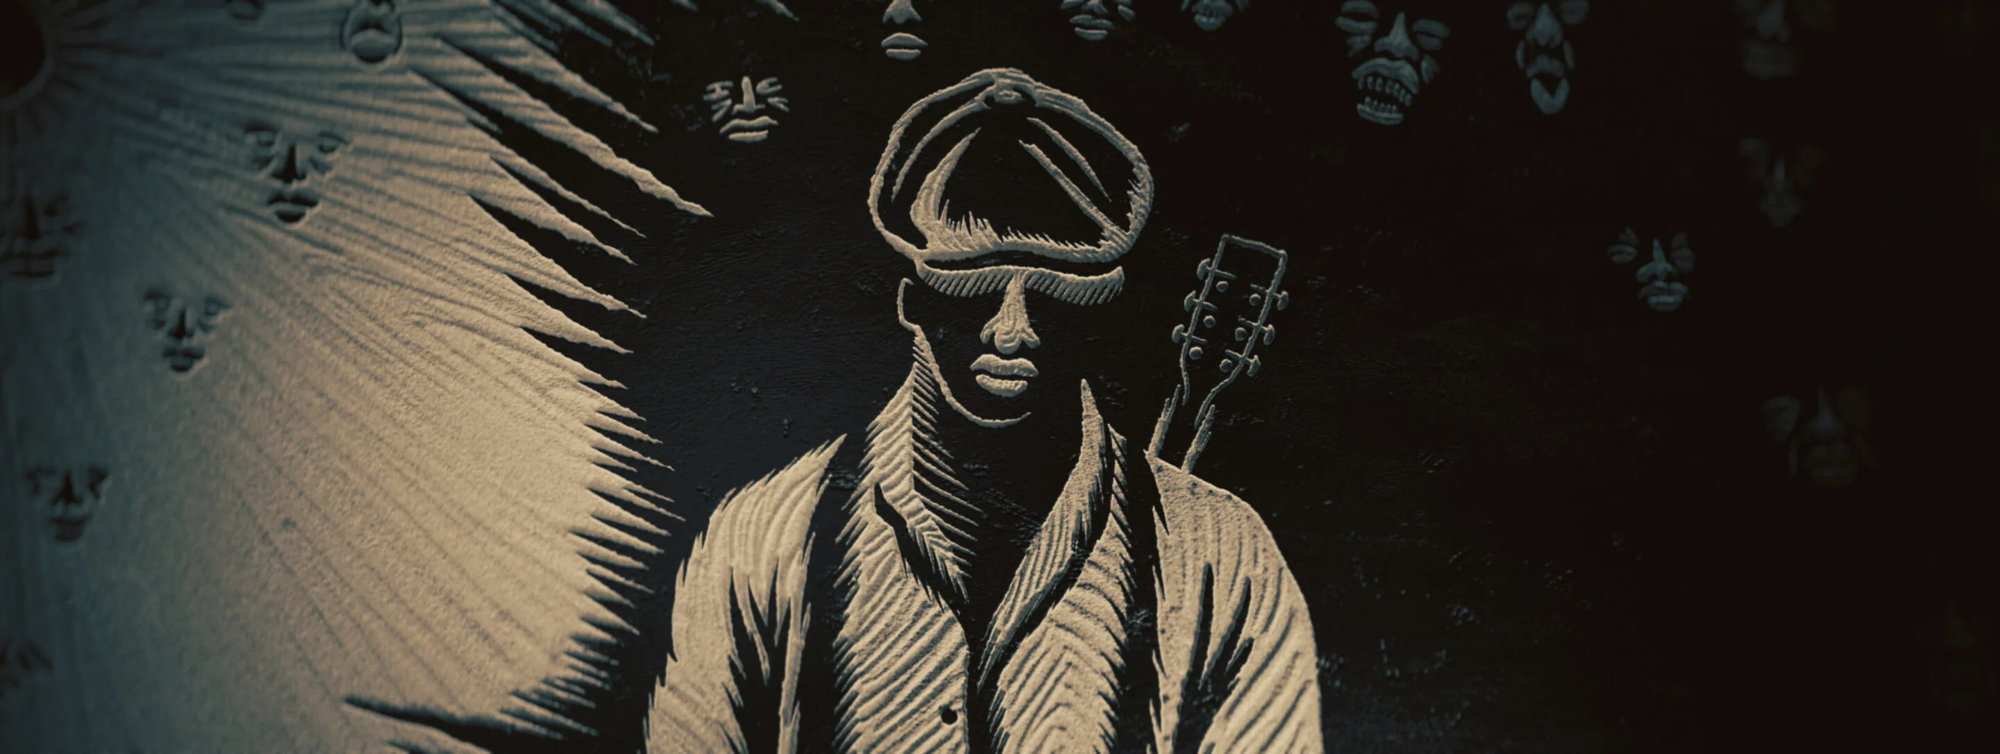
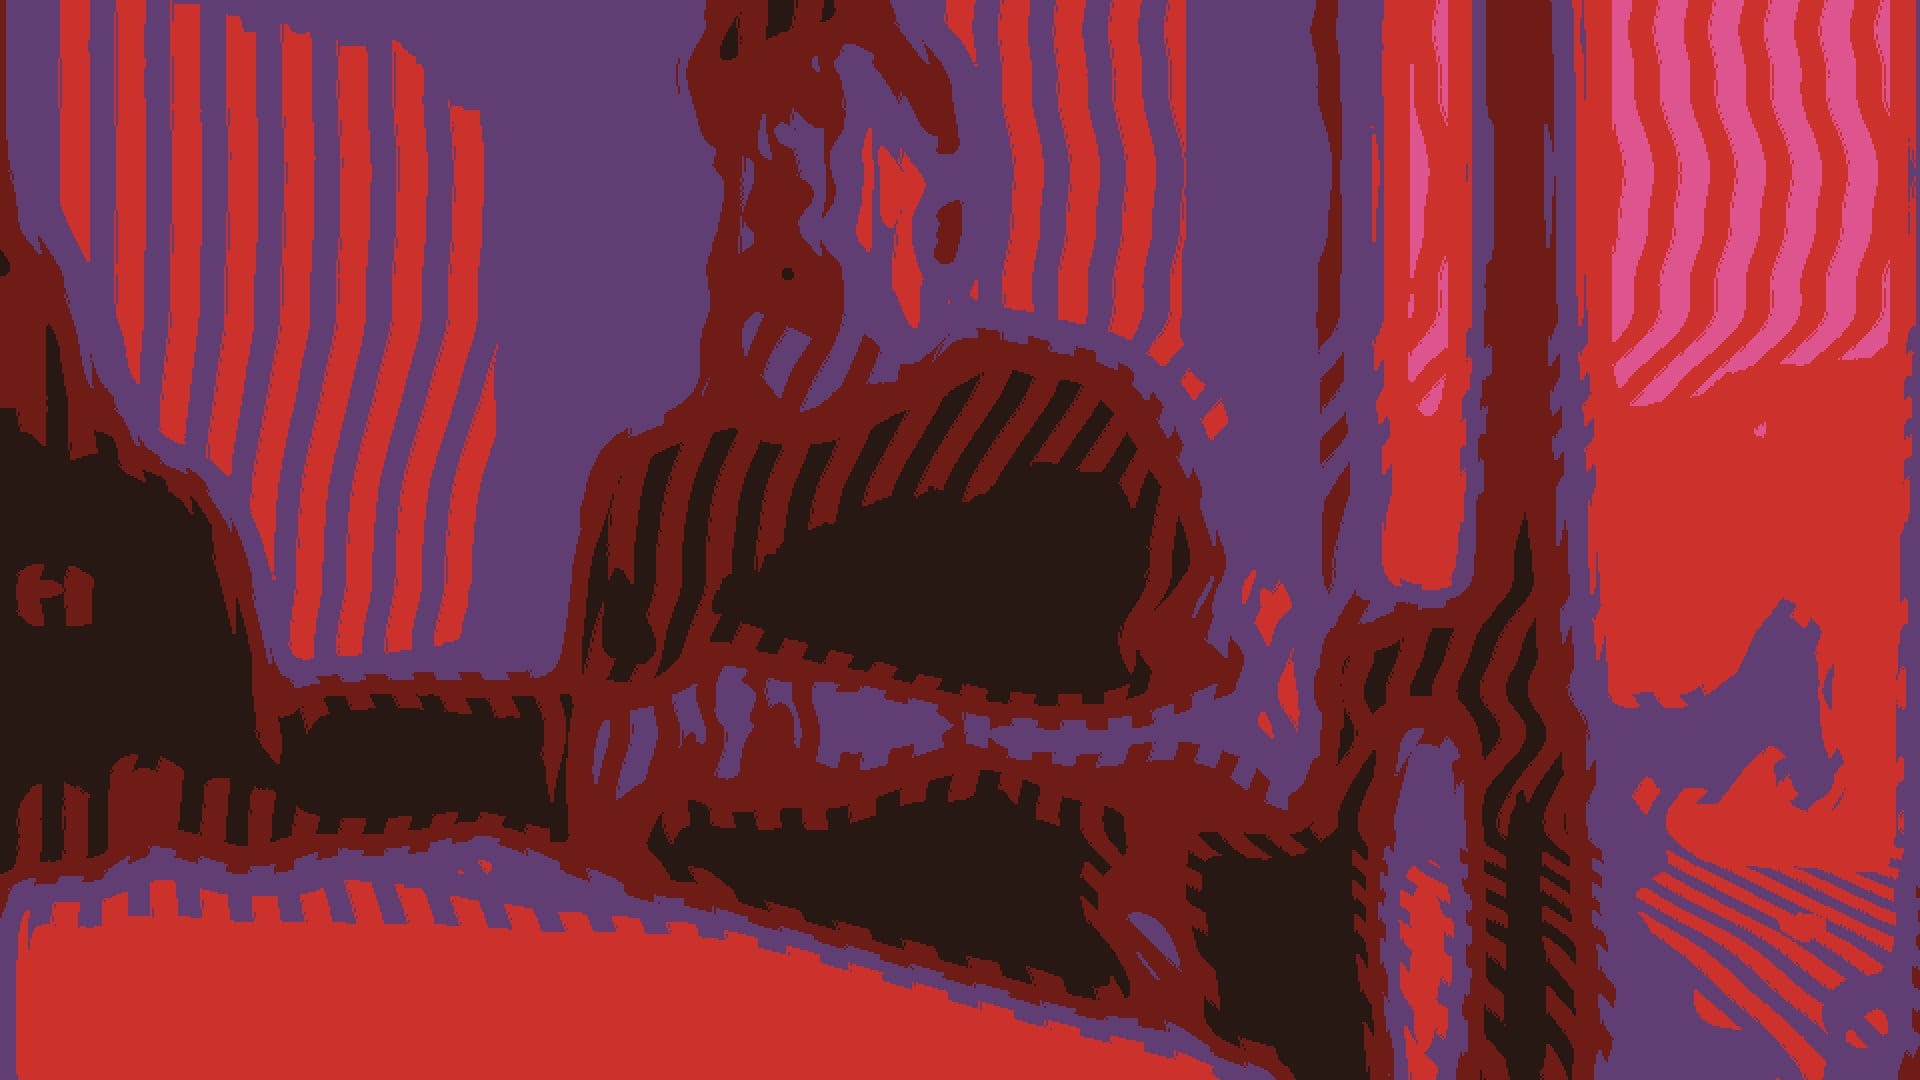
We were set to look back at interesting design projects that we had found over the last week and to learn the method behind how they were made and with what tools. Literally the night prior to being set this task, i had watched the incredible film Sinners, in which the very first few minutes of the film are occupied by the 'linocut' prologue. The designs were detailed and intricate to a mind blowing extent, first being cut on the lino by hand by 'BlockForest', then sent to Perception who digitized the designs to make it easier to work with them to add lighting elements and closeups. As part of the film, it was a really effective opener and visual for the prologue and really helps set the tone. It is a visual treat to see, and whilst I've had the chance to use lino before, seeing something made from it to this scale and level of detail is incredible. A really effective method of design that could be used in a project to create a sense of unnerving atmosphere. I could see myself using this method in a project in a very similar manner, for a narrated sequence, or actually creating lino cut prints / stamps etc. again, a hands on process cutting and inking the lino pad myself to create a design.
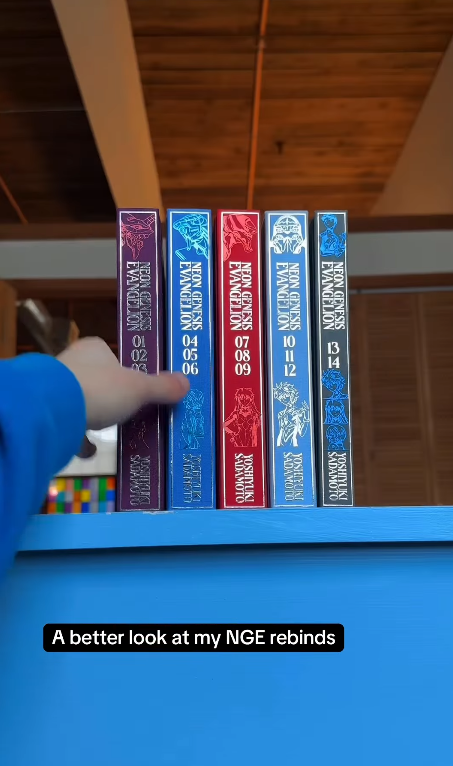
Another design that i looked into was the process of re-binding / binding hardcover books. Moreso than paperback books, a lot of work goings into properly binding a hardback, in order for it to have a level of visual flair that would make
it be purchased over a paperback - which are usually cheaper. The layers and craftsmanship that goes into making a great hardback book are what sets it apart, and the designer of these rebinds link a lot of valuable information into how to bind and re-bind books, and especially taking a very in depth look at what their own process is, making the process very accessible to first time viewers or attempters. I could see myself using this same process in the very near future, as i have taken an interest in publications, so perhaps for 5.4 or something in third year, i could create a larger book than my zine and bind it by hand to be a hardback book, as long as the method fits the required outcome for the brief.
The third design that i looked into was something that surprised me the most at how 'simple' it may be in order to create something that I'm quite partial to, these being figures or little sculptures of characters. The whole process of going from just an idea to a printed and packaged 'art toy' - as the creator calls them. The creator follows the entire process within his Instagram posts, from 3d modelling and printing his art toys, to the design of the packaging, using a vacuum sealer to create the plastic casing, then using tools such as corner shaper to smooth out the packages corners, and finally using a t-shaped rack cutter to create the right sized hole for where the toy would be hung up on a rack in a shop. Since finding this series, i have looked into acquiring some of the tools the creator used, specifically finding the same corner trimmer that they used, as not only can it look great for packaging, certain styles of zines would also benefit from having smoothed corners, all within reason and intention of the outcome. The process looks really fun and if it was something that i had all the tools to do, it would greatly increase my capability and employability, being able to create small run toys such as this, perhaps for a client who has a niche set of characters and is running a pop up stall, or something of the sort. Either way, it is an expansion of when i created my own character figure from some sort of clay in college, and really struggled to package it with what tools was available to me. Having more tools like this would have made it a much smoother process.
Innovation - learning and developing (potentially new to us or new to the world) methods and technologies to begin to take ideas and concepts and make them into a finished and presentable project. Learning new design niches that may be applicable to any given brief, expanding what we are capable of creating to bolster our practice, and be more desirable to a client.
ROUND 2 - Return to a previous project
Along with expanding our media diets and learning new tools to create new projects and new designs, we were also asked to return to a previous project and 'upgrade' it, based on what we had either discovered for ourself, or had been shown to us during the group session of the week. Said session saw us be shown a range of ways in which a project can be distributed to the client or the public. A lot of examples shown were installations with interactive features and elements that attendees could control with their phones or their presence, interacting with hologram like elements to shift and manipulate the present design.
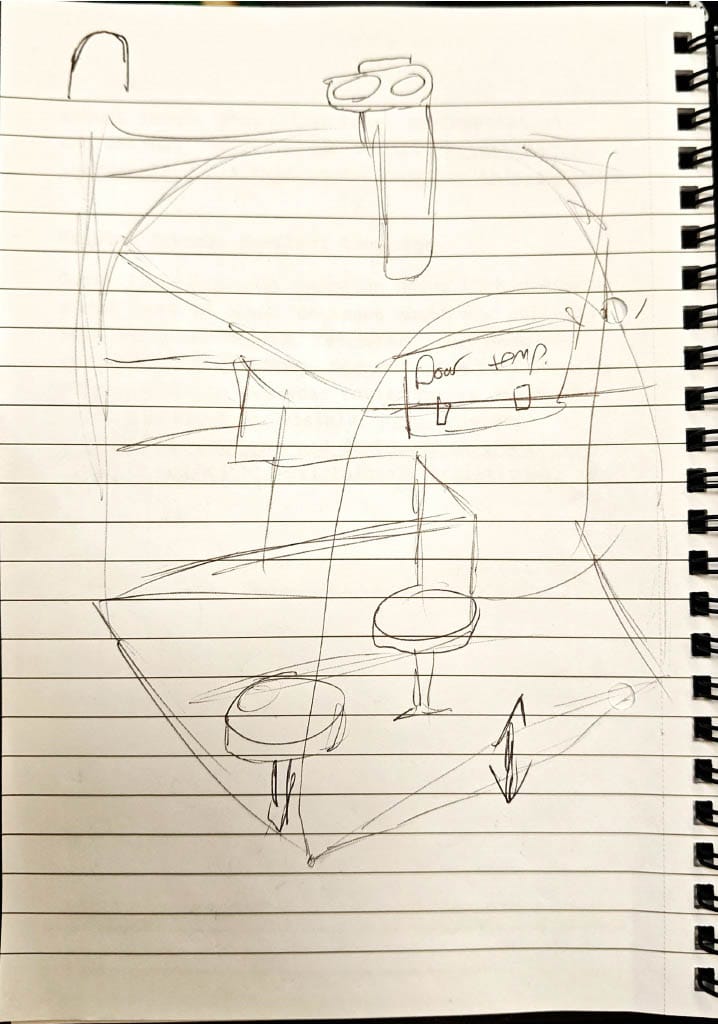
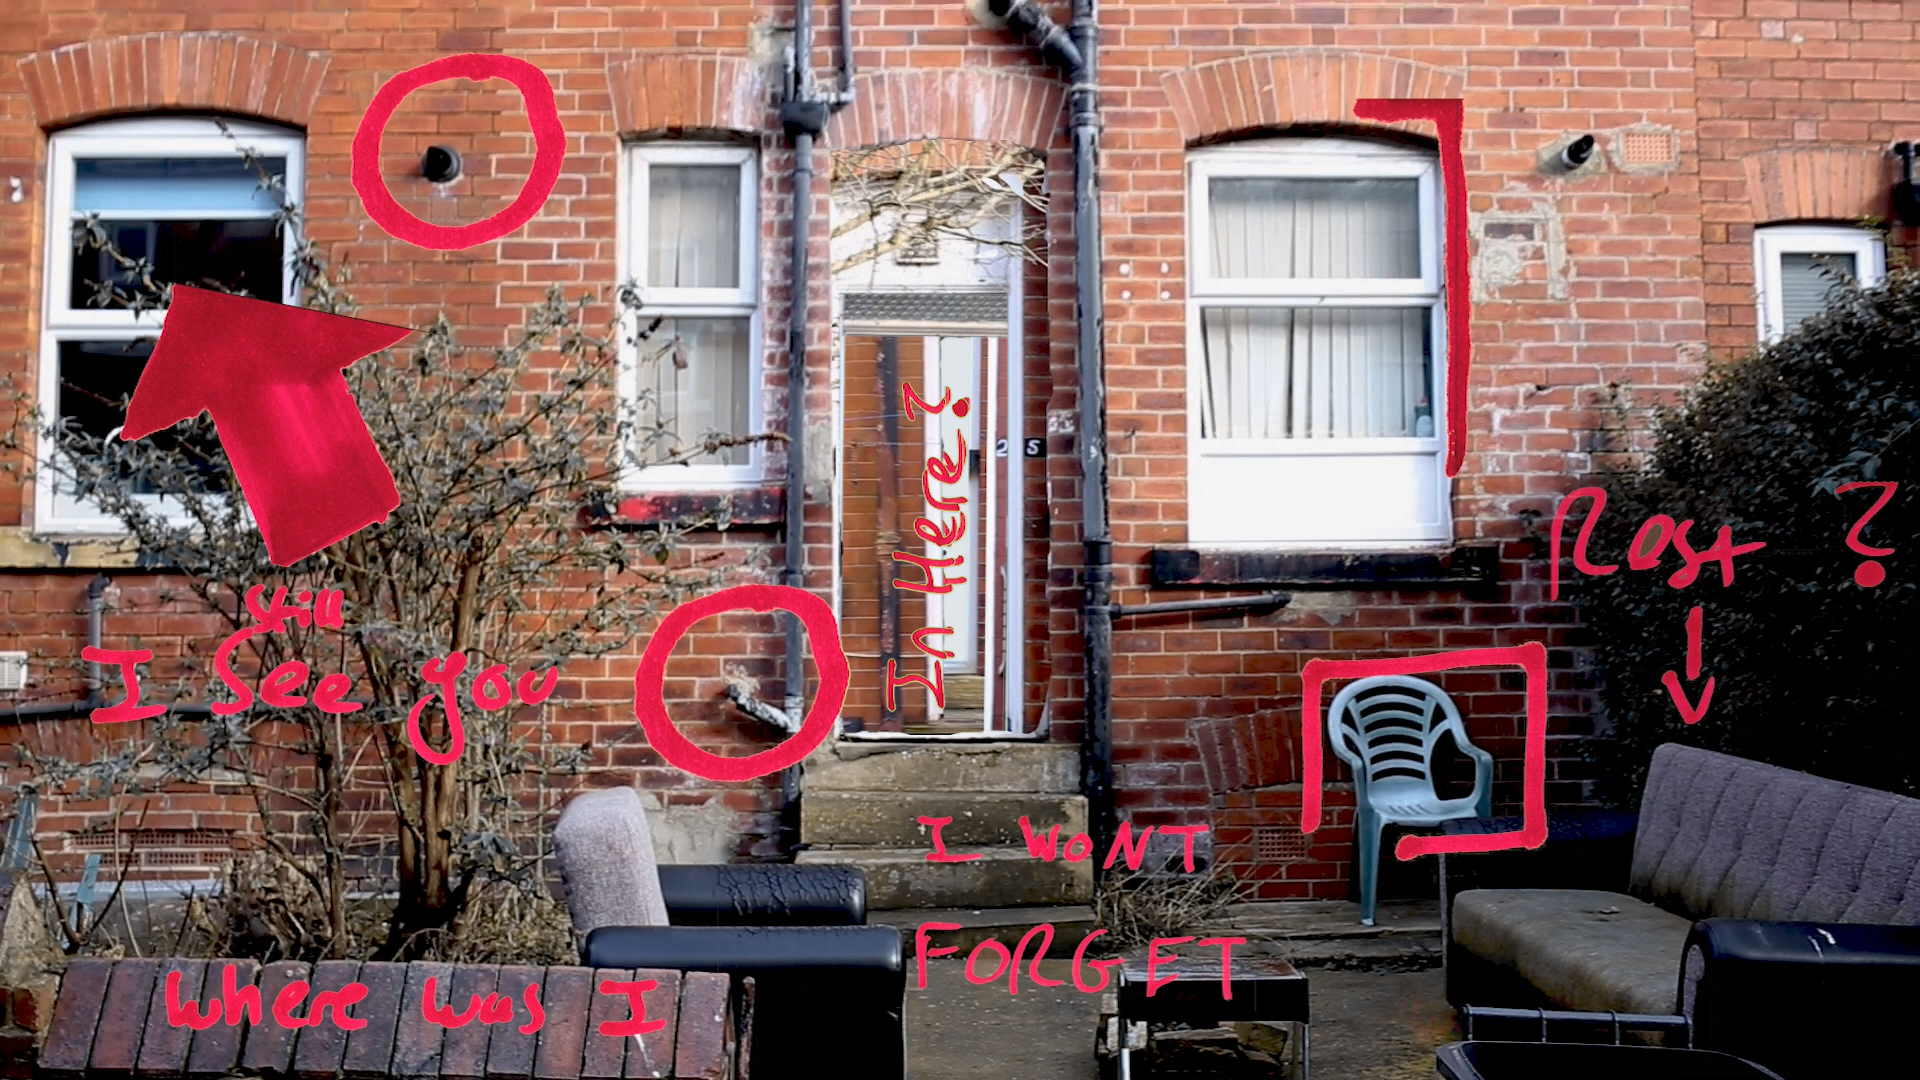
This lead me to want to return to a neat idea i had during the 4.4 module of level 4, and a project that we had created for it. My video project was an adaptation of my zine project, but also heavily inspired by Instagram creator Drezdon. His own works exhibition was this trippy yet ephemeral projection of his work, and so just as my zine was inspired by his work, so was my video, and so will be the return to this project. Within the post i outline an idea for an exhibition featuring the video, and more video created specifically for the exhibit. The videos would be projected into a room of 4 walls, each wall having a door in the middle of it which aligns with the project of the door in the video onto it. With ambient music and a place
to simply just relax and get lost within the endless natural repetition of human construction, perhaps finding inner peace along the way, or perhaps not.
Innovation - developing previous work with new knowledge and outlooks. Being able to adapt a design into something more using new methodologies that may fit well within the work and what the client has requested.
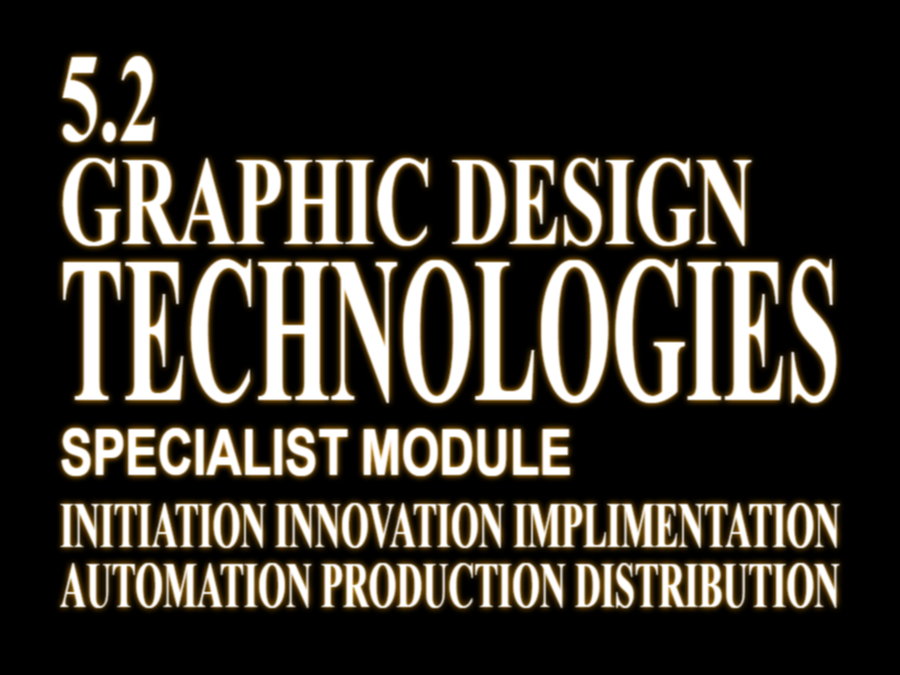
BONUS ROUND - Title card typography

Week 3 - Implementation
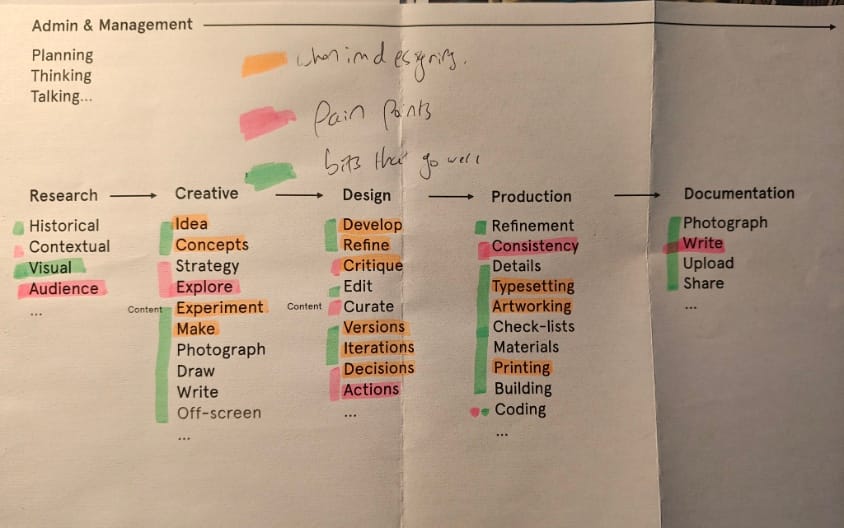
This weeks task had us looking into new software / tools to incorporate into our workflow when designing, by reflecting on our specialist typography module, seeing which areas caused us the most pain in the process, and which areas we enjoy the most and give us the most energy. My own pain points have always been making decisions. I like coming up with multiple versions of a design, I'm good at making alternative versions with minor alterations, just not actually picking the final version. I struggle to critique my own work but am very accepting of others feedback.
Looking into the tools that Graham showed us, there were quite a few that would be really beneficial for my workflow. Other tools would generally just be a great addition to my laptops toolkit, software that i can use in the future to help with both personal and professional projects. One that has really come in handy for me rather quickly is eagle. It works much better than my previous screenshotting tool, aptly titled snipping tool, both of which are free but eagle simply has much better features, including a way of saving images straight to the app. This works great especially during the research stages where i often times want to use images as reference but forget to save them, and being able to quickly save them to use later within a process document or similar would be really helpful. Being inspired by existing designs, even when creating a new design for a client, is a good thing in my opinion, so being able to save inspiration to bring back later is really handy. Another one that has come in handy for me sooner than others, being fontbase.
I have a lot of fonts downloaded to my laptop, even more when you consider
that i have access to both google fonts and adobe fonts. I cant keep track, especially of the fonts that i found online and downloaded for myself, and searching for them takes time away from actually making designs with those very same fonts, ultimately taking precious time from what id be able to deliver for a brief. Fontbase helps me to catalogue all my downloaded fonts in one place, better keeping track of my favorites.
Another software that i intend to set up in the future is Notion. As i discuss in the main post for the week, notion is an organizer tool that would be able to help me
to keep track of deadlines, along with being able to save websites for inspiration, research or general design tips perhaps. I would intend to use notion from the very beggining of a project, having already set it up to be personalized to me, so whilst
i haven't been able to use it for this module, i intend to have it ready to go and use for my self initiation projects for 5.4. I'd be able to set personal checklists, multiple deadlines and checklists to be ready for said deadlines. Based on how 5.1 went, with me not receiving the right paper order in time, not being able to print my book on the day i actually went in to do it etc, id use a tool like notion in order to set a cascading deadline for myself (eg. if the project is due on the 10th, printed at the latest on the 7th, materials collected by the 5th, design finished by the 4th), as
i never want to have to submit late again, and a tool like notion would help me greatly with that, along with using it as an organizational tool.
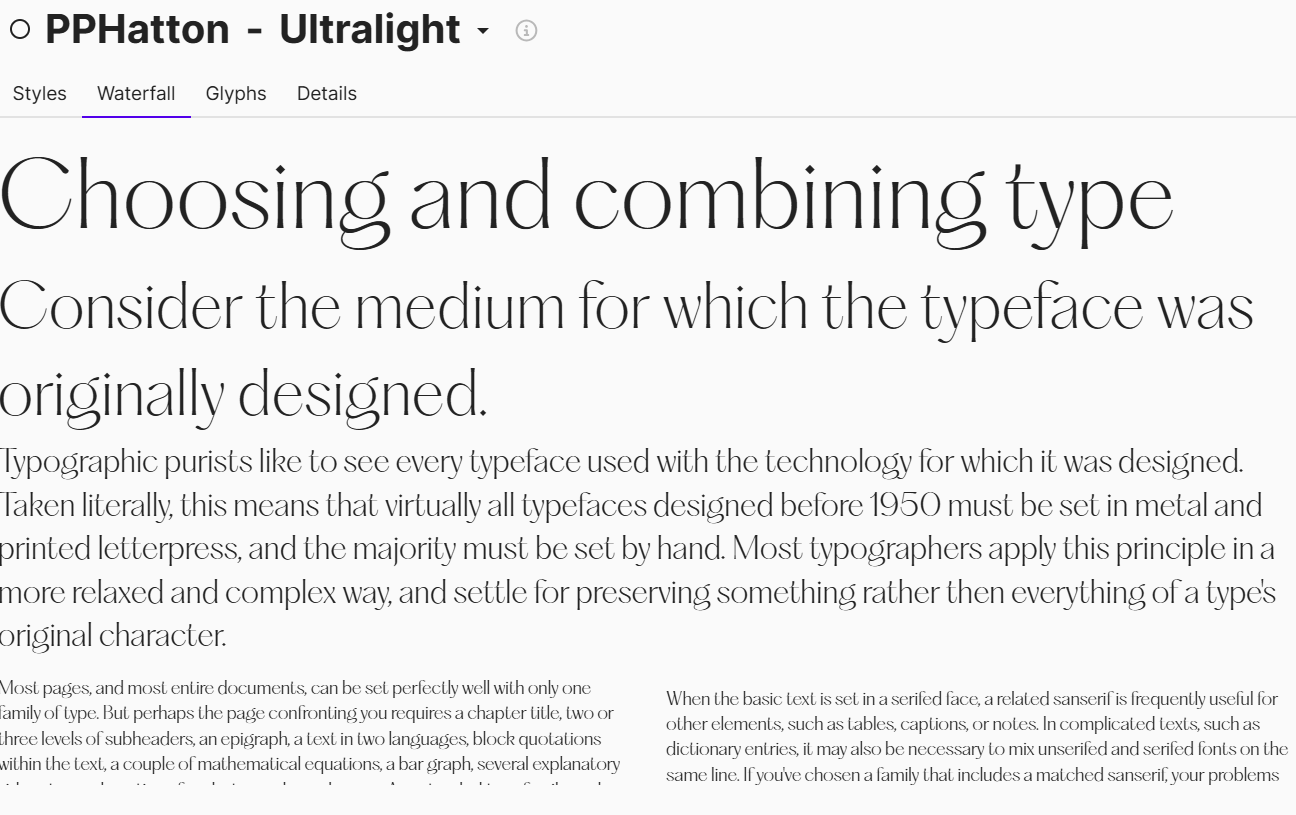
The final tool is FontForge. I've developed an interest during university in both the niches of publications and typography. Whilst my typography skills aren't perfect yet, its something i want to keep practicing with. What these have in common are typefaces, and with so many to choose from, i cant choose from them, so over this Christmas break, i plan on learning how to and making both a sans and a serif font for my own personal use. FontForge is a font creator and editor, that will allow me to turn my font designs into an actual file i can use and download. This would also be useful in future if i needed to create a new typeface for a client, id be able to create a deliverable type file that id be able to send to them and what they could install and use for themselves, or as part of the overall deliverable packaging for
an overall project, such as for a publication with a custom font that the client would then be able to own. All of these tools i have discussed can be incorporated into my workflow for future projects, generally making my development cycle much easier and more fluid.
Implementation - utilizing software and tools within a projects workflow . Using the tools we learn about to make our design processes smoother / cleaner or more organized. Using the best tools for a job in order to create a desirable outcome / product for a client in a professional manner.
Week 4 - Automation
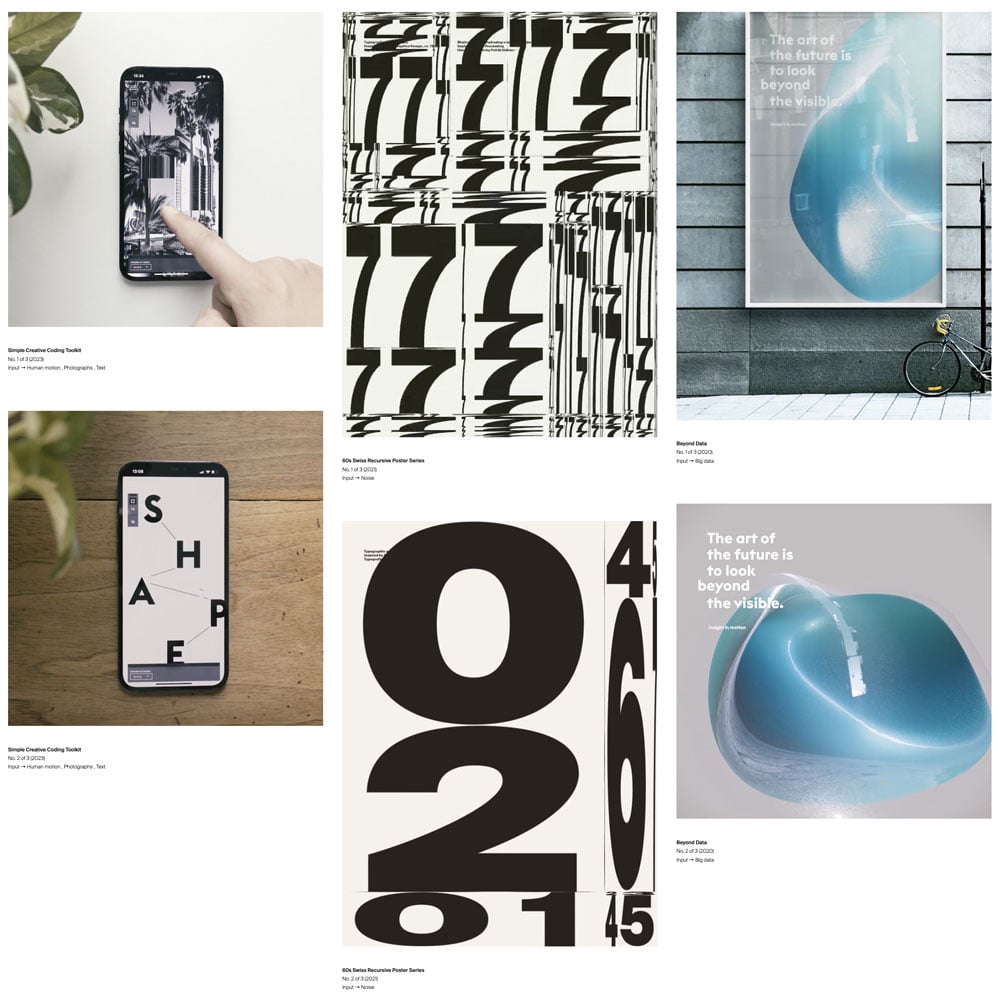
This weeks task saw us generating designs in a quick fire manner, using creative coding websites. When the biggest name within the design sphere - adobe - is such a capitalistic force, with extremely costly licenses, the fact that so many talented creators are willing to post their creative coding design generators to the internet with no cost to use at all, is just incredible and really shows that there is a strong community within the graphic design sphere. The post linked above is a dump post that then further links to all the creative coding websites that i looked into during the week, each one doing vastly different types of design. An abstract poster creator with pre built images and fonts generates a series of designs that can appear vastly different yet maintain the same overall feel throughout the series. Image to text generators that transform an image fed into it into complex word collages based on words you also feed it yourself. Text distorters and title card makers. Creating valuable content that can be shown to a client, preliminary designs or actual final creations can be a slow process, but these websites and
tools which are hand crafted are really competent ways of creating designs quickly, especially within the middle section of the design process. Plus, all of the designs that i created with these websites are really competent, i really like the P5 Studio poster creator, the Accordion image to text and the space type generator - the one with the ribbons. I could see uses for all of these as designs either by themselves
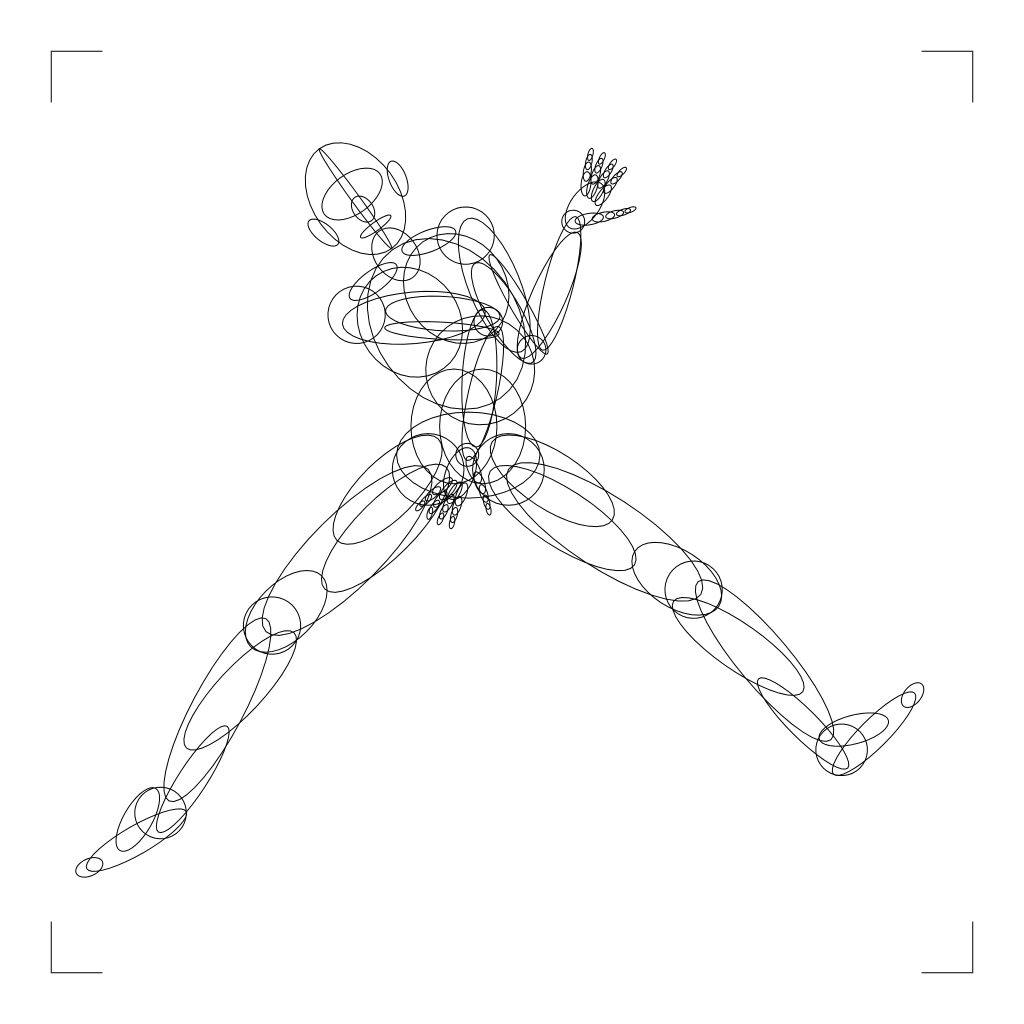
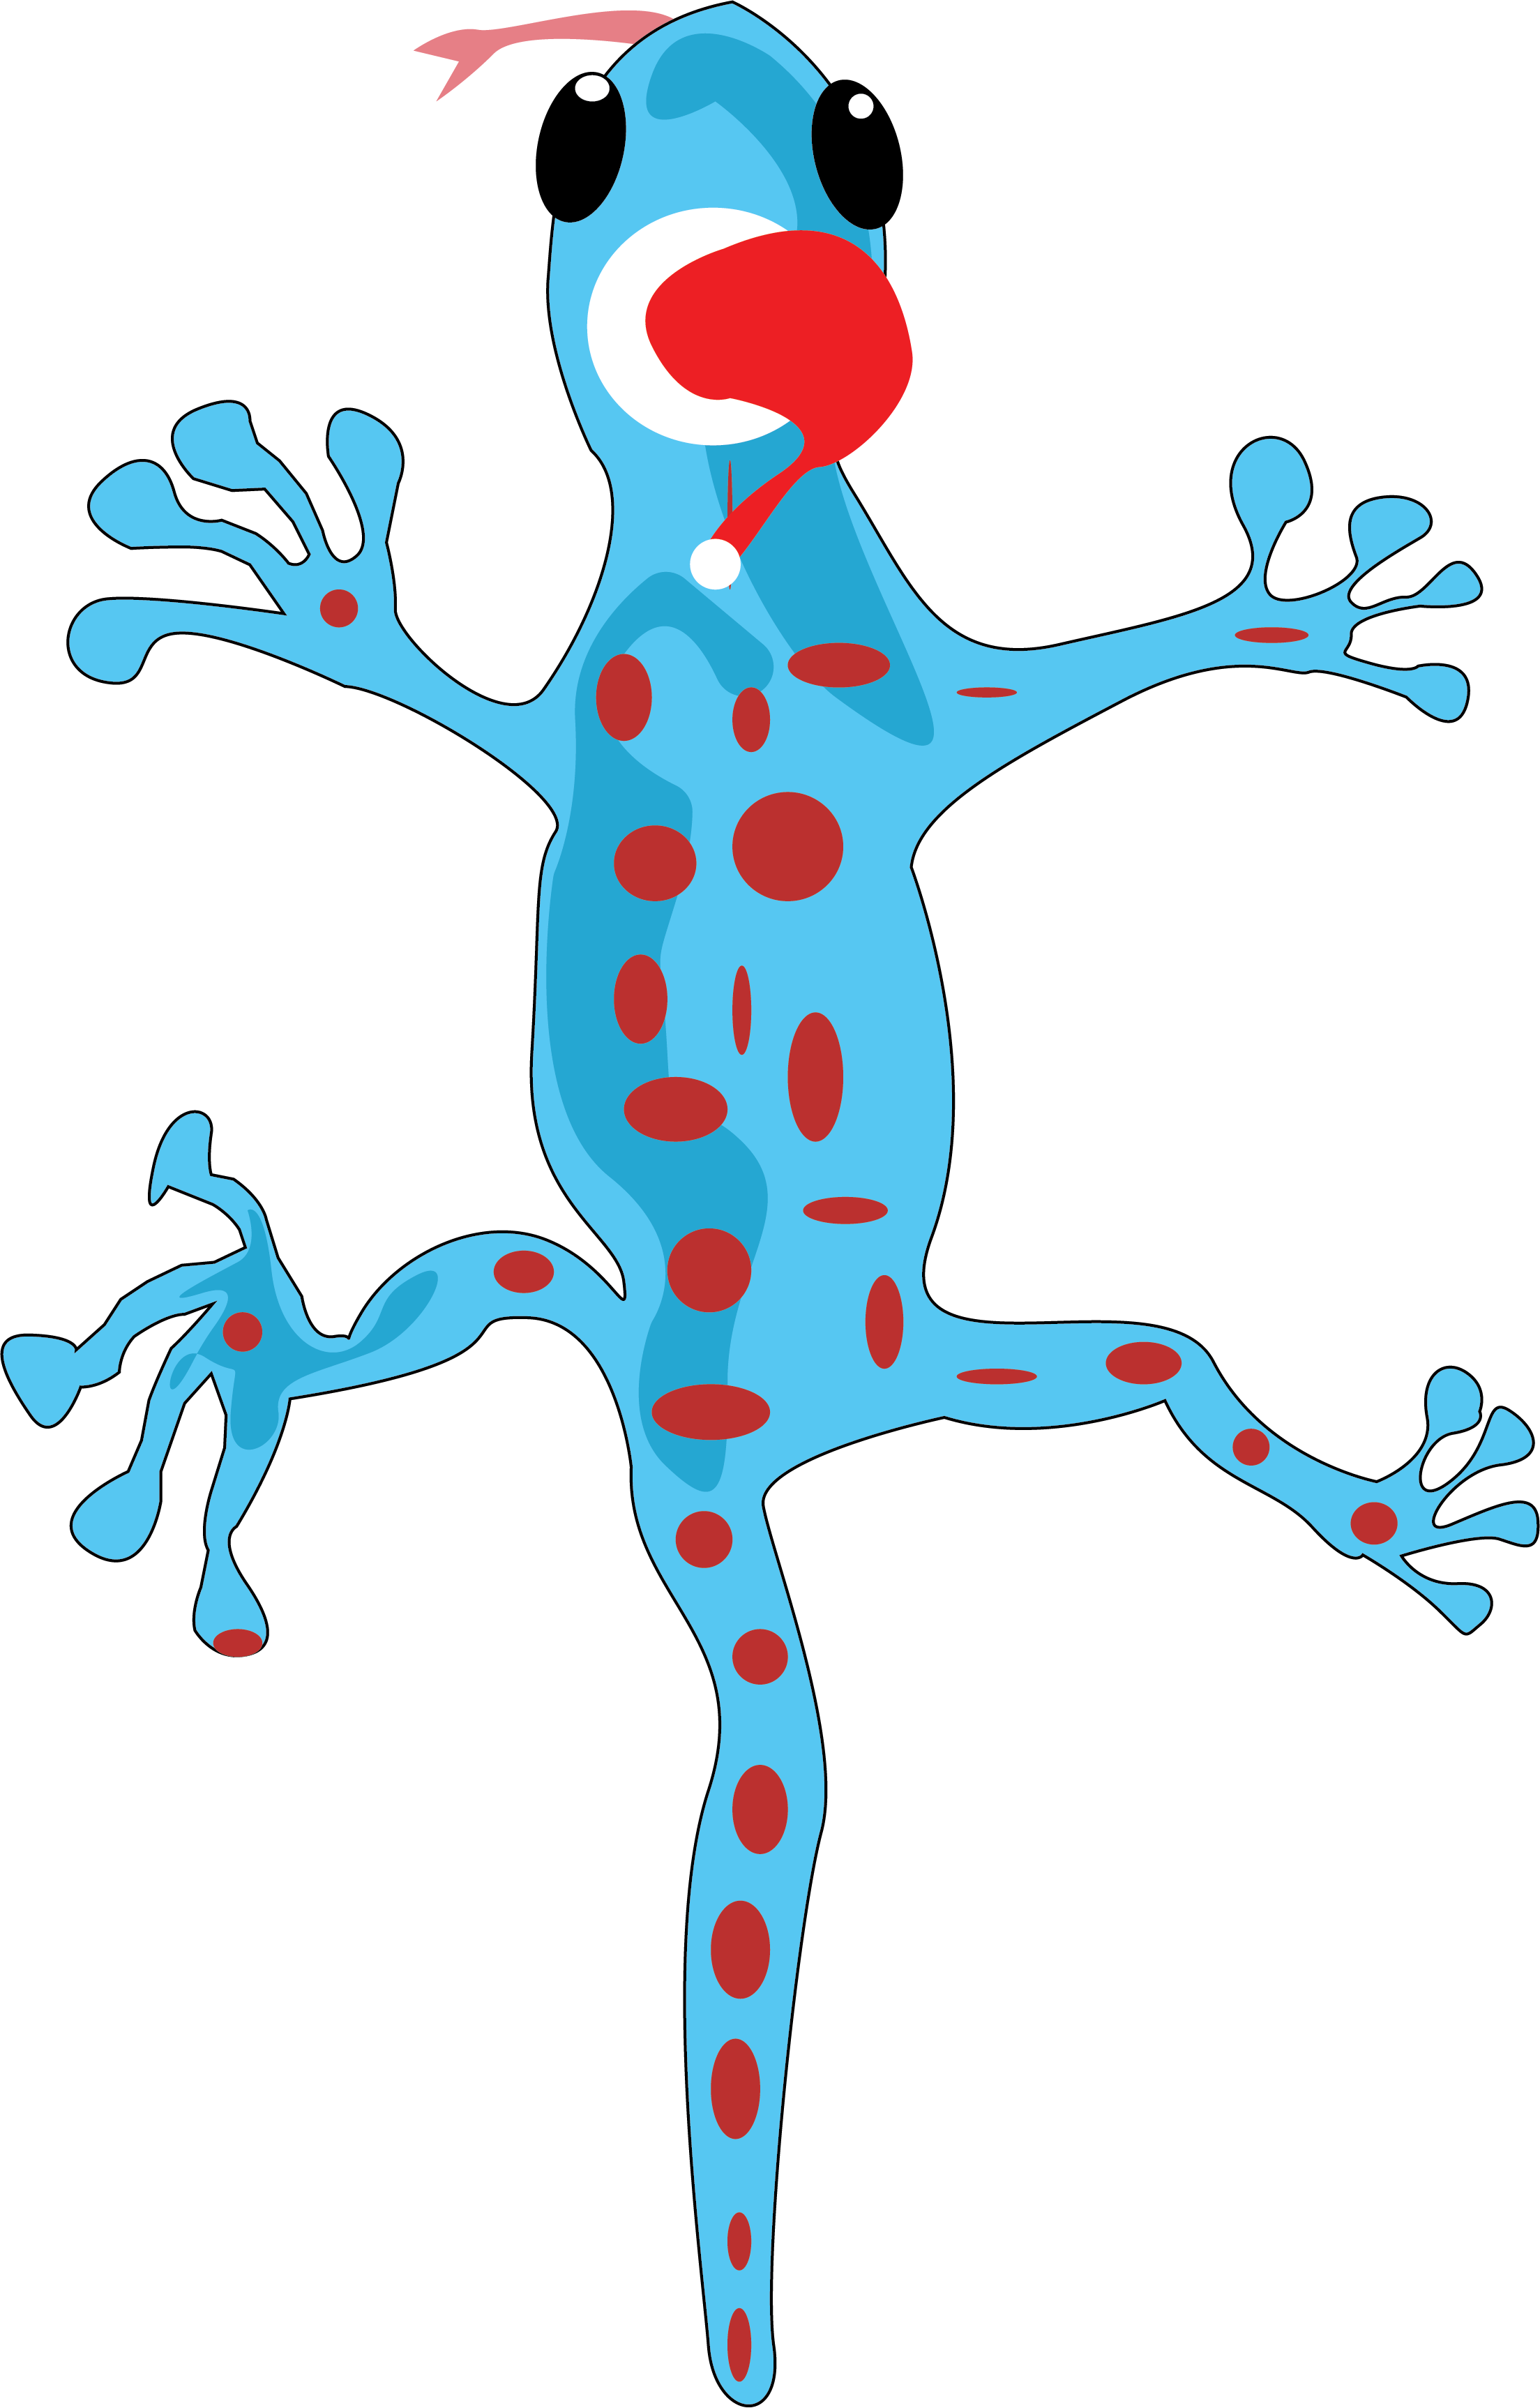
or by merging elements together. All of the tools within Turtle toy are just genius, and could be used for backgrounds (the city designs) or making perspective girds (the sci fi grid like design) and my favorite being the posing generator which can make some really fun and interesting poses that would be great for character designing. Any of these websites would really help bolster anyone's design
practice, and could be great for people who might not have the experience to
create things like landscapes or poses, and again to make the actual design
practice smoother and faster, without taking shortcuts.
Round 2 - Processing Brief
Especially within this stage, automation can be a very beneficial method, there is simply not enough time for a project to be able to do everything by hand. Not only with the means that i discussed above, but also in some technical aspects. The processing coding brief tasked us to create a series of 100 book front covers, with
a new yet systematic design for each, with a numbered 1 to 100 sequence in the corner of the book. The way we could do this without the repetition of doing it one by one, was using coding in Processing!
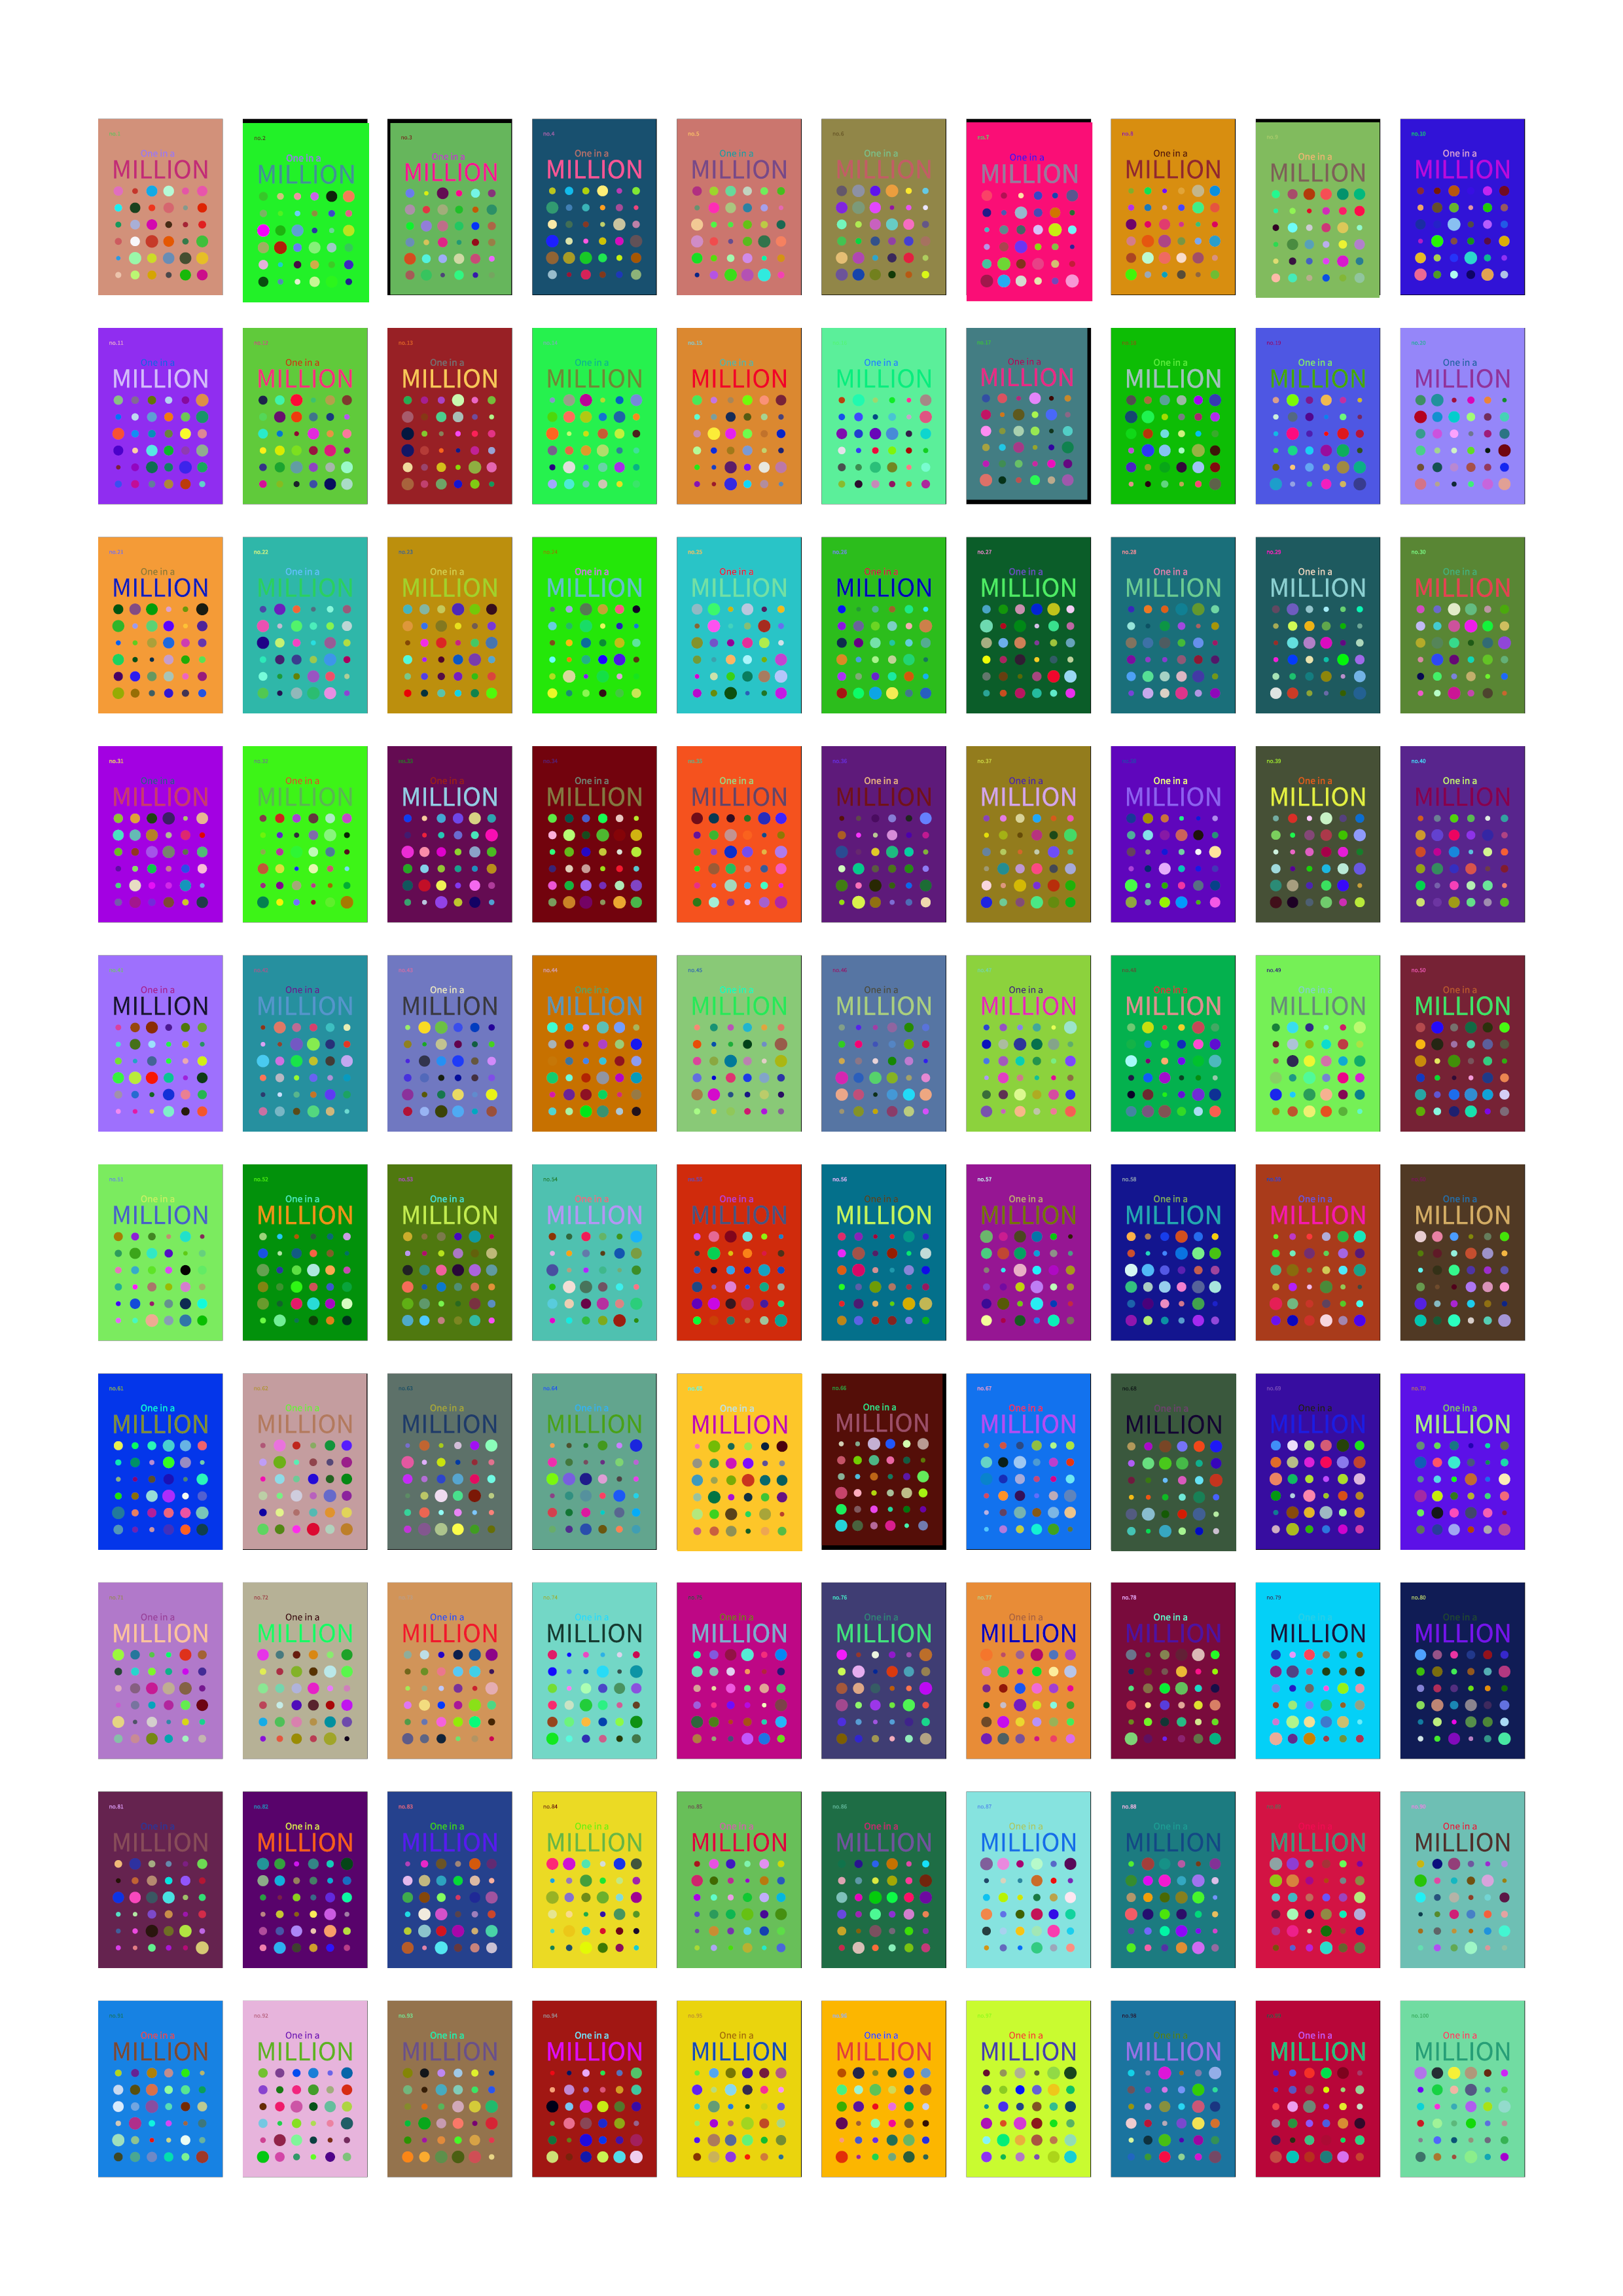
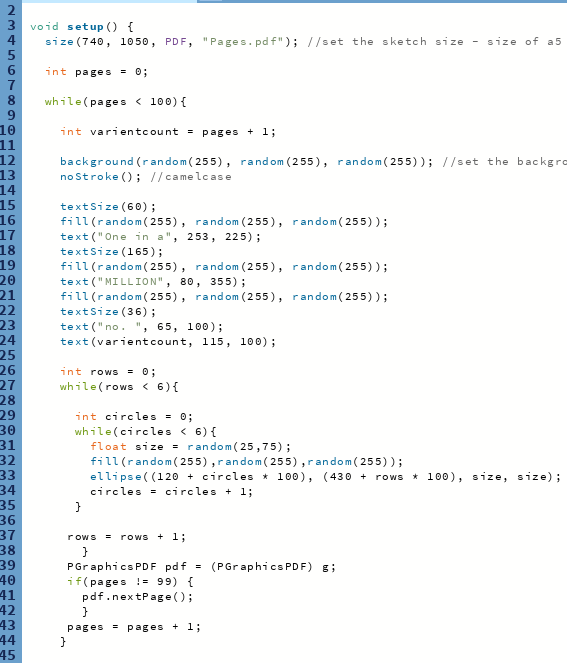
Here is the code i used for these designs.
Automation - Making efficient designs to reduce time spent repeating tasks ad infinitum. Creating designs quickly in a series to allow for other processes or parts of the design cycle to have more attention given to them. Reduction of carpal tunnel in the long run.
Week 5 - Production
Returning back to the video project from 4.4 was really fun, I'd love to be able to actually make this exhibit into reality, perhaps using the white column space in the broadcasting place. That would take a lot of work and perhaps funds to get the project to a place where i feel like it would be deserving of being a real life instance, but maybe it could be something i could work towards before i finish my degree. Real life installations, such as the white column features are always incredible feats on the production side of design, and i feel that non print based production may be a pain point for my design process in the future. I really enjoy the construction of a publication, but i haven't had any experience with the actual production of a exhibition, which is why it is a shame to me that i didn't get to finish this weeks brief in as much detail as i would have liked - i got to present the overall idea for the project in all the detail i wanted, but by finishing off a lot of workshop work throughout the same week, my time was limited. This would be the stage i would need more focus on in the future, especially because i was unsure of what technologies i would need in order to bring my exhibition into fruition.
Production - developing the overall project and preparing it for completion and distribution. Especially when working within real world contexts - setting up these real world instances so that they are ready for the general public.
Week 6 - Distribution
This one is a more personal one. On top of preparing this very same document you are reading, the final week had me reflect on what ways i actually have of distributing my work. During the book fair in 2025, i sold a copy of my 4.4 zine - 'Where was i' but it didn't have my only link at the time written within it. Said link is my design Instagram @tagworks.graphics,


where a selection of both my 2 years of college work and now year and a half of university work, however its a very rigid system, and i tried to design the grid layout and the stories i post to be up to my own tastes, which for this specific platform can be very specialized and considered. So, after the discussion about framer and web design with Graham during week 5, i decided it was finally time to create a professional website portfolio. It's going to be an ongoing progress, and I've not found framer to be the most intuitive, so its not at the stage where i'd liked the website to be after 4 days of work on it, but i will link to it, and the in progress i have made so far. I bought my own domain using the name tagworks, for the sake of professionality, and in the hopes that i can continue to maintain and manage this portfolio project for many years into the project. So here is the direct link into my webpage:
And here is the link to the ghost post in which i describe my intentions with the website in more detail than i will provide:
But in short, the 2 main sections of my website are projects and works. Projects are more professional large scale designs - for example my zine - where was i, which i have decided to eventually turn into a full series, with issue 1 being the where was i that i created for 4.4. Works on the other hand are more experimental designs, such as my RisoWorks. It was something that i made in a day, on a whim and entirely for fun. Works being experimental in nature allow me to move away from the claustrophobic nature of my Instagram page. Whilst i will still keep updating it, it is a very important part of being recognized for my work, having my works platform just to upload whatever I'd like is going to be really beneficial for my personal brand. I'm going to keep working on it until I'm happy with it, so i apologize it isn't to a finished state, but one day it will be, and that makes me happy to think about.
This section of my site is inspired by the websites of 2 designers we were introduced to this module:
I also use link tree, which i find to be a really handy tool, but one that i will likely forget exists from time to time, as it is just a small facet of distributing my work.

Distribution - getting my designs either to the client, or out onto the general internet to be able to find new potential clients. Selling the works that i create in order to fund and create a cycle of production.
Workshops
Jitter workshop - creating animations based around the movement and manipulation of objects within Figma.
This one i really enjoyed, its really applicable for social media posts or for use on a website, so this would work great as a part of my tagworks Instagram or website pages.
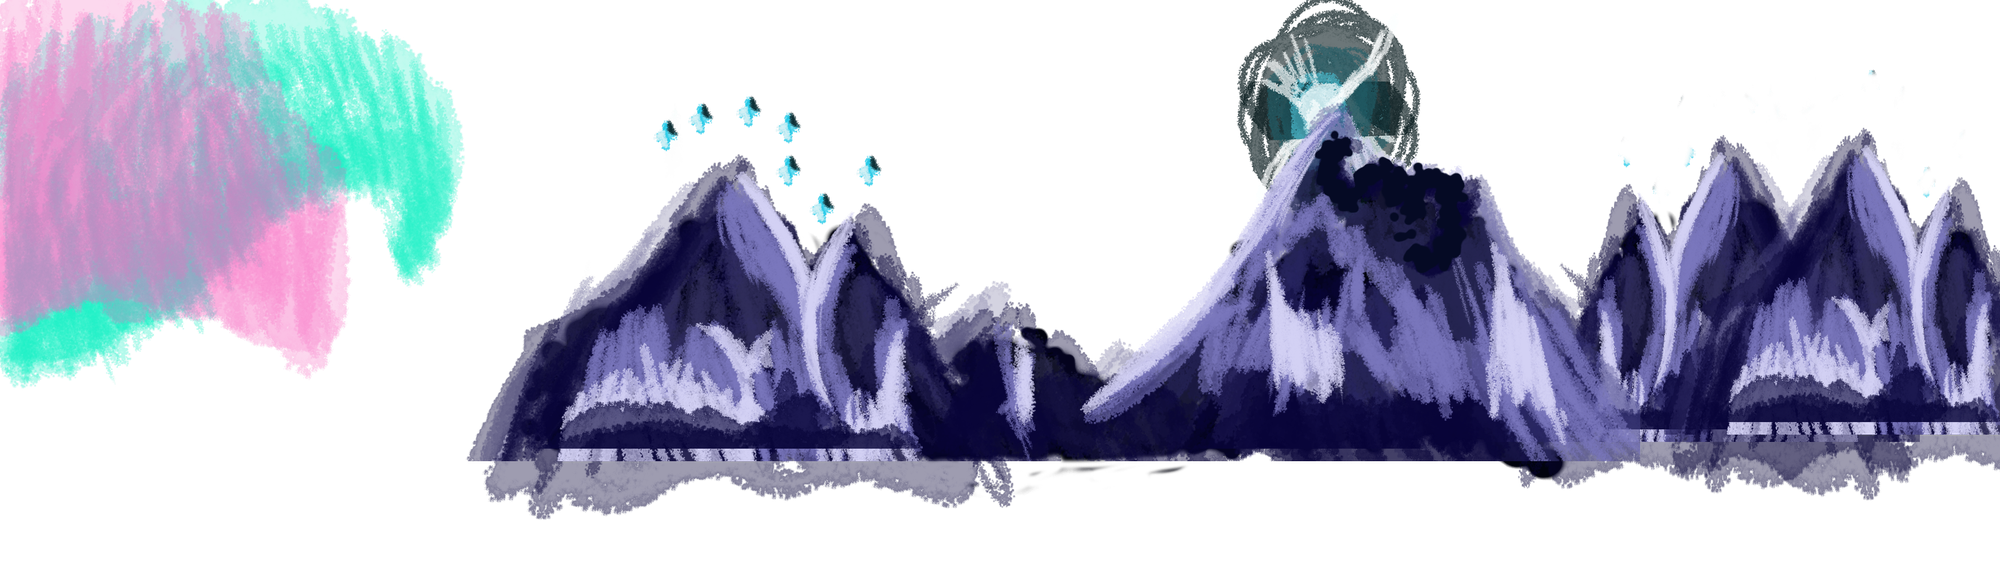
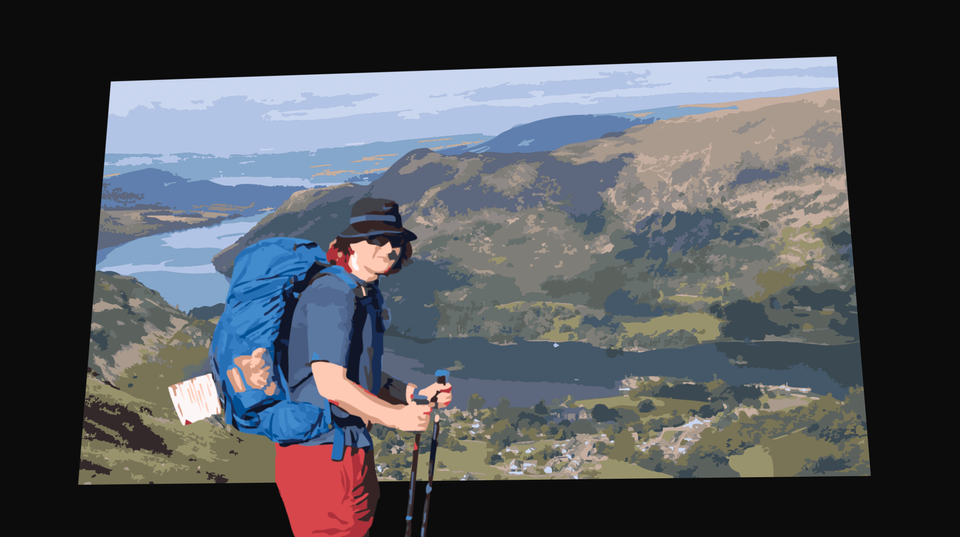
This workshop i found really hard. I've lost a lot of my skill at drawling, and especially at drawing consistently, so hand drawn photoshop animation was always going to be extremely hard for me. I would class the background mountains with the big dipper to be my first ever digital painting, it's not something I've ever really done before. (I've done vector based illustrations before a lot during college, but they certainly weren't paintings like this) I made the first draft in just a few days, so was really unhappy with this first outcome, but because i wanted it to look good so desperately that i carried on working on it over the next 5 weeks or so, utilizing my Lego stop motion roots to create a template to then re-animate over. I'm actually really fond of the actual final outcome.
Whilst i really enjoyed this, it wouldn't be something that i would try again any time soon, unless i improved both my physical and digital drawing skills again.
Here is another one i really liked. I could create a design of this manner using effects and shapes, and not as physical drawings, so it was already up my alley quite a bit. Whilst the overall plan with Dan, Matt and Matthew didn't turn out, i don't mind because i am rather happy with the outcome.
I would definitely return to this, as it would work really well for advertising for publications etc. With more time, patience and more of a vision of style than i started out with here (the style was attained eventually just not early in the
process enough) i feel i could create something even better than this - timed to music and more consistently detailed and less choppy overall.

I really really enjoyed this 2 part workshop, but it kind of becomes inaccessible to me outside of university. Plus i feel like i don't quite understand it yet to an extent where i wouldn't need constant tutorials to help me through it. In design, you get to a point where you can work in your niche / niche of a niche without the need of external help, and i am certainly not there yet with 3d. Plus my laptop would probably explode if it loaded cinema 4d, so i wouldn't be able to continue any design at home, it would just be at university.
This project i found SO fun, seeing it all come together piece by piece was really rewarding. All of the possibilities and potential layers that could be added to increase the complexity of a screen graphic.
Simply with more time, I'd love to keep going with this project, as its really fun.
Our session ran out of time, but this was really fun. I will try to refine and finish it eventually.
Thanks John.
Conclusion
I really enjoyed this module, so tanks to Ash, Graham and John for all of the different tools and technologies that they were able to present to us. The span of weeks 2 to 4 were what i found the best, as all three weeks provided and altered my entire design cycle understanding, and the tools we were shown have been quickly adopted into my routine. Other tools or new methods are all something i would like to try with more time going forwards, and this module has set me up to be ready to keep working independently over Christmas on some of these new technologies, and especially on my website / portfolio. I'm really enjoying using framer to make my site. I'm just really pleased with all the avenues i have explored and all of the tools and methods that i have begun to or plan to begin to use.
I feel enlightened.
BONUS ROUND
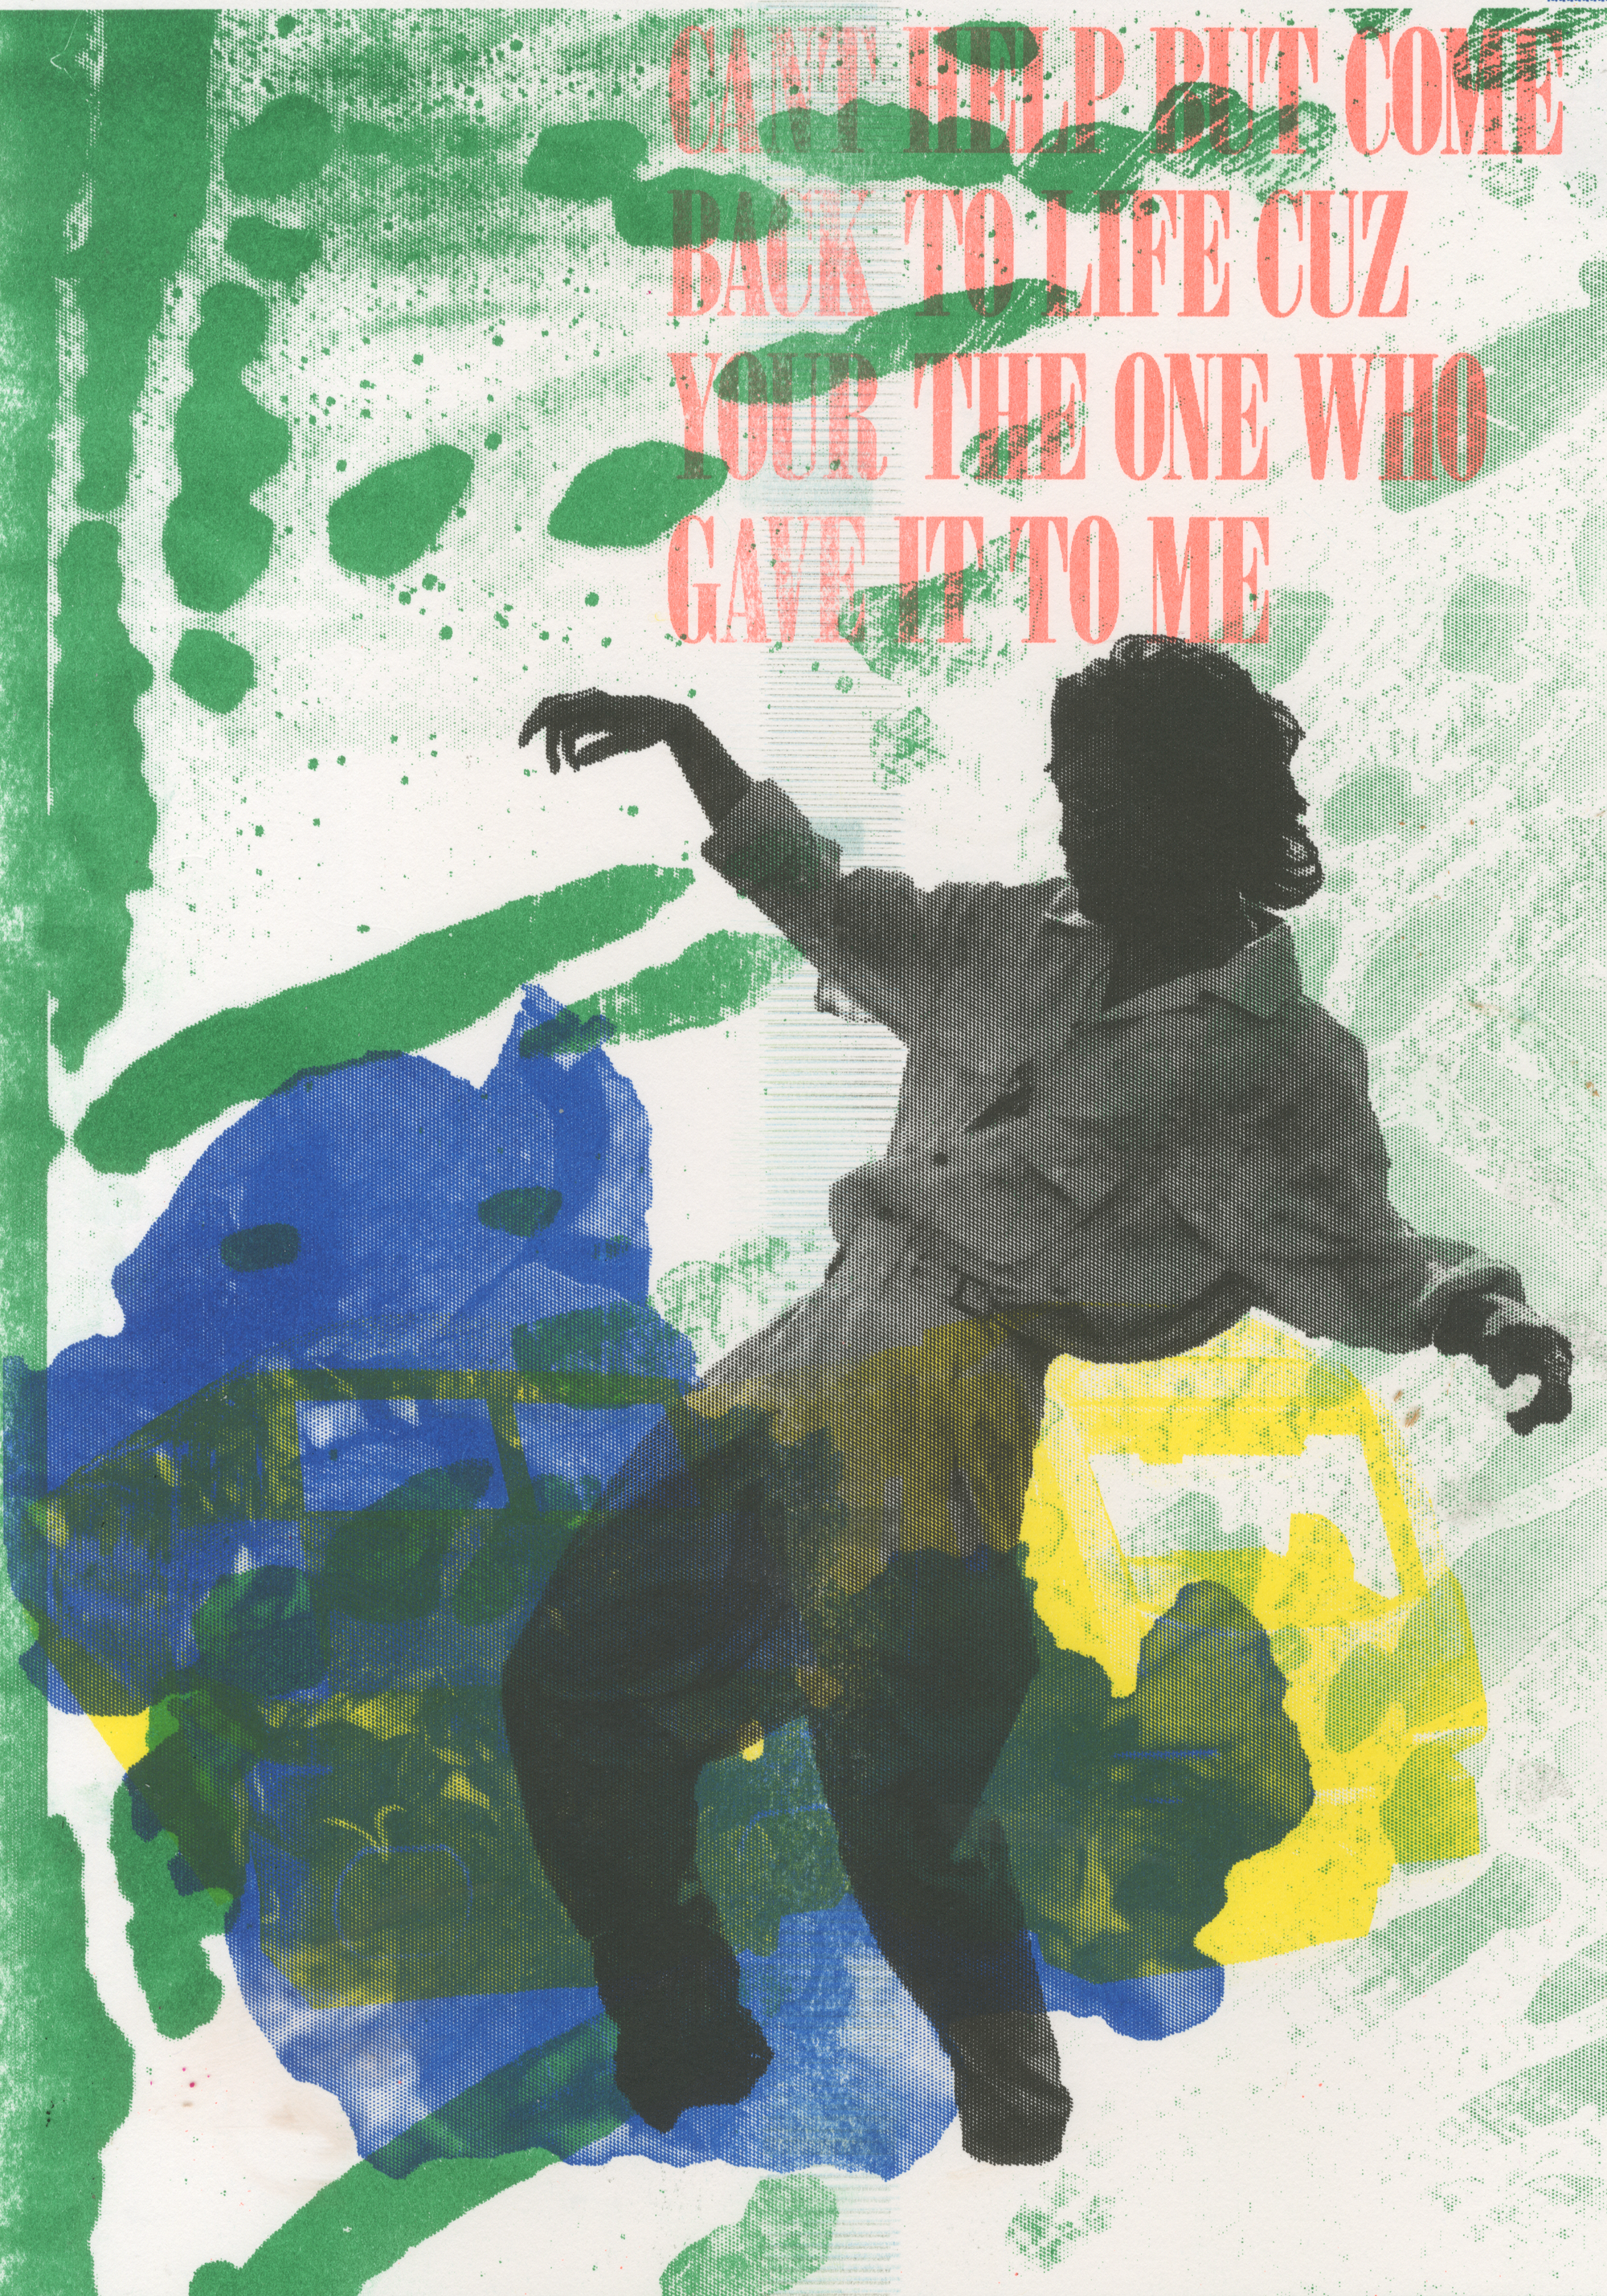
I was able to create my first ever print which i intend to sell at the winter print fair, so if your interested in seeing the outcome, please check out my Instagram over the next week, where i hope to upload some content about the event! This will be the first of hopefully many RisoWorks designs, that will be available in my websites works section, under the RisoWorks tab.