Parallax Animation
Johns first animation sessions showed us how to animate in photoshop, and he set us the task of creating a parallaxed animation - where the layers of the background all move at different, increasing / decreasing paces so that the furtherst elements look further away from the nearest elements. At the time, i was reading a certain manga, and the section of it with a really iconic location appeared, and i wanted to create my animation based on that.
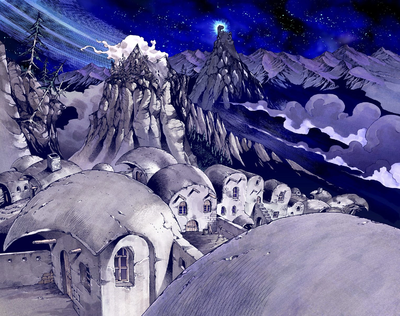
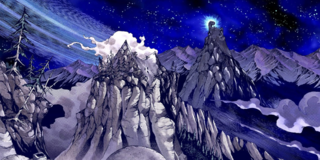
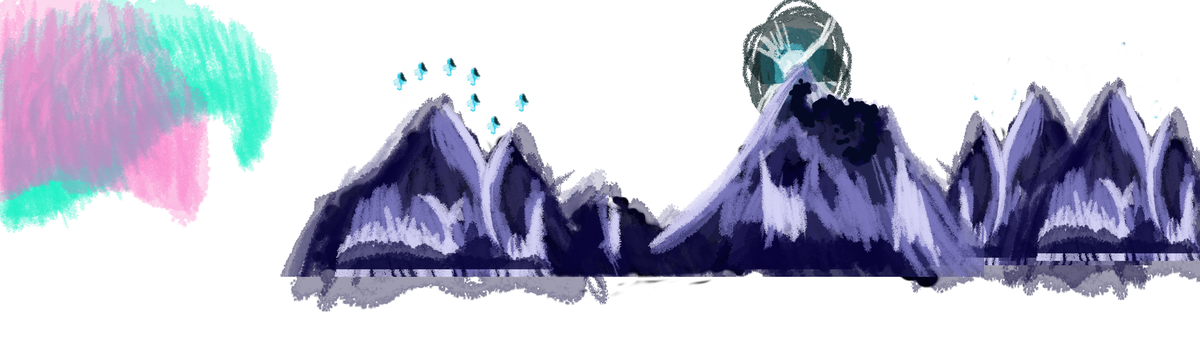
I started by creating background assets / layers, that would be moved across the screens at different paces to create the effect. Each Layer needed to be a different increasing size to make the effect work correctly.
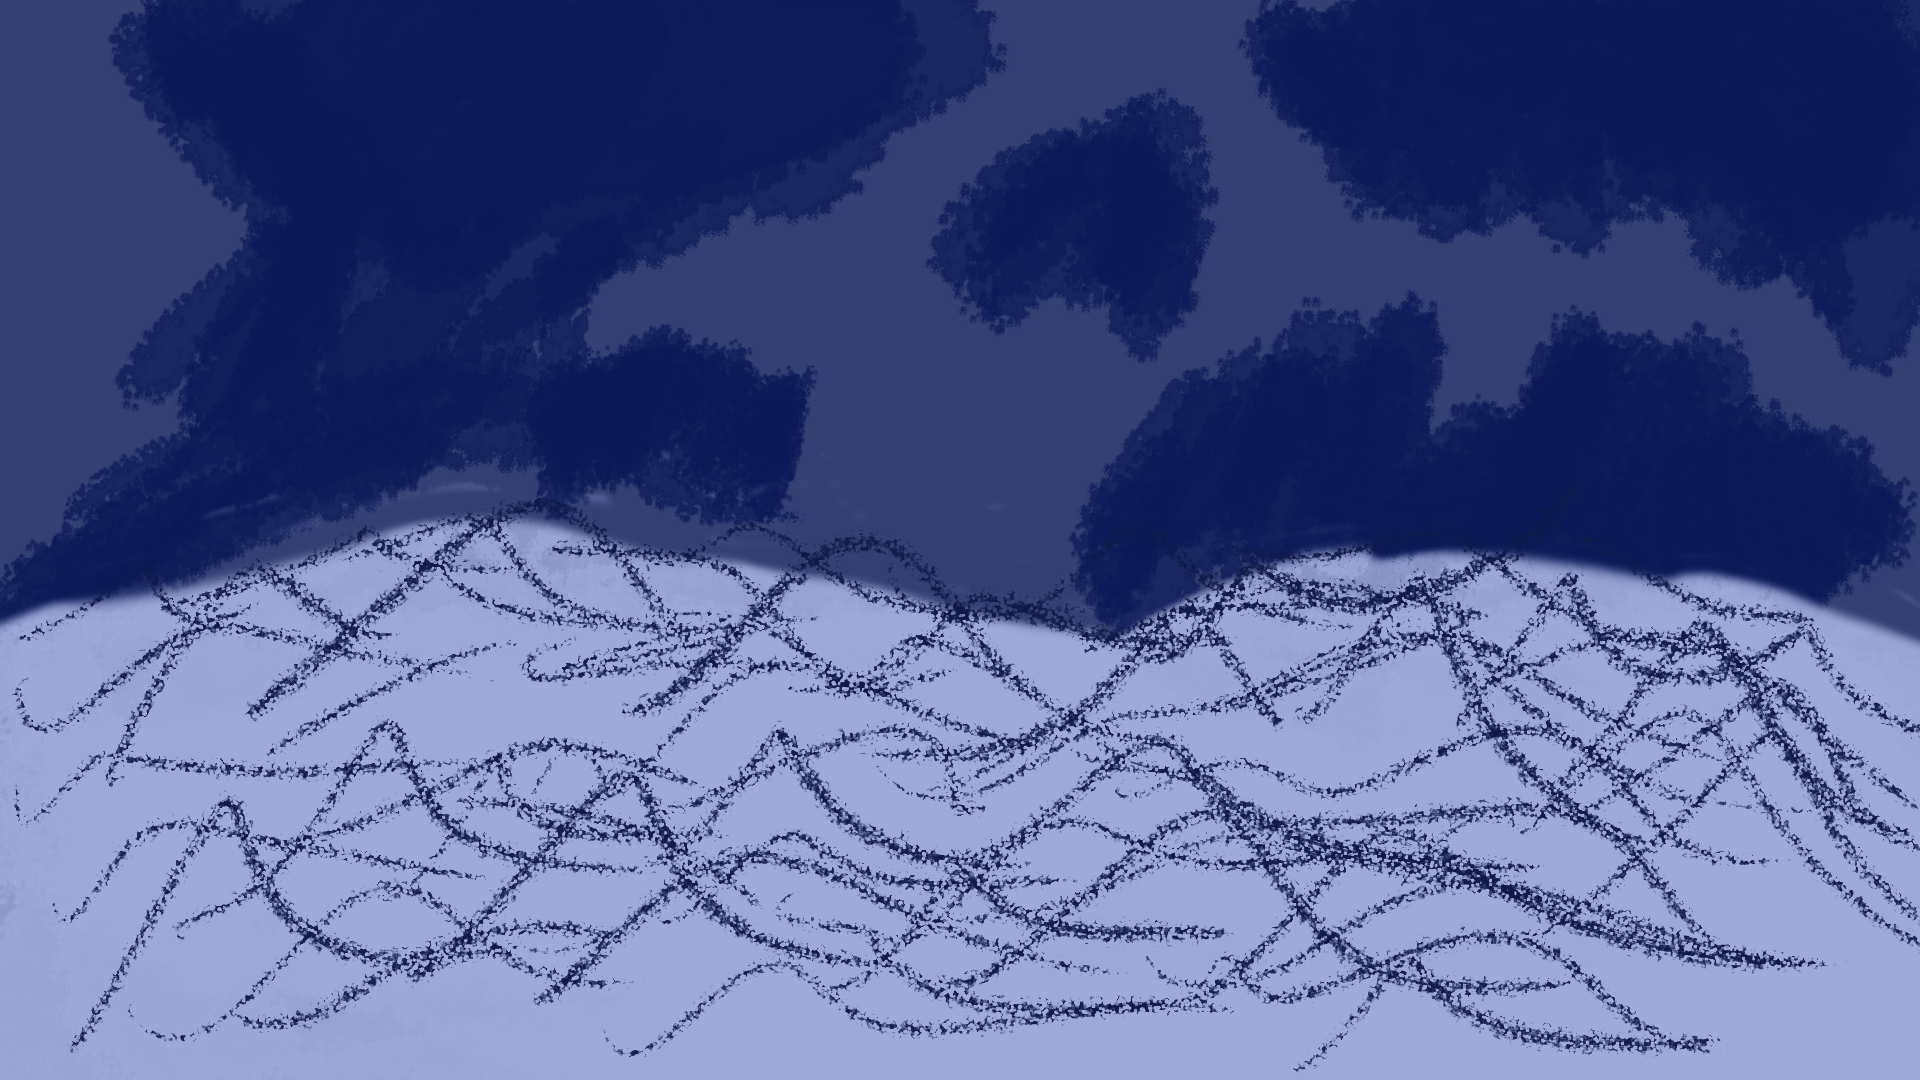
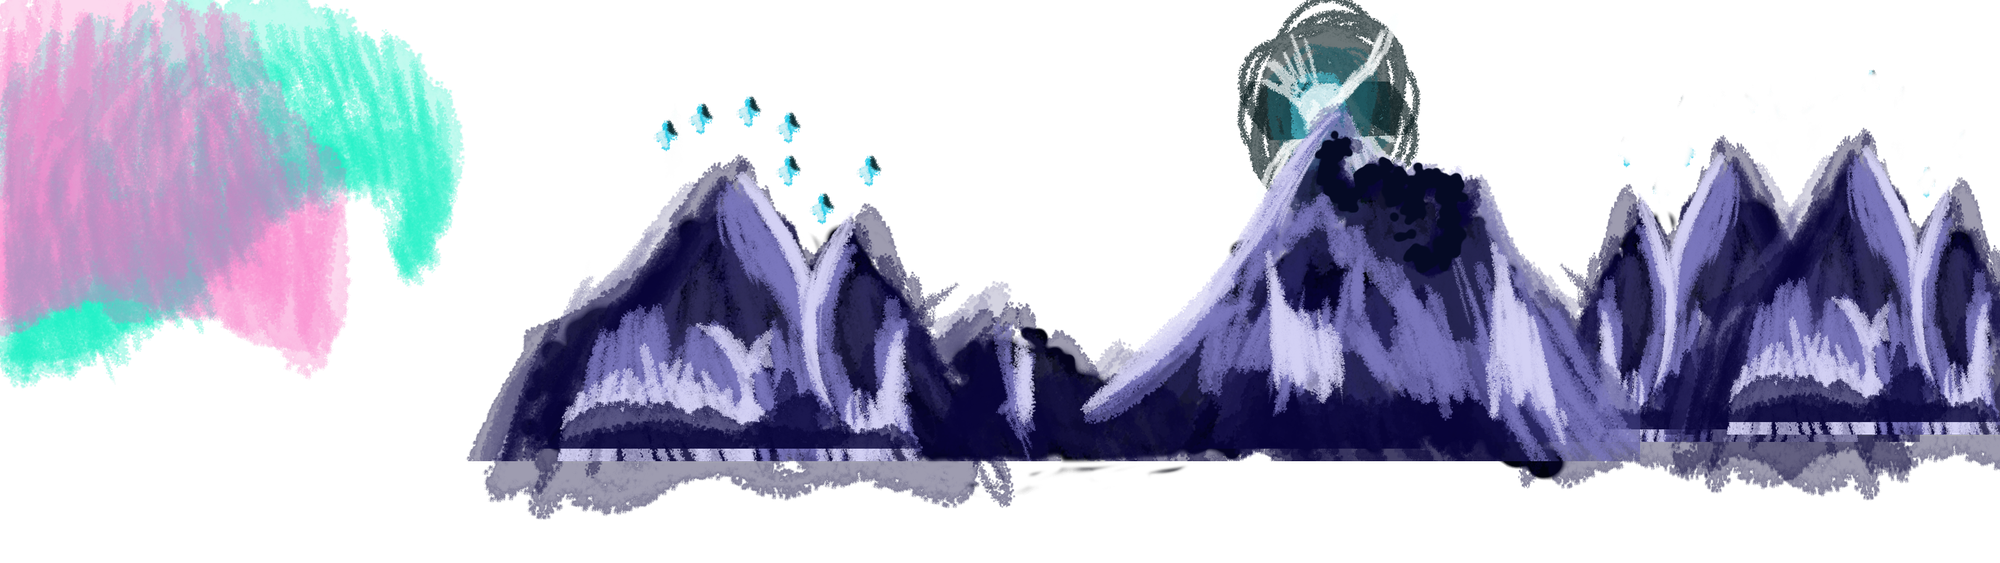


Then these layers were placed together to create the background. I then animated over a run cycle of a character that was in the scene, but not only was i not happy with the quality as i had to make it quick to finish it in time for the next Tuesday session, but also i realized that i only animated half of a run cycle. Whilst i wasn't happy with the outcome, there was certainly an outcome to show for it.
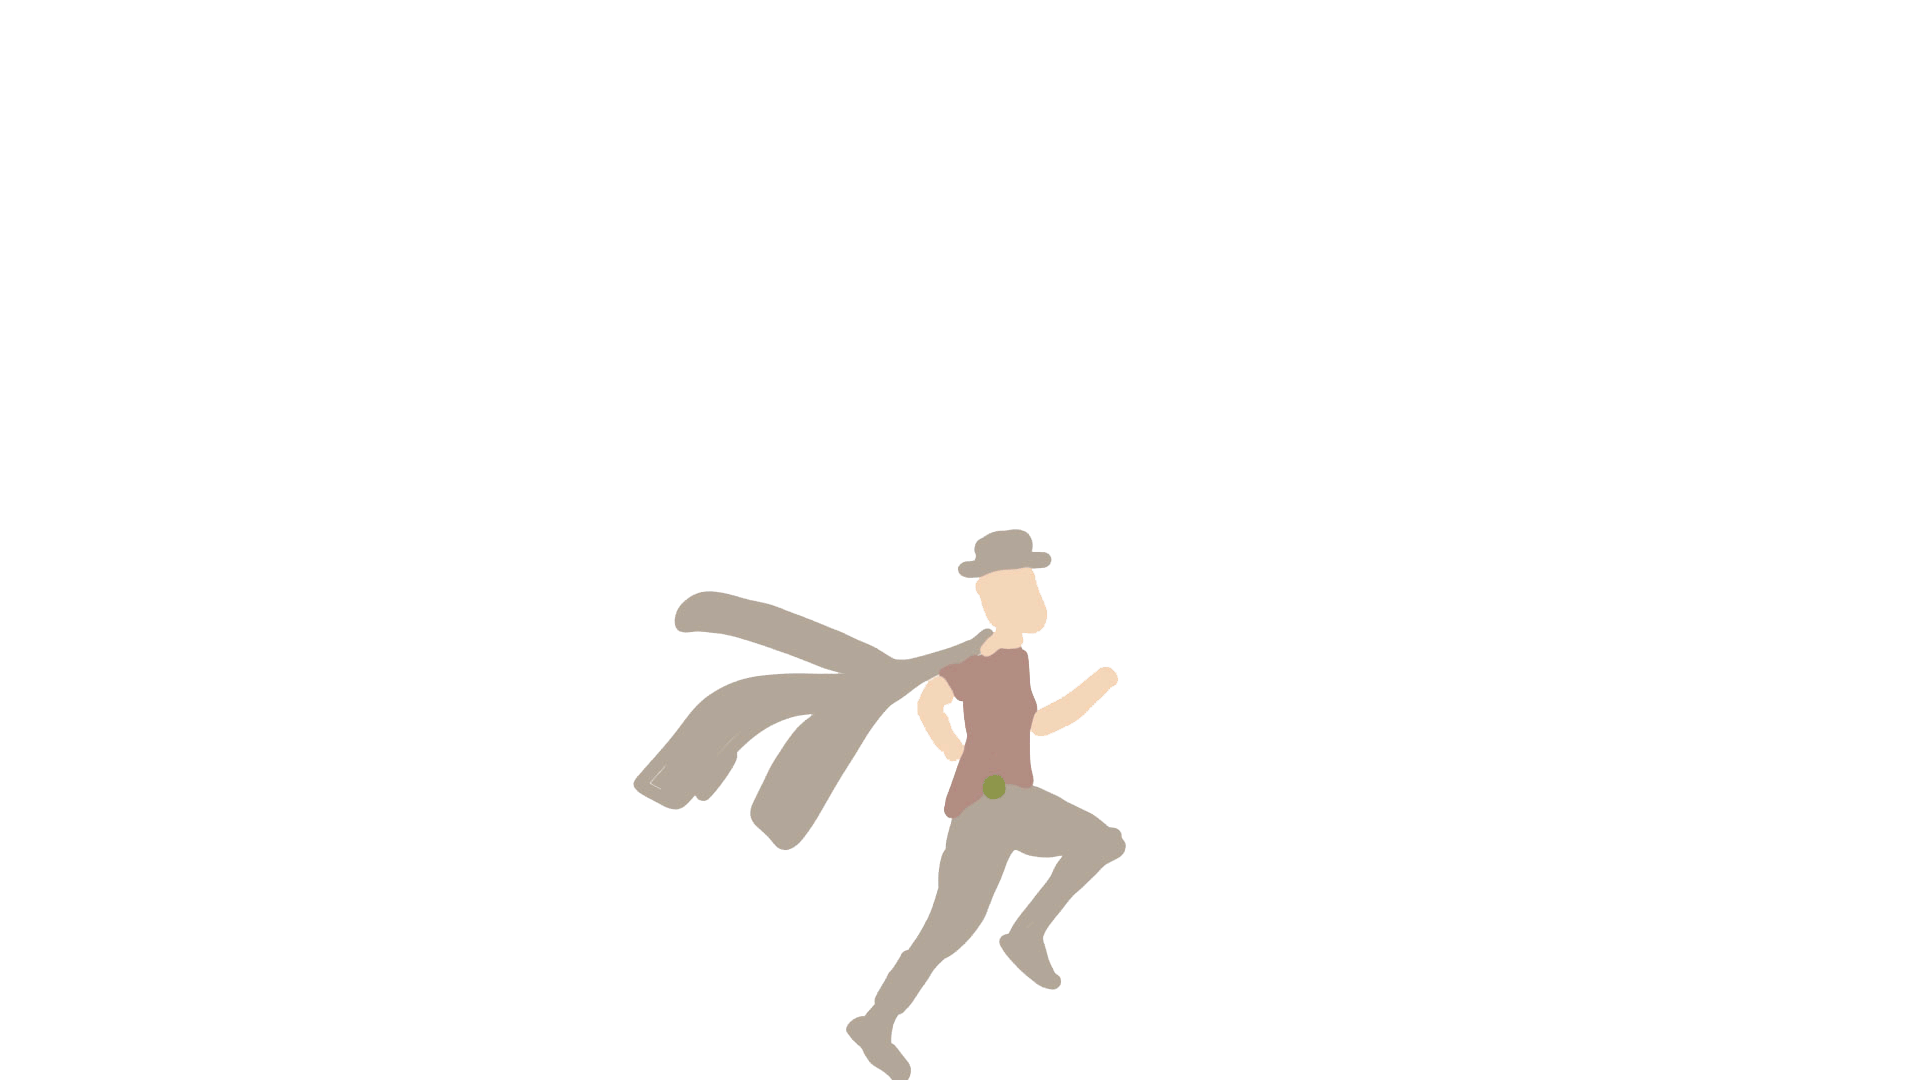
But being unhappy, i wanted to re-animate the character section. I actually have a figure of this same character, so i turned to stop motion, which i havent done for years but used to do a lot with lego. I now have bigger and more expensive yet detailed figures, which are great for stop motioning.
This was super fun, but this first attempt is a bit janky, not very fluid in motion, So i decided to create another version, attempt 2!
This works much better! A lot less shaky. Now it was time to re-animate.
I animated this layer first, in order to reduce workload
And now the more detailed version! I'm super happy with this, i think it looks really fluid, and i really like how the colours turned out. All that was left to do was to add the character back into document with the backgrounds.
Much more pleased with this!