5.2 Process Document
Process Document for 5.2
5.2.1 Neurodivergent Space
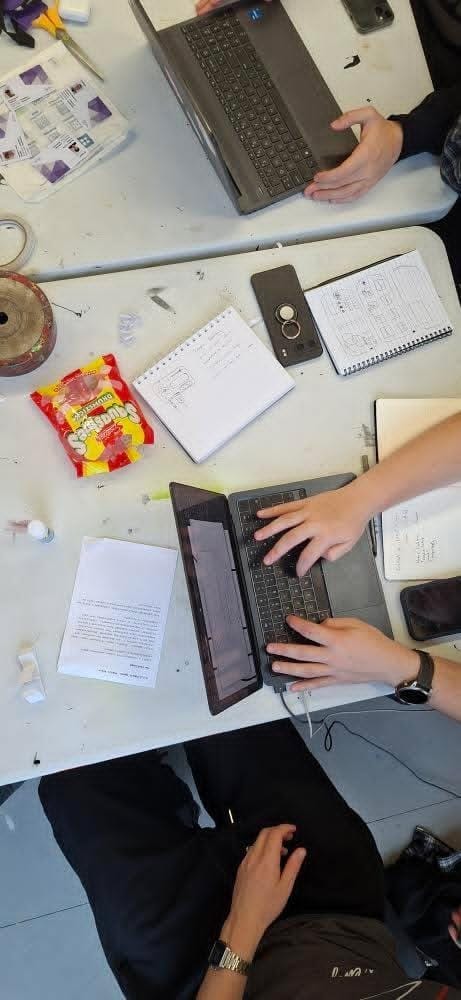
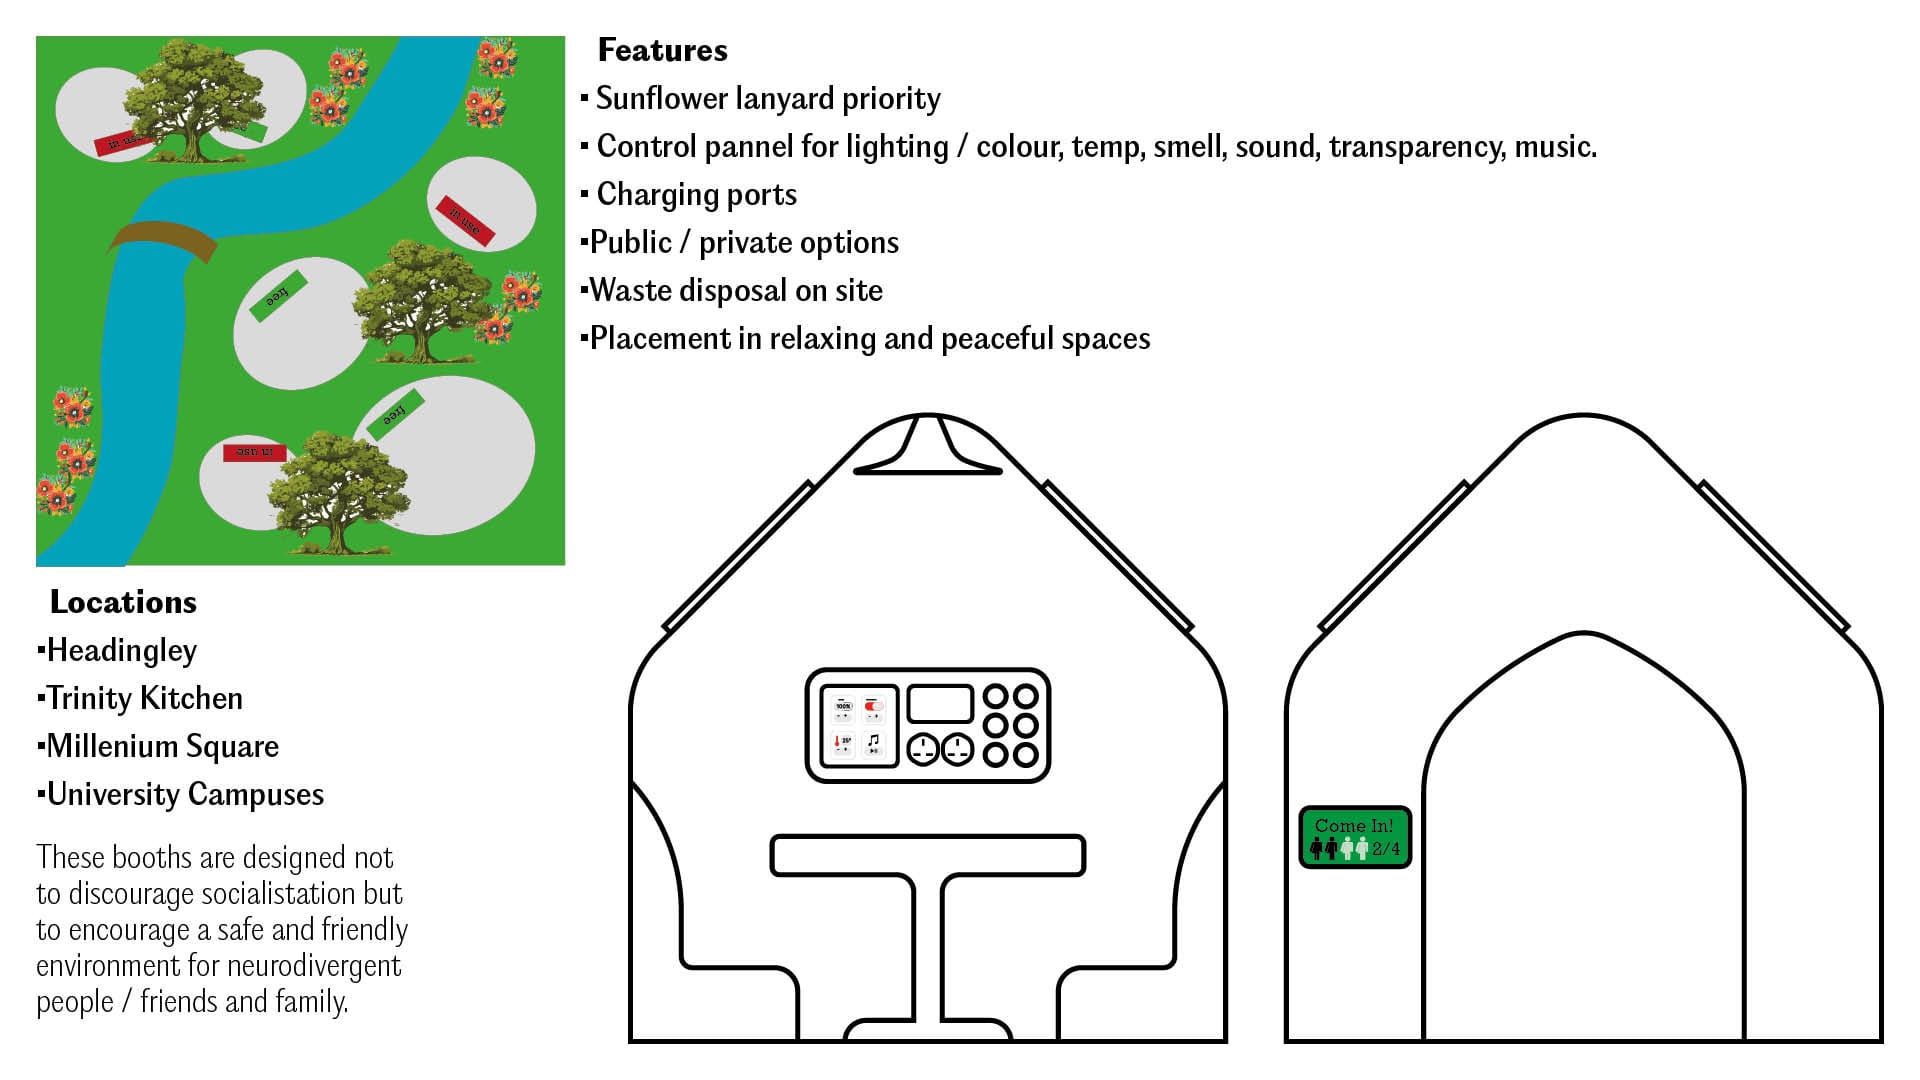
For the first task we were challenged to create a solution or something that would help neurodivergent people in public spaces. Our group which consisted of me, Matt, Dan and Tom, Mathew, we created a quiet space that would be deployed in public spaces. We tried to pack it with as many useful features as possible, the reason behind this is because neurodiversity is a scale and we were trying to cover as big of an audience as possible.
5.2.2 Media Diet

Touch Designer Final Outcomes:
Song: yah_20241123_517am - nohpetS. This uses the bloom and blur effect which creates a more fluid movement. This was my first final outcome from TouchDesigner.
Song: Livin' Loose - George Clanton. This was a longer version of the previous video. I removed the blur as a node and kept it more binary and cubic resulting in a more mathematical approach.
5.2.2 Media Diet Further Experimentation
These were my experiments using Jitter. Jitter is a plugin feature on Figma, which allows you to animate individual elements using built in transitions. I found Jitter fairly easy to use as it is like a blend of Figma and After Effects.
This is my first video for the 5.2 title page. To create this I first drew in some lines and triangles but made lots of separate layers. I then individually animated each line and triangle to come in at separate times. These were all with the built in transitions included within Jitter.
Solar System formation video. Using Jitter again but each of one of the planets and stars has a different animation coming in. For the two before last I used the custom move transition which you have to format by yourself.
5.2.3 Work Flow
5.2.4 Type Safari
5.2.5 Four by Six

Final Outcomes:
John Session: Title Intro
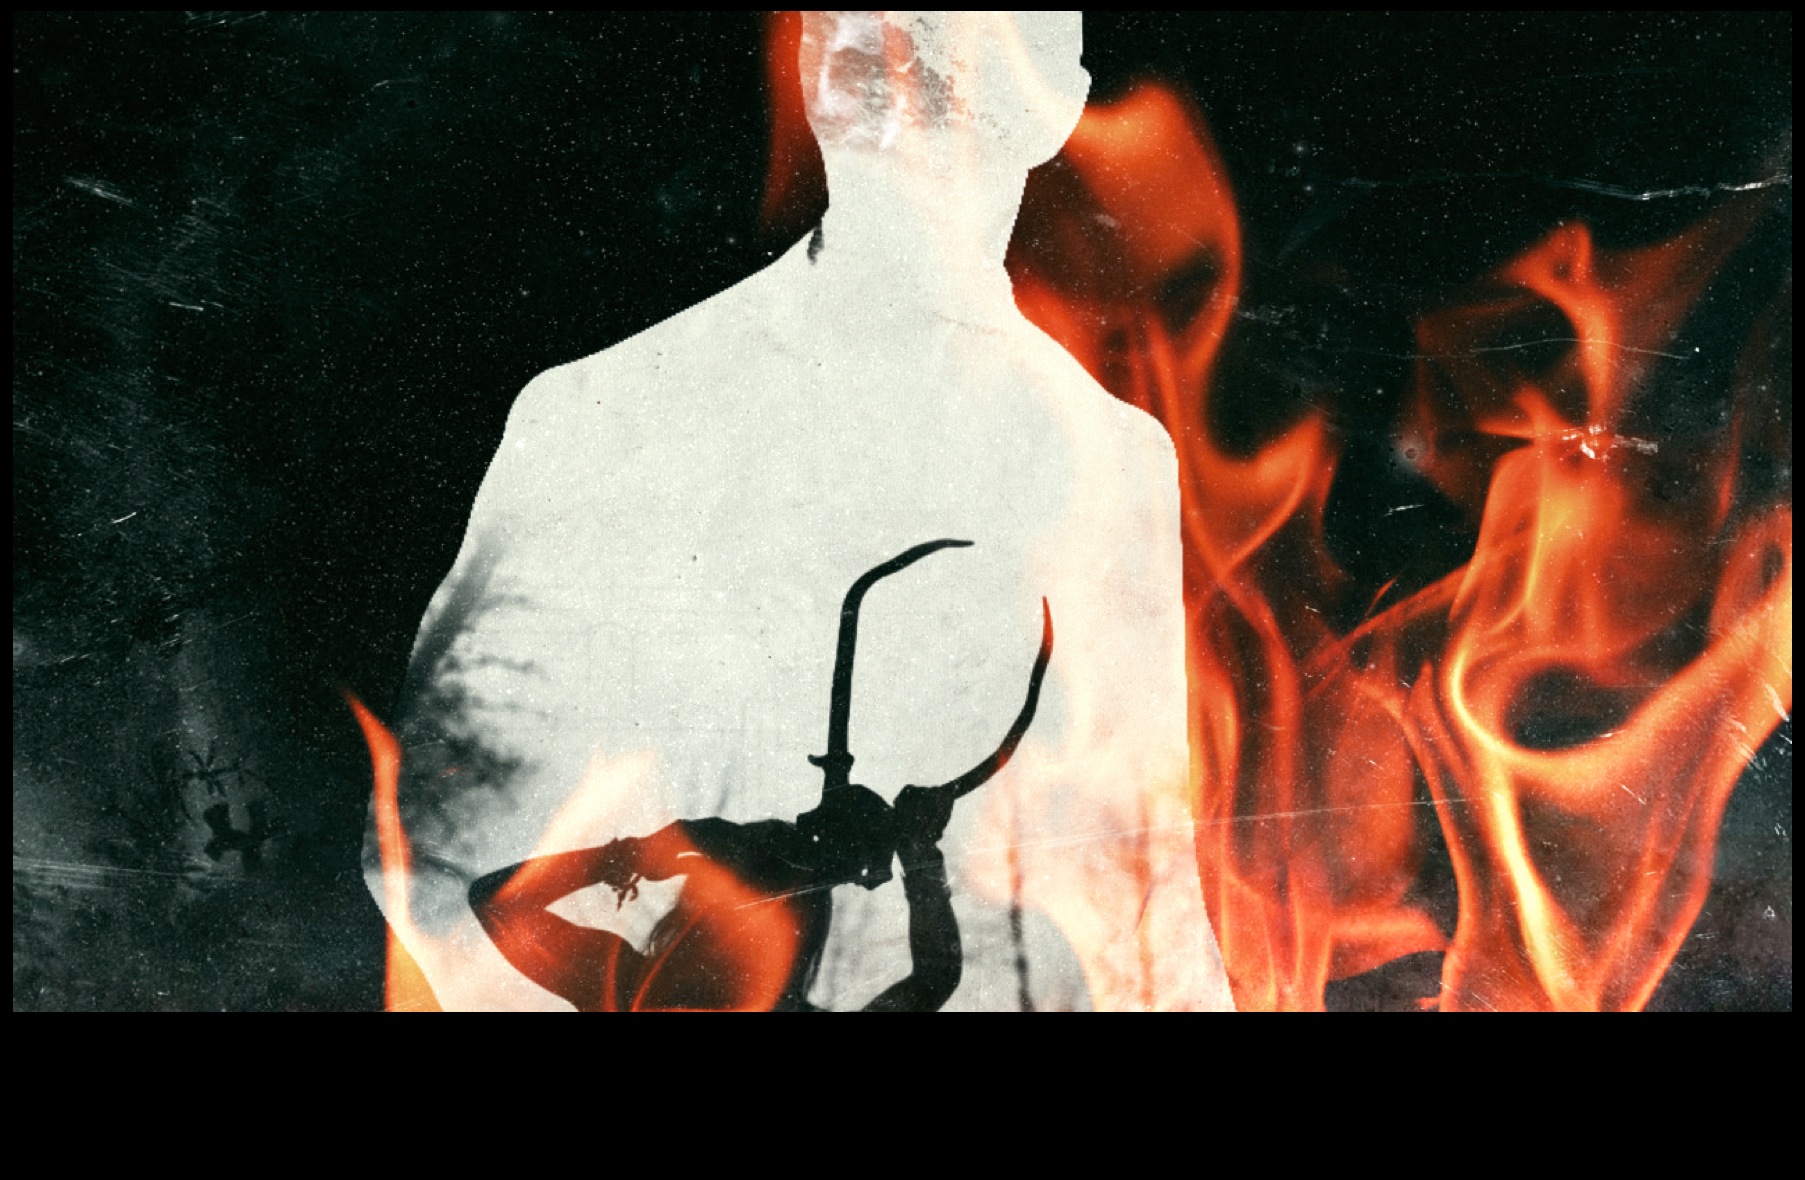
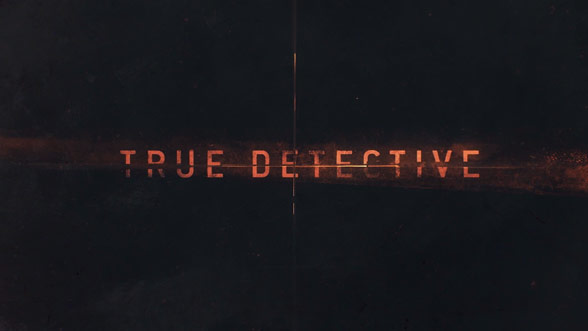
True Detective (2014) has one of the best and most recognisable title sequences ever. Created by Patrick Clair, who led his studio Antibody. The title sequence won a Emmy for Outstanding Main Title Design. In the title they used a mix of cast and Louisiana scenery which perfectly matches the show.

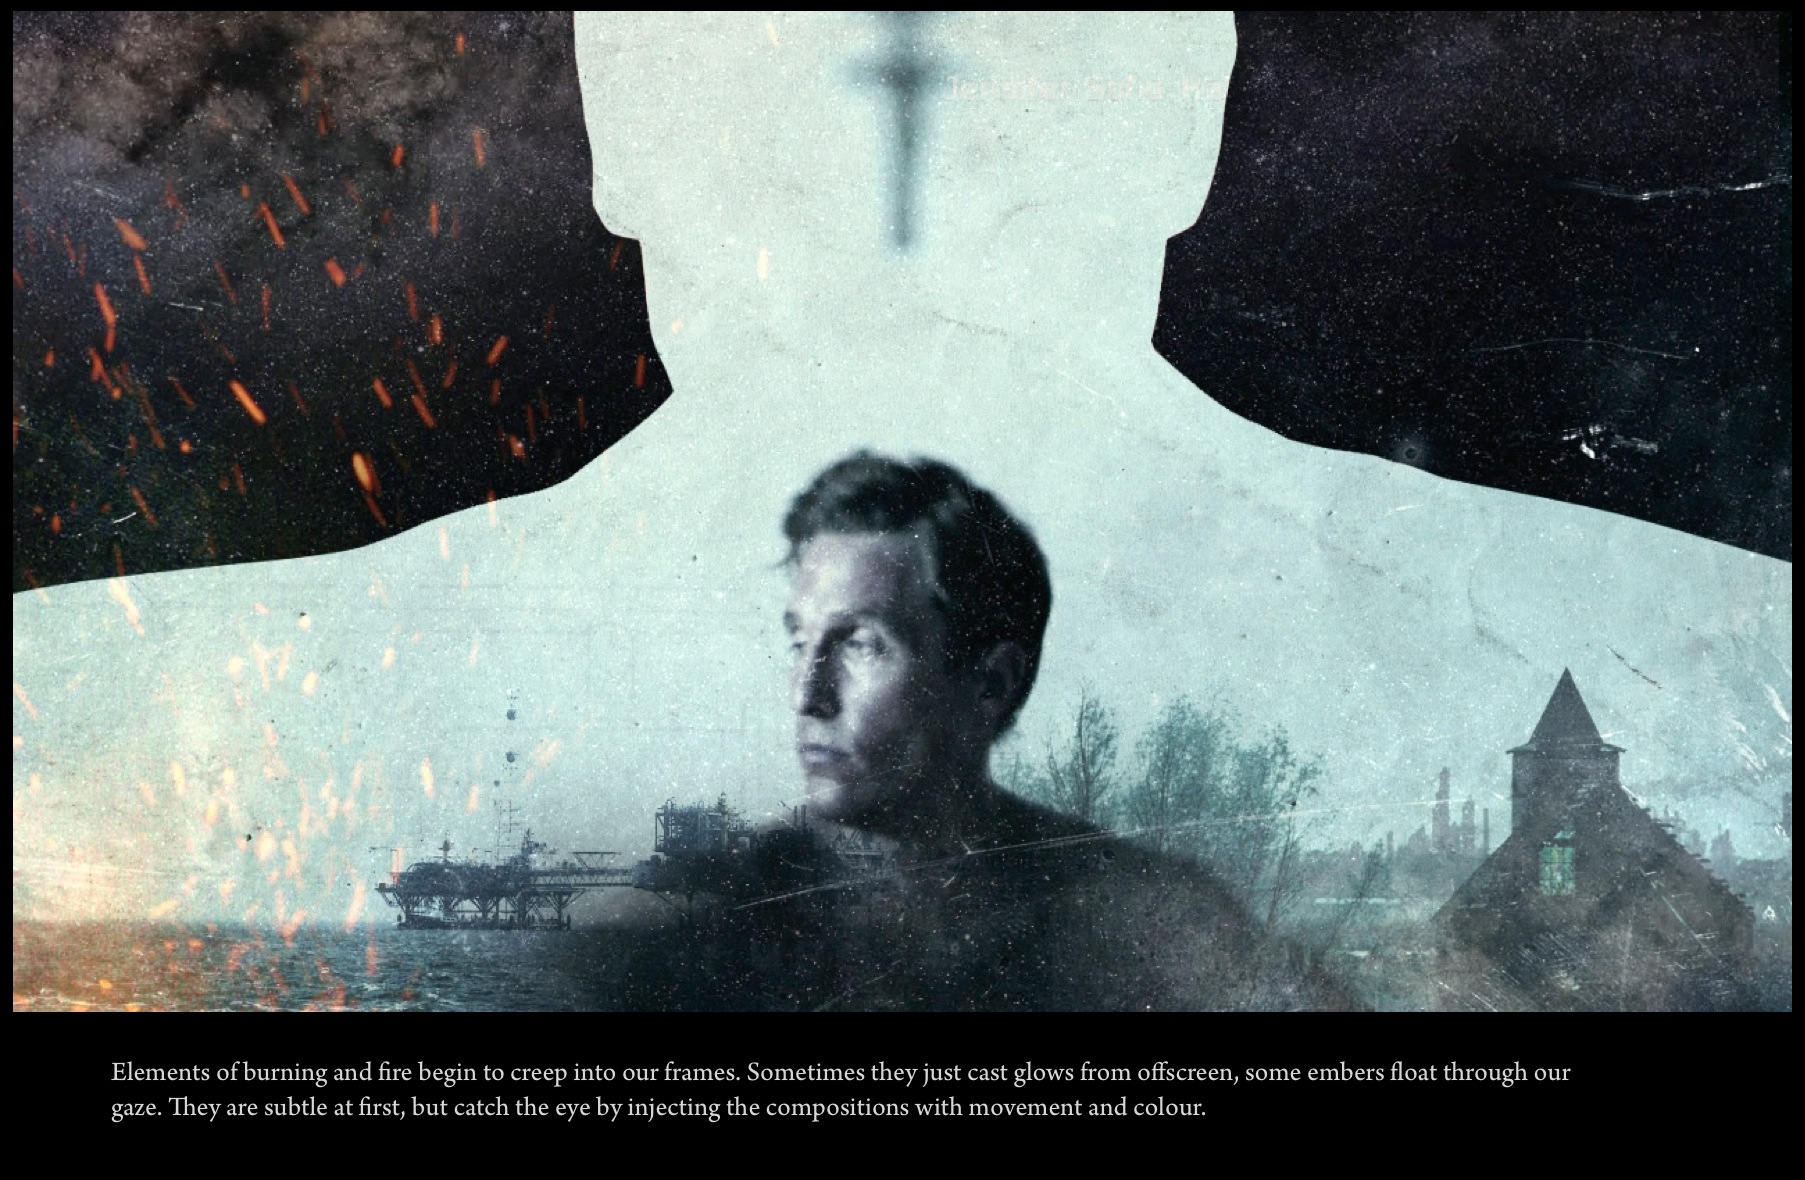
Using the website Art of the Title it gave me a breakdown on how the images were made and the context behind the creative choices.
The next part of this task was creating the intro itself. I found a collection of images from my personal camera roll that I thought matched the True Detective vibe, countryside, people and industrial aspects.
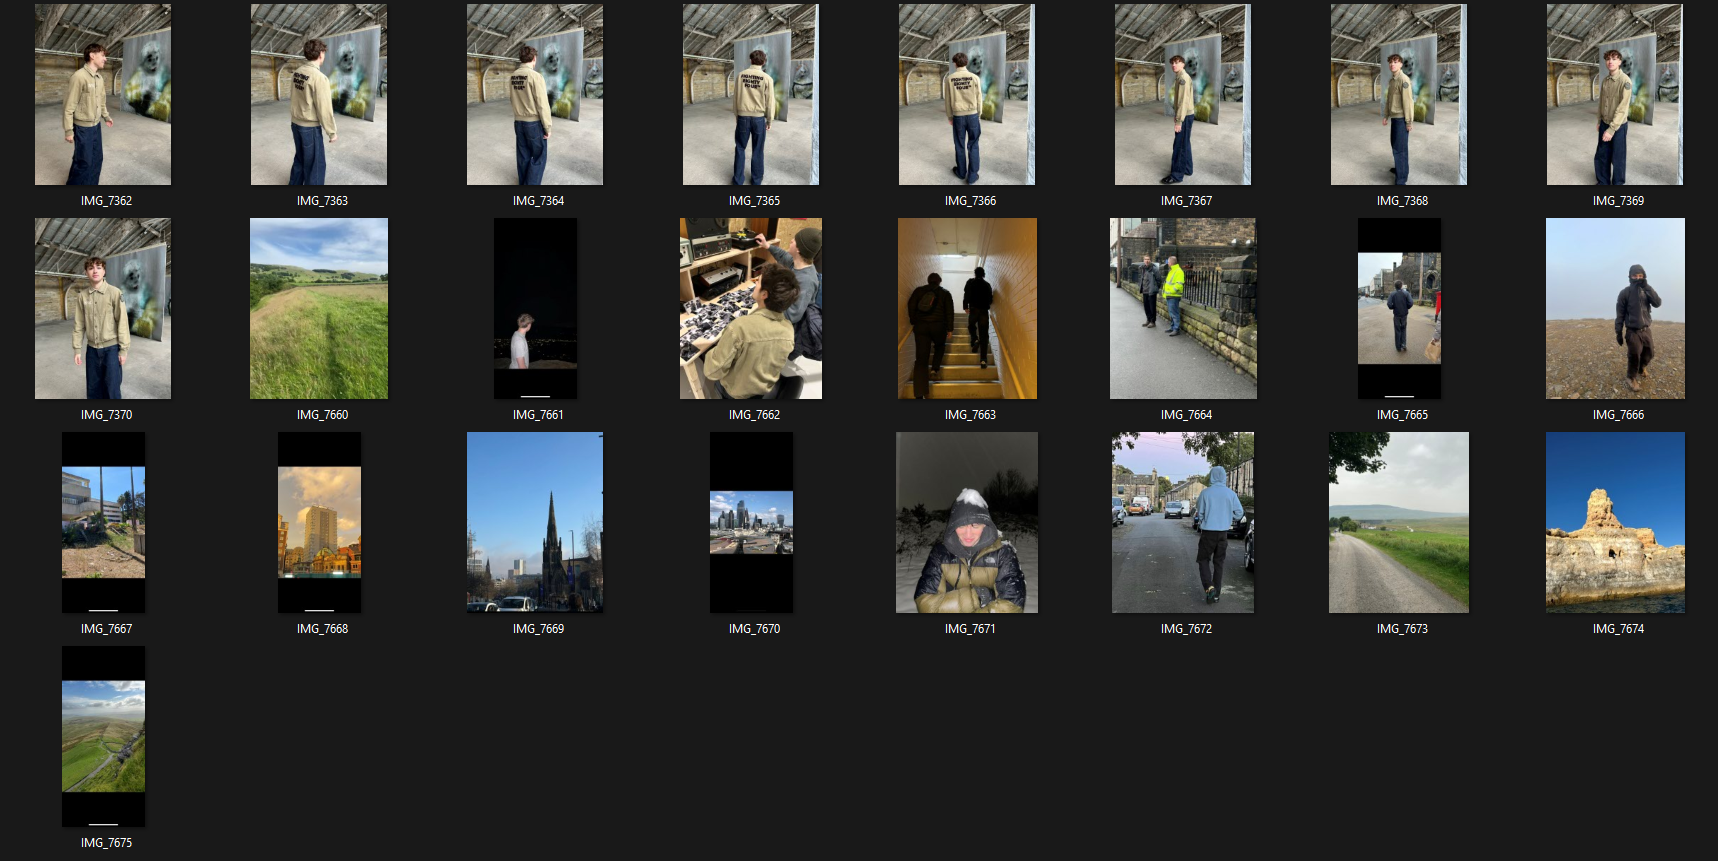
After selecting the image choices, I took all the files over to photoshop. Originally I was going to use rotoscoping in After Effects. However due to them not being moving images Photoshop was the better option.
I used a mix of different media to create a similar effect. I made three separate layers in photoshop and saved them individually. I wanted all the images to be my own, as it made the project more personal to me.
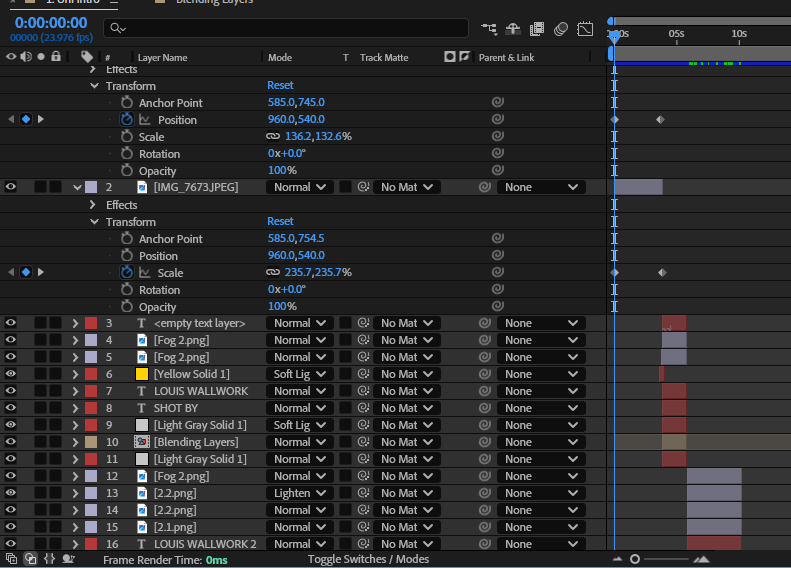
Adding keyframes was essential to the intro as it felt flat without. I used a mix of rotate position and scale to give the effect the images were actually videos. I also added a fog effect to create more depth within the image. In all of the shots it slowly scales across.
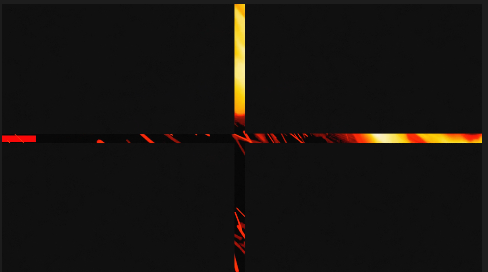
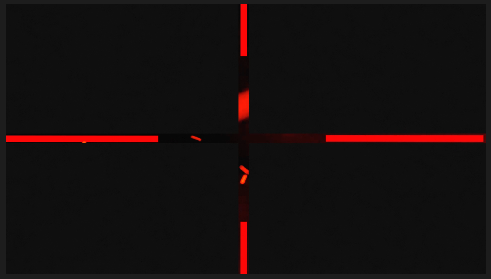
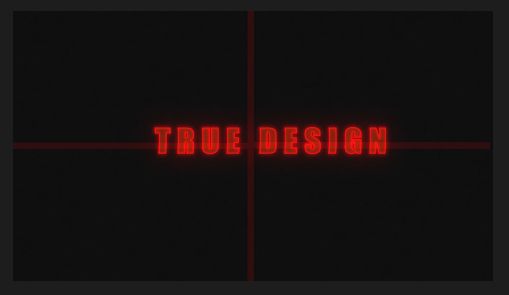
Making the closing frame of the intro was the hardest part of this project. I created 4 rectangle shapes in each corner, using keyframes I slowly framed them in place. In the intro it has lines that slowly come into place, to recreate it, I used offset paths. Keyframes allow you to start the path at 0% and move it to 100% scale. I copied the lines 4 times to create a synchronised composition. The final part to complete the intro was adding the text. To make my text effect I used an outside glow and the built in VHS filter which gave my type face a neo-vintage aesthetic.
John Session: Tracking
After Effects Experiment. Uses car tracking, audio visualiser cross marks and I added a night vision effect to give the illusion of a helicopter chase at night
John Session: Gecko Mesh Experiment
This was the final session we did with John. We used Illustrator first to create the gecko, using the drawing tablet to get a more accurate creation. After Effects was used to create the moving limbs, tail and head of the gecko. In After Effects you linked the Illustrator file together, this allowed AE to understand the different joining points of the gecko. Creating a mesh was the next step in the process, as you needed to puppet warp the subject. Once the mesh was set, you had to use the pin tool to create different joining points. Without the joining points the gecko would become warped. Concluding this experiment you used the standard move tool to edit and contort the limbs to look like it was moving naturally, however I messed up the movement at the start of the animation and it more looks like it's swimming rather than walking!