For the 6x6 brief I was drawn to highlighting something that is often overlooked, but I was dry on ideas for it.
Online, I saw this mini thermal printer which would print labels/stickers by Phomemo, and I thought this could apply to a few of the outcomes for 6x6, such as customised print materials and digital fabrication. This meant I would have to create images if I wanted to use it for 6x6, so I narrowed my other option down to an image based brief and went with generate something new.
I decided to look towards Processing.org again since I had already dipped into its generative capabilities.
Another brief that I liked the look of was a personalised outcome, and I took that as the audience being a participant in the outcome, and since I had seen some codes that allowed you to basically draw on the program, I thought it would be good if the audience become a participant by drawing their own sticker.
Instead of drawing an image (because I had already come across a code which allows you to draw and didn't want to just repeat it) I decided to make it so you would generate random shapes where ever you clicked and create a pdf so your personalised generation would be able to be printed.
Since I am a complete beginner in coding, I decided to use ChatGPT since I had never used it before and thought that constitutes to the module. I asked it to write me a code which allows me to generate random shapes when I click on the screen, which gave me several answers over time as its just guessing what to say, so obviously not every code worked or was right. This was the simple part after rewording my request a few times. What was the bulk of the work was trying to combine this with a code that would generate a PDF.
Unlike the previous work I did on Processing, where the code would generate PDFs automatically with no interaction in the design, I wanted the PDF to be created after the design was done. At first I tried asking ChatGPT again, but it would never work, so I went into researching and found Processing had example codes to teach. I went through these and combined them with the code I had which resulted in lots of trial and error, until eventually I found a code which would use a boolean to allow me to record a generation by pressing the r key to begin recording and then press the q key to end and save the recording as a PDF.
Coding outcomes
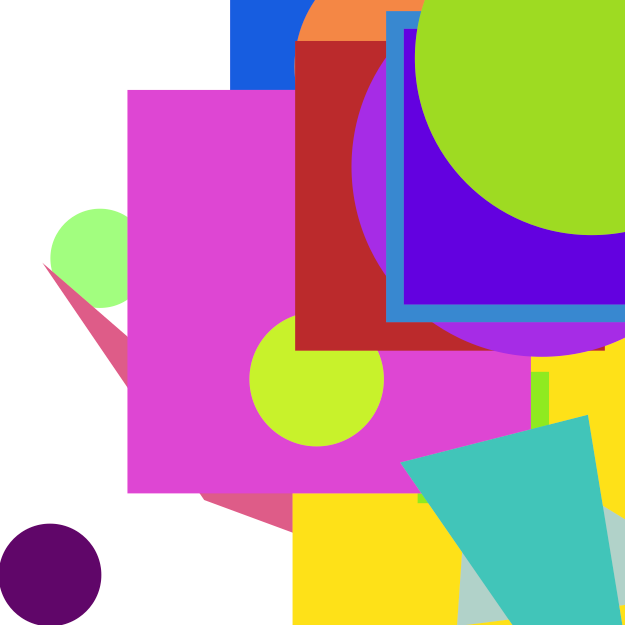
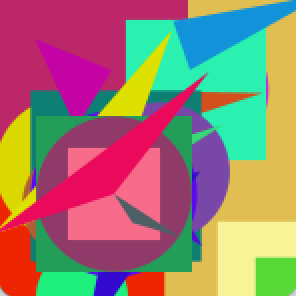
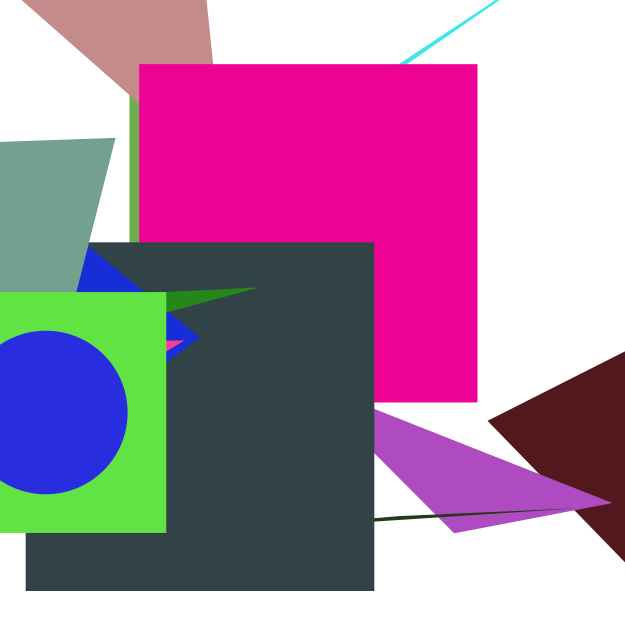
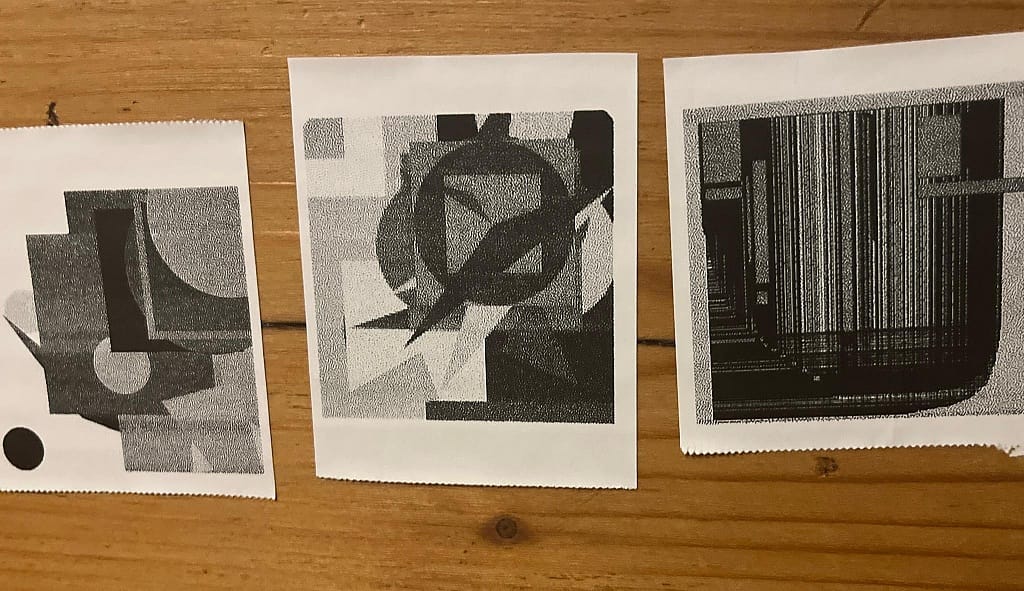
From the random generative shape code, the result is sort of expected, the shapes are of random colours and sizes, with no way of knowing what shape is coming next or how big it will be, you have to think on when to stop or if you want to keep going to get a design you like. I found that the smaller the box the better the outcome since there wouldn't be as much empty space and you can get more interesting composition when they're more compact together. Of course you could change this if you wanted your canvas to be bigger or smaller, long or short, wide or compact.
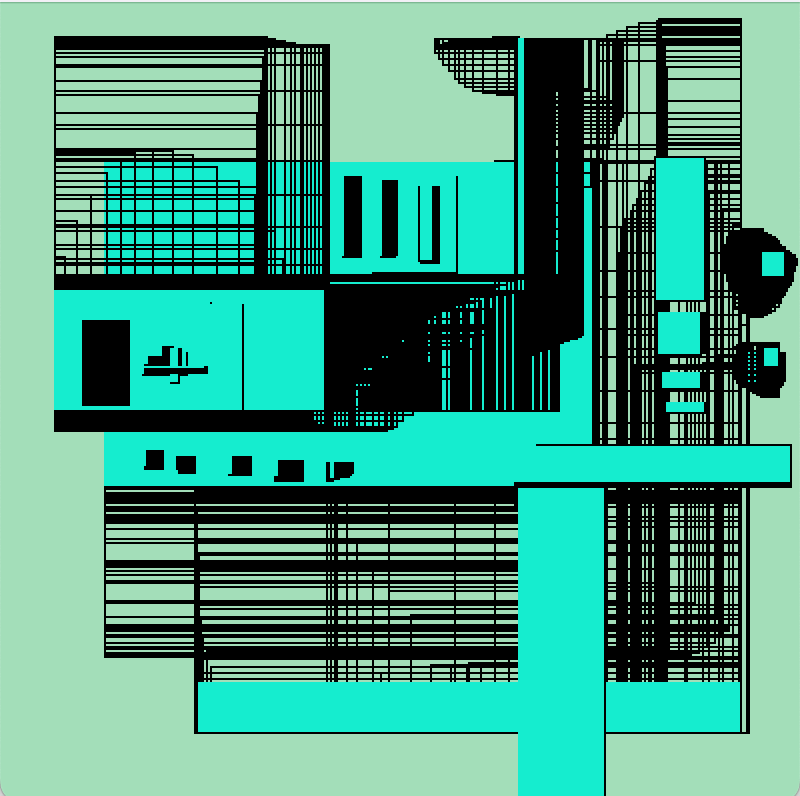
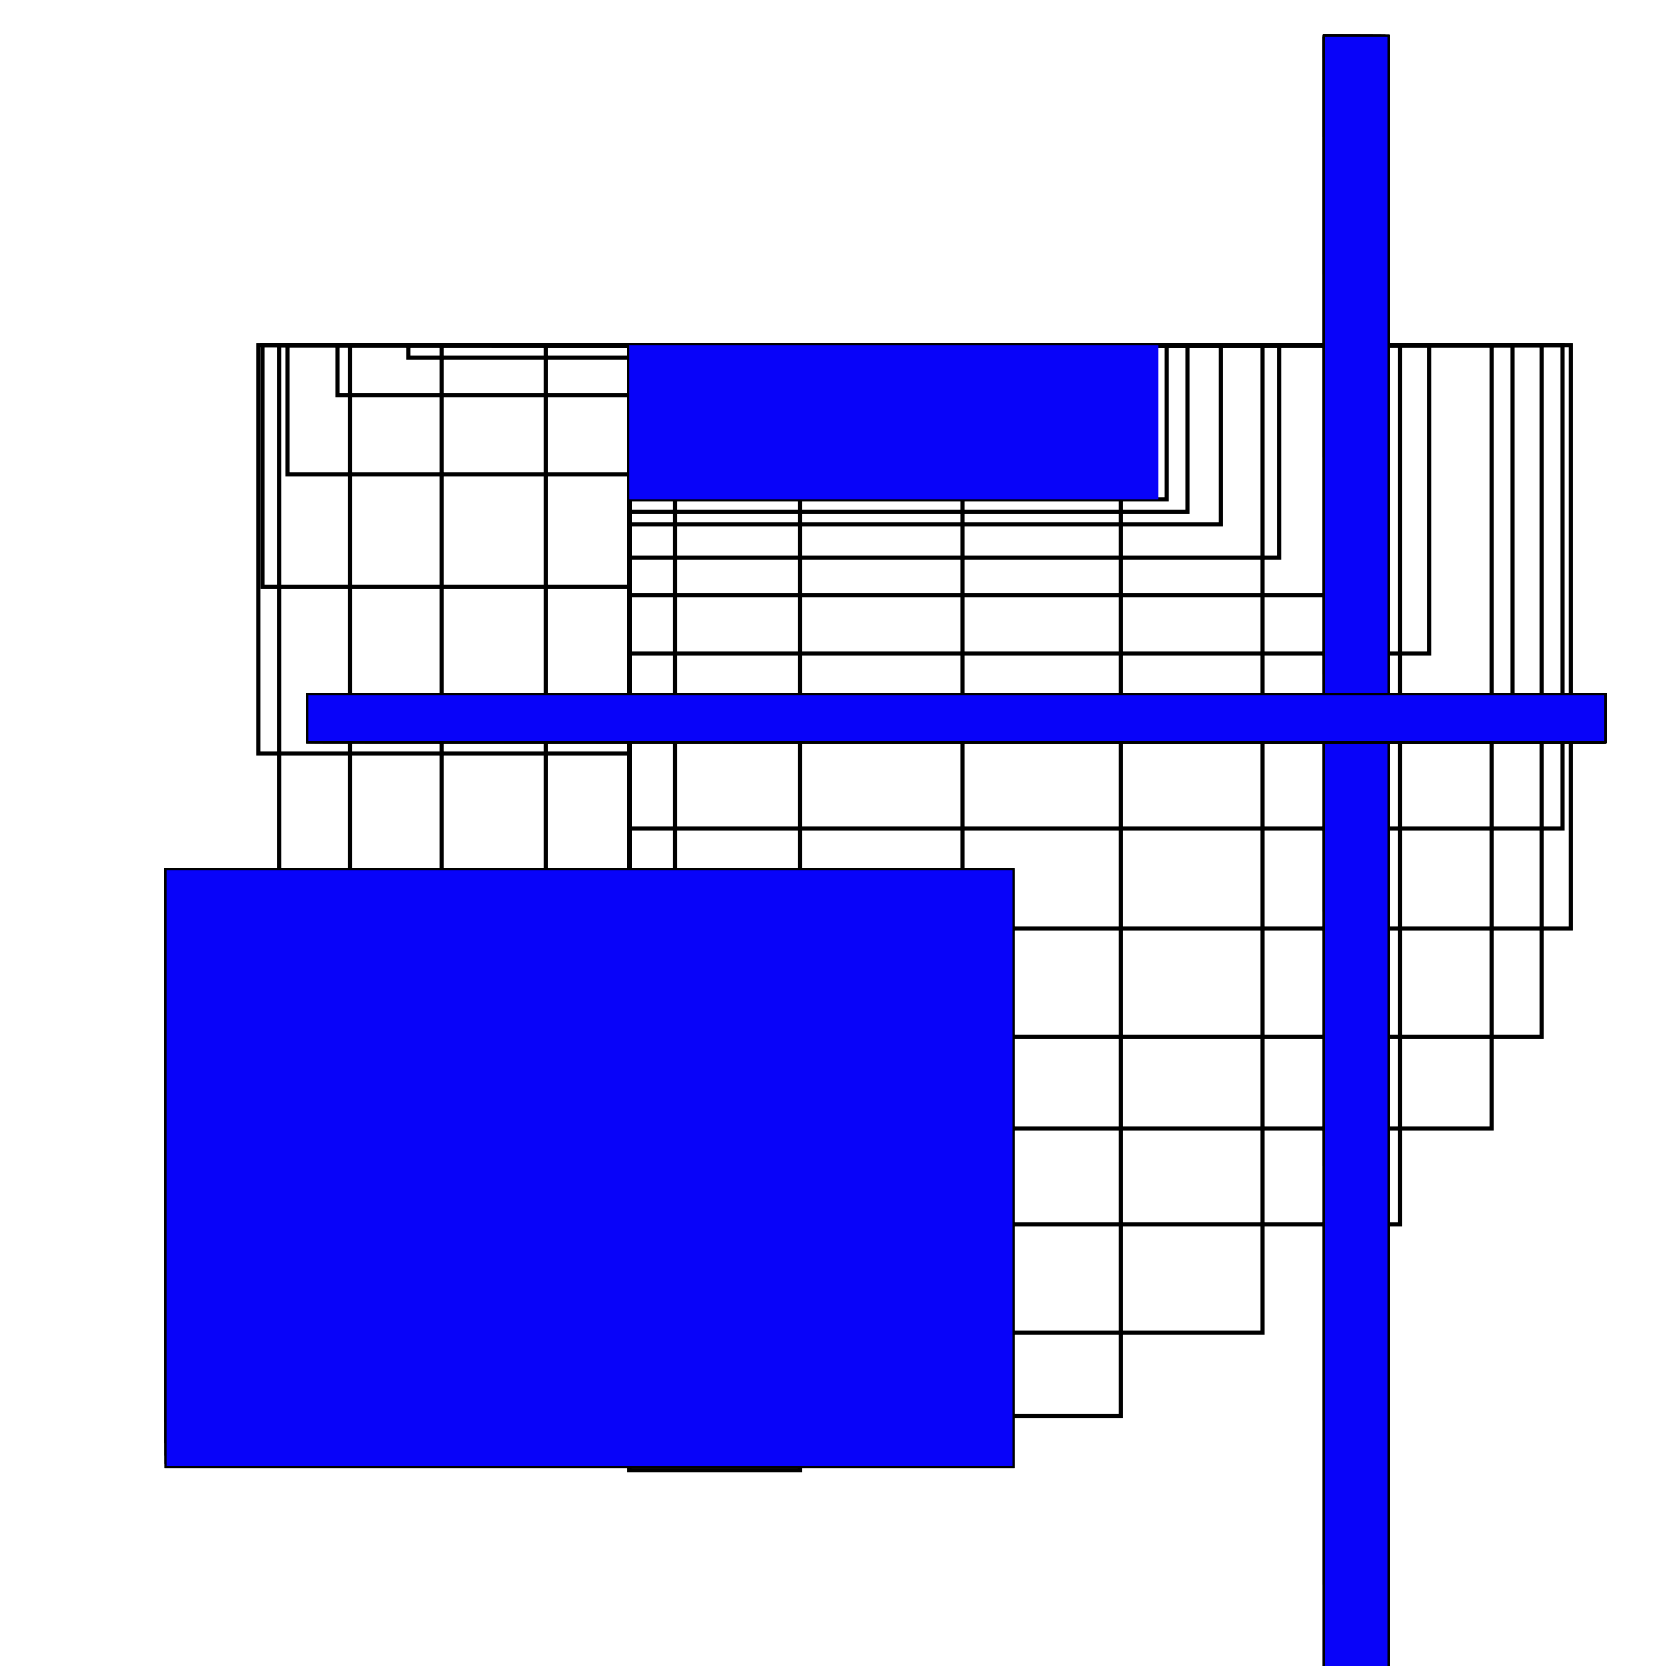
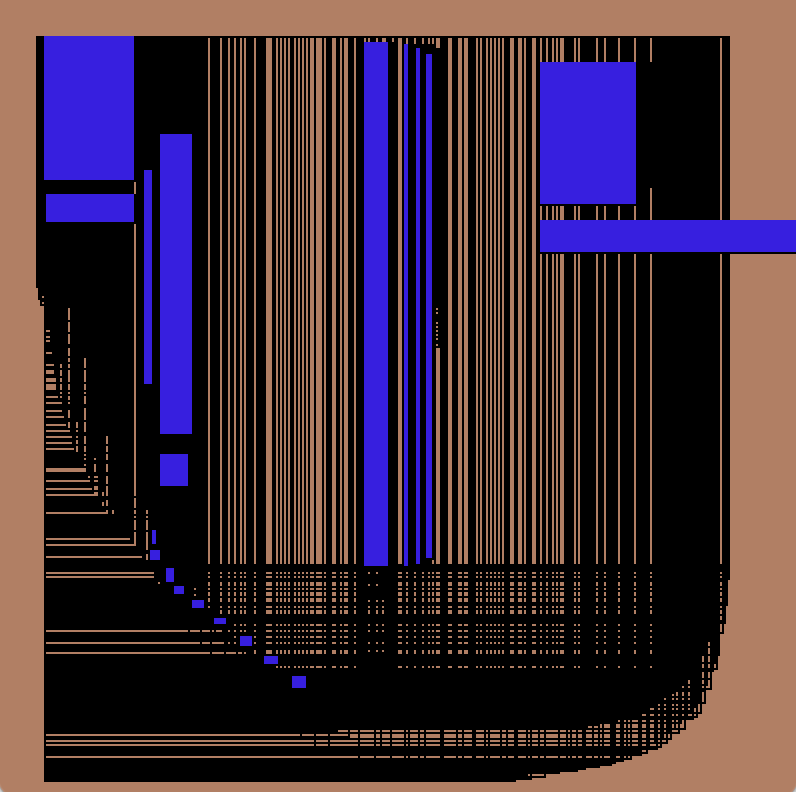
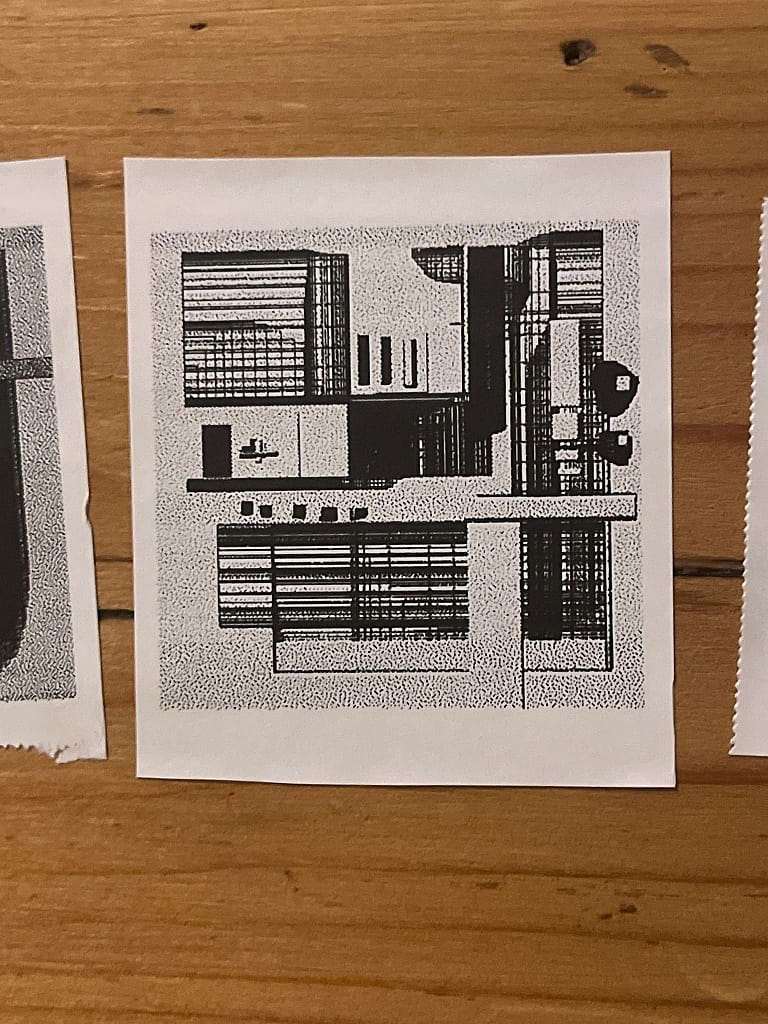
These results are quite different from the first, I wanted an option where you could have more contribution to the outcome. Unlike the generative shapes, this one only draws boxes, when you drag your mouse it creates an outline of a box, and until you let go will not fill in those boxes giving you this architectural, cubist look. Here you have more control over how the composition will turn out, you can cover up parts where you want, either with a filled-in-box or a cluster of outlines to thick black lines or even more organic shapes. I wanted to have the in-between boxes to be filled with random colours, as well as the filled in boxes, but I could only get it to randomly pick one colour each run.
Prints
A problem with the Phomemo printer is is only prints with black ink, however, I'm not disappointed with the results, the values of the shapes still comes through and it makes you reevaluate composition further, the randomness of the colours makes it a true collaborative outcome between humans and tech.
